|
Christchurch and District Model Flying Club |
|||
|
THE CHRIS GOLDS LANCASTER STORY by Terje Brantenberg
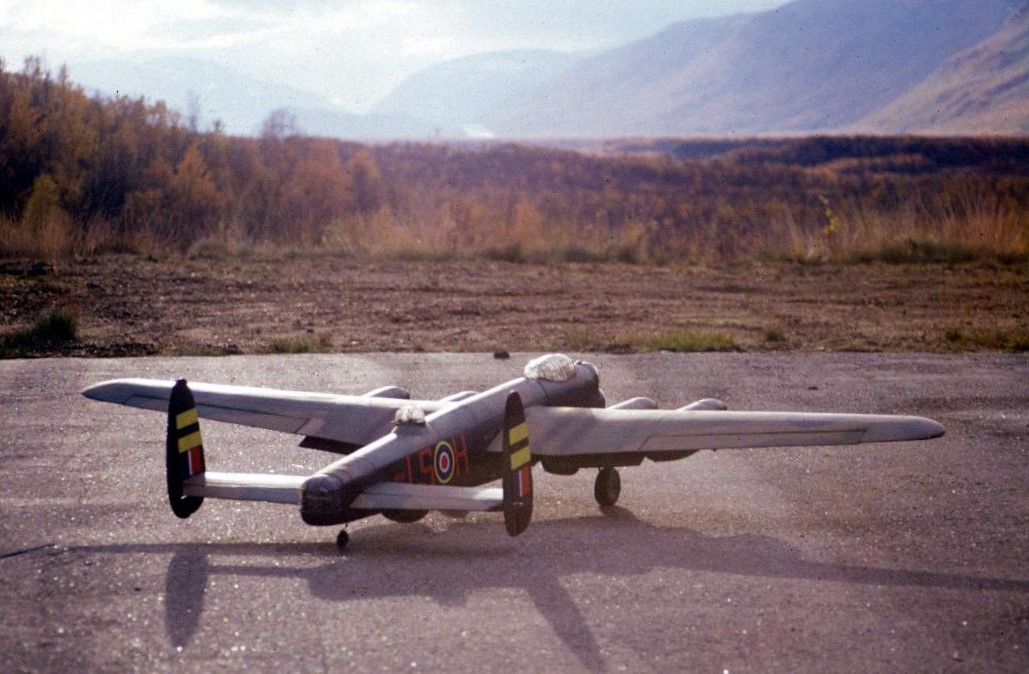
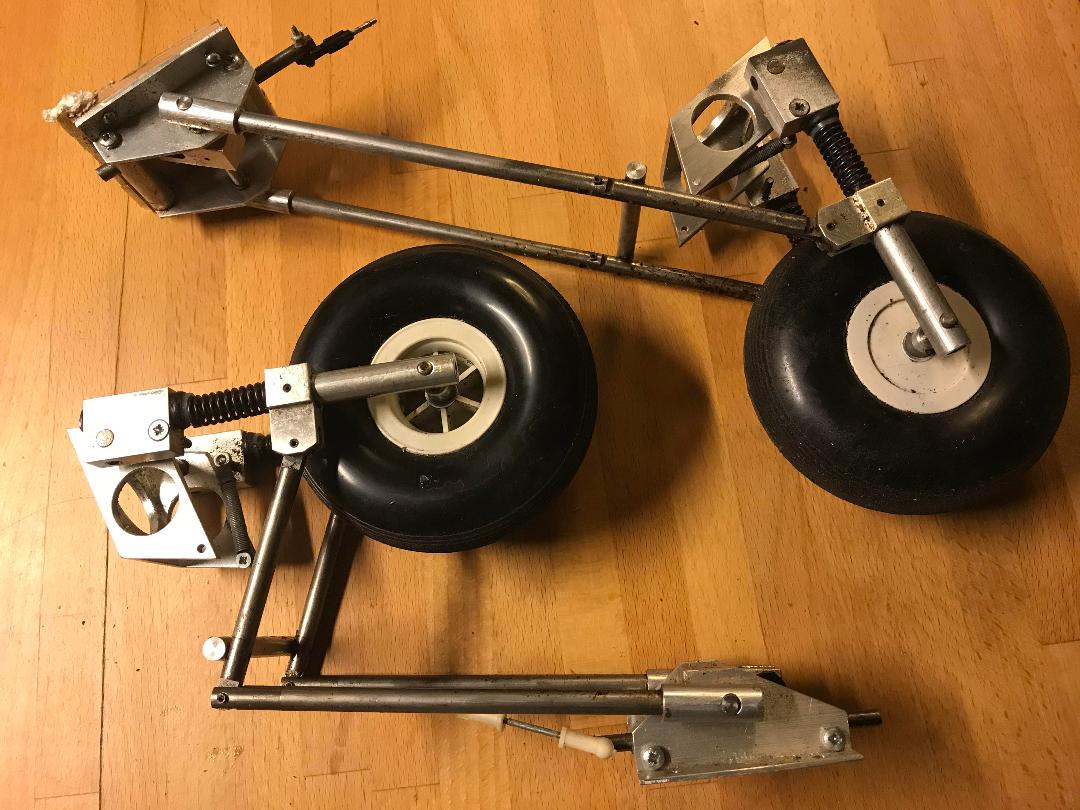
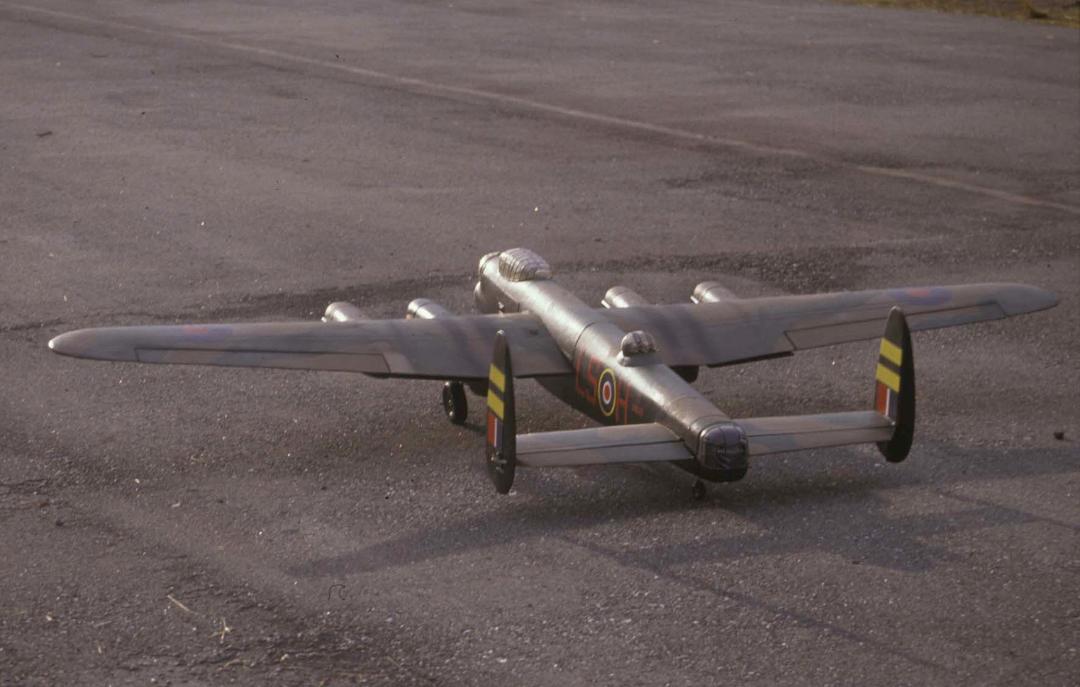
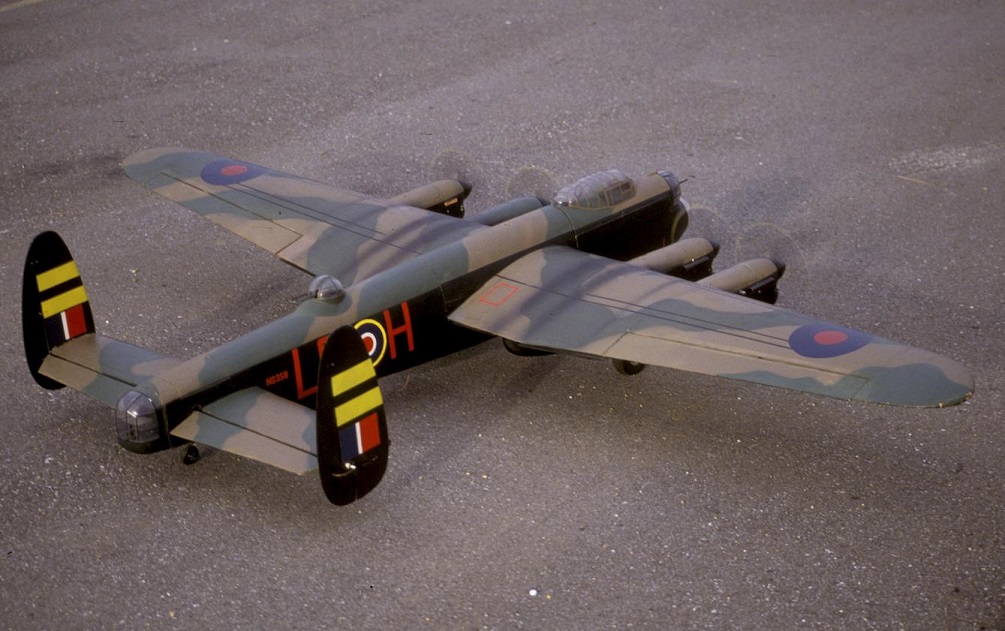
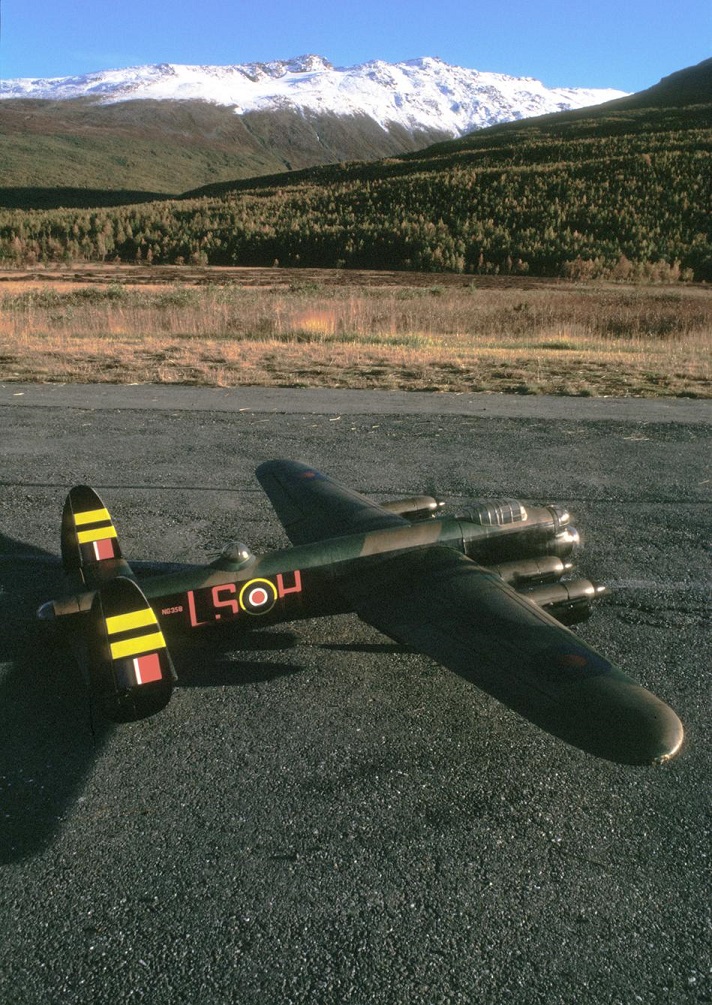
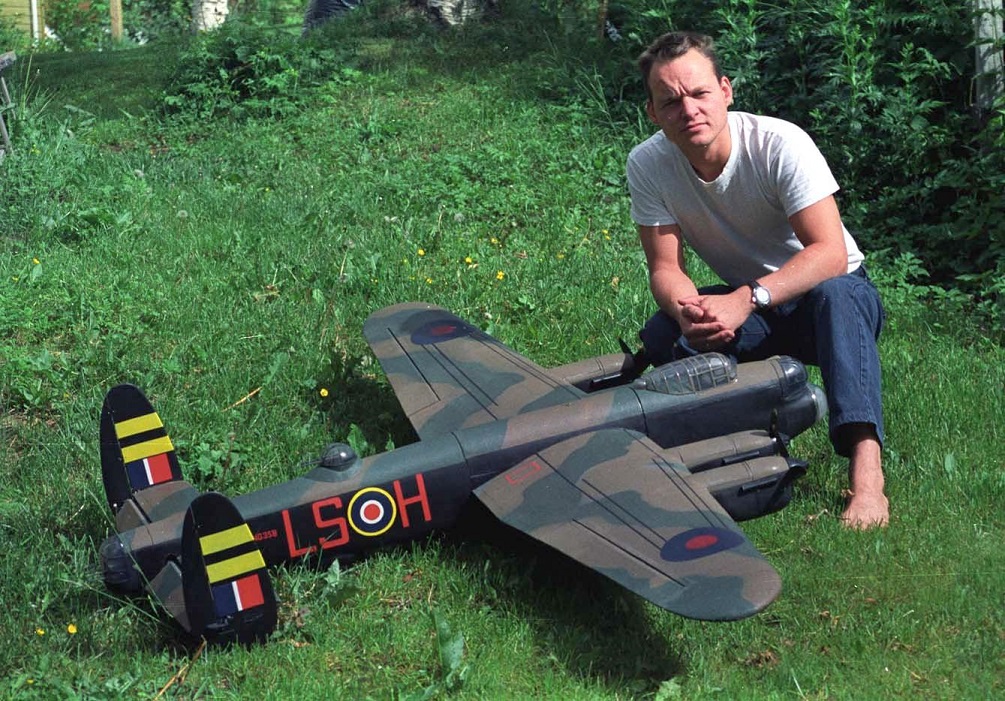
(Terje contunues his Lancaster story with an account of the foam and brown paper Chris Golds design - Ed) My Lancaster story started around 1982. I was working on my 60” P-47 from a CAP set (remember them? Some years before I had built their Fairey Swordfish. Are CAP still around?). After this I graduated to a Top Flite P-40 (Aleut Tiger head version) with Robart rotating retracts. I didnīt bother with the wheel doors as I didnīt knew how to set them up. (Nor did I later bother about landing with a tailwind, resulting in a quick end to that model). Next was the CAP P-47. Now, the P-47 had wheel doors, two sets, and without them it would not look P-47 at all! But at the time I didnīt know of any who could help me, so I wrote a letter to Model Airplane News with a request for information to be put in the magazine. Not long time after it appeared, I got, among several other kind responses from abroad, a most friendly and helpful letter from England, from Chris Golds. At time he was also a prolific modeler years before he started his column in Quiet and Electric Flight International. He was also, and still is, a wonderful mentor to novices like me at the time. For me the letter was god-sent, with instructions and clear drawings on how to set up a spring-operated over-center unit for the wheel doors. He also included photos of his Hawker Demon model and a dramatic painting of his of the same aircraft flying among billowing clouds! Here was a guy that in addition to having been a fighter jet pilot, was a modeler, an aviation artist and also a guy that could write funny and helpful advice on technicalities – and the pleasures – of scale modelling to a bloke like me in Norway! So, with his information I started to look for springs, only to discover that nobody in Norway at that time (and maybe today) was not making or selling springs, at all. Big and small! So, after writing another letter (and some more) to Chris, one day a parcel arrived from him in my mailbox, with a bag full of small springs of all types, obviously from a hardware store! With more photos of his models, like his amazing Me 323 and even more amazing, of him behind his huge XB 79 Valkyrie. Holy mackerel! His plans were then starting to appear in Flying Scale Models. Maybe one of the first, or the very first, was an article about his plans for and the construction of his 90” Lancaster, one of his BPF (brown paper/foam) projects. I had never built anything like this, but he had described in letters to me. I ordered the whole set from Traplet (now Sarik) - plan, plastic and vac forms parts, bought 4 OS 25SX and blocks of white foam. The enclosed instructions were very clear and made the construction easy and quick. The basic fuselage was finished in two evenings. I guess you are familiar with the bpf-method. Fuselage is made of a box, former added on the four sides, foam blocks glued into the sections between the formers. I have never made a basic fuselage so fast before. The only problem was the white foam. Like most of my models they were made at the table in the kitchen or living room, the Lancaster was made in the latter, at the dinner table. It took hours with a vacuum cleaner to get rid of the foam parts sticking to everything and myself. As my family at the time were away, I was not so worried, but the granules of the white foam was sticking like…well, I will not mention it here to modelling in this present state of things. After the horror of sanding the white foam in a living room everything went fine. It was made according to the plan, fixed UC, but added flaps. Covering the model with brown paper and diluted wood glue went smooth, the wing tips the only problem as you cannot stretch paper. After a first primer of glue mix, sheets of paper wetted by the mix, matt side were stuck to the foam. It was surprisingly easy, if a sheet didnīt fit, just make a new one. When dry, the covering was tight and smooth, no wrinkles, perfect! Then another primer of glue mix, followed by light sanding with fine sandpaper, then ready for painting (Perfect scale paint from USA). The result? Amazing. The only problem, it isnīt and will never be ding proof. Covering round surfaces is tricky, uneven surfaces and damages to the cover is easy fixed with sparkle and a sheet of brown paper. And another benefit, the paper stays tight and smooth, not like film or Oracover which tend to slacken over time. Engines inverted with in-cowl JīTEC mufflers and operated by mini-servos in the nacelles. Inners and outers operated separately, inners by the throttle stick, the others by a slider on the Multiplex 2000. Chris Golds had also included in his notes how to fly a multi-engine model; never turn towards the dead engine! So, I put the model the living room floor, doing dry training, simulating take-offs, landings, flying and landing on three engines. First flight (as the rest) was exciting, the sound and power of the engines running idle and full throttle was marvelous. However, there was a problem, not the model, but me. During the first flights I was so nervous that it was difficult to trim the model and operate the sticks, sliders and switches, my knees continuing shaking for minutes after landing. I was also nervous due to the fear of problems with inverted engines! It soon proved that one engine did cut in air. However, the model was surprisingly stable. The dry training paid off here, as soon as I could ascertain which engine was dead (either by seeing the dead prop or by very careful turning left and right to) I would trim rudder and ailerons and return for landing. But even with all engines OK, landings proved to be a challenge. Once I ended up pancaking the model in the grass beside the paved runway, both wings split in the middle. Not surprisingly, as the foam wings didnīt have any strengthening except for the front and tail lists and the paper covering. The cause? A combination of the two well-known troubles to pilots and model flyers: “finger-” and “head trouble”. In landing a model like the Lancaster, you have to control many things at the same time; engines, speed and height, flaps, elevator and as well as wind with rudder or ailerons. In the few seconds of my landing, my fingers fumbled for sticks and switches, while my head was frantically trying to give me a visual memory of the transmitter panel, and importantly, without looking down at it, but keeping the eyes on the model! Bang! However, repair on this model was easier than on most of my models. One evening with epoxy, paper and glue mix. Next day, applying filler, sanding and painting. One could hardly see the repair. In fact, it looked more scale-like (more panels!) But I learned a lesson! So, more flying made me want to add more scale to the model. One problem had been spinners. I had never been able to find a commercial spinner with the round profile of the Lancaster and the plastic spinner on the model was not looking right. By chance, I found and ad in a model magazine (RCME, or FSM): John Goodall, Burton-on Trent, was not only collecting old engines, but was also offering to make metal spinners on order! Some weeks later, another parcel arrived from UK with four beautifully spun metal spinners with fitting backplates. How much difference proper spinners make to a scale-model! Like the canopy, like the wheels, and UC-legs, the insignia, etc - all but crucial details. Pilots? They wouldnīt have been visible, and if they were not, why have them? Another reason, some modelers are able to make the most incredible technical scale version of an aircraft, ending with installing pilots looking like characters, probably unintended, from “Walking Deads”. Now I wanted retracts! Another letter to Chris Golds. Some days after, in a big envelope and with more photos of others of his models, he had enclosed a piece of cardboard with a working model of the retracts of the Lancaster type, made of soft wire, and pieces of cardboard! What a guy! The model, operated by an actuating rod, made it easy to understand the geometry and functioning! But not so easy to make if you don`t have a metal lathe. So, I sent another letter to UK – this time to Unitracts with specifications and in return got a beautiful set of air operated retracts with which worked flawlessly, although a bit on the heavy side (1.1 kg), but very sturdy.
All this in place, flying and seeing the model was awesome, representing something of the ultimate I could think of in scale modelling. I had not taken many photos of the model myself; none at the flying site as I was just too nervous before flying, and too hyper and done up after flying. Moreover, many years ago when I was to fly my first RC-model – the Graupner Snoopy – my friend and mentor into this activity, had impressed me that you never should take a photo of your model before, or during, the first flight! You may think this is just superstition. Well, I have stuck to the advice, and fortunately, all my crashes have been after the first flight. Hence, one sunny morning in September, I drove to the club airstrip for the first time to take photos myself of the model, flying afterwards. This was also the first time I flied it all by myself, no other club members to give support and advice, but also the relief in not having the critical gaze of my friends in my back.
For after so many years in this, I know that even if we feel sorry for the bloke who crash a model (most of us do and know what it means), there is a nevertheless a bit of fun to it, particularly the spectacular crashes, as we can see on YouTube. Virtually all plane modelers, free flight and RC, know that Murphy was correct, and we end up being experts of enjoying the moment, causing no damages but to our wallets. There I was, tanks filled up, engines started, taxing out for photos, lying on my belly on the tarmac to get a good angle (somewhat embarrassing if my buddies were around). Engines purring on idle, and standing in front of the tail, I did the normal procedure; full power for several seconds and back to idle. Take-off, full inners, followed by outers, fingers on rudder stick to keep it from turning left from the torque of the propellers, a touch of rudder and she started to climb. Some meters in the air, both port engines cut - at the same time. In a split second, before I had chance to cut engines, right wing lifted and with vertical wings the model smashed into a birch tree at the left end of the runway; the model un-kitting itself in a shower of falling leaves, pieces of foam and multiple parts of the model, some hanging in the branches like a decorated X-mas tree. The only intact parts were engines with spinners, cowlings, dorsal and rear turret, and – fortunately – the retracts. The rest went into the oil drum we use for scraps and a not very ecological pyre. It was my most spectacular crash ever, and a pity not to share it with millions on YouTube. What went wrong? IC engines, if handled properly and with care, are reliable, but in a different way from the electric side. That two engines cut simultaneously can be seen to a a case of very “bad luck”, or, (which bad luck usually comes from) not proper maintenance and pre-flight checking. Before the final flight, I had been flying several times and not checked all the things that can create problems for IC engines, most importantly, being alone at the flying field I was unable to test run the engines, full power, holding the model vertical the easiest way to determine if the carburetors are set too lean or if there is a problem with fuel tanks etc. Today, all my new models are electric, all of the ARF models. I miss the Lancaster, the sound and power of the four engines. A new Lancaster? IC or electric?
Terje’s son Kim, who isa plastic modeller, “with just as much interest in aviationhistory as me. He is on the editorial board of the aviation magazine "Flyhistortie" which is published by the National Aviation Museum in Bodo ļ. (For more of Terje’s models, see the next page - Ed)
|
|||
