|
Christchurch and District Model Flying Club |
|
TREVOR’S SKY SCOUT being an expansion of the introduction on the previous page. |
|||||||||
|
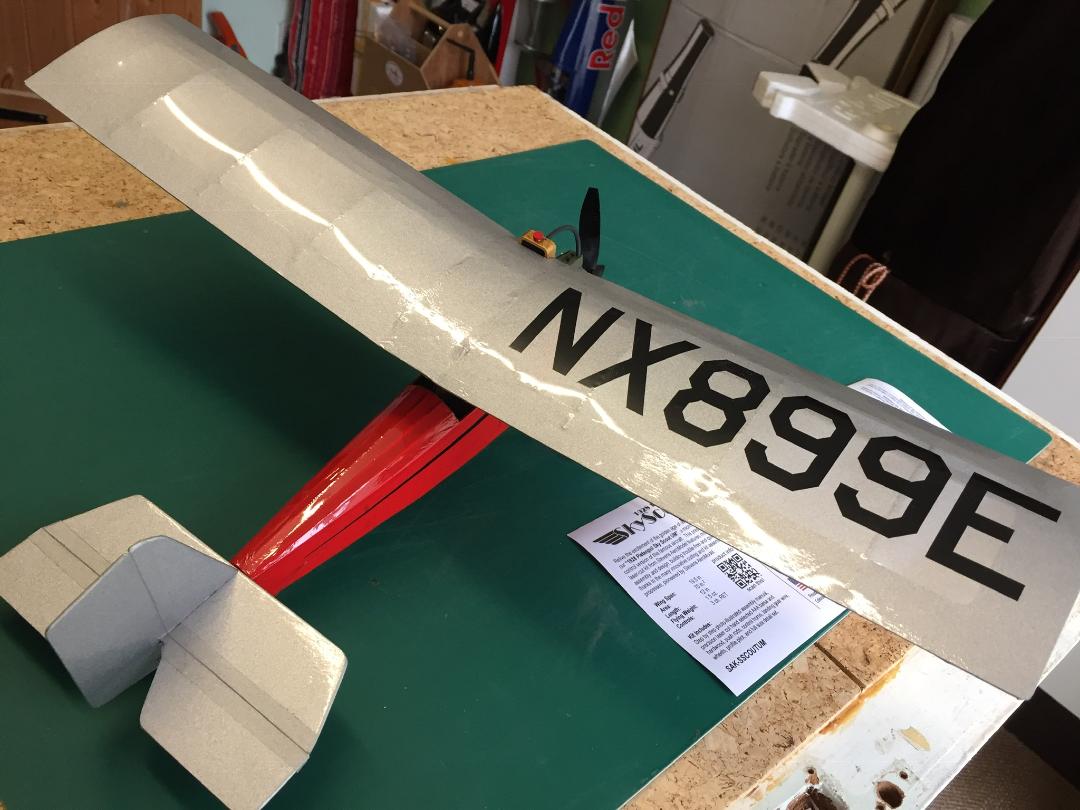
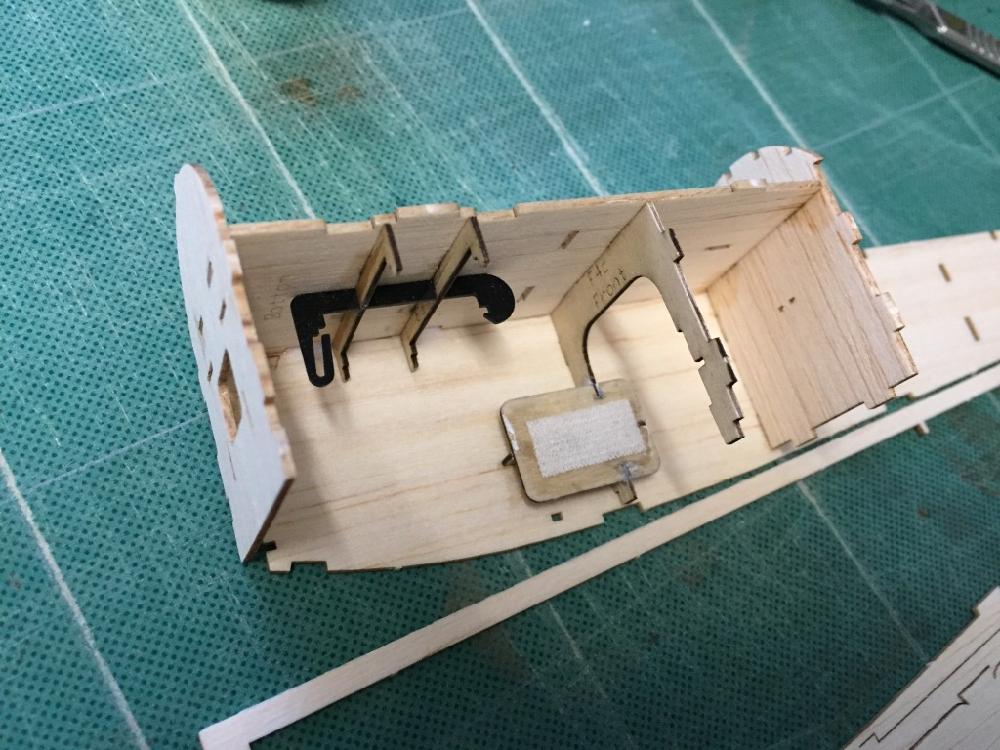
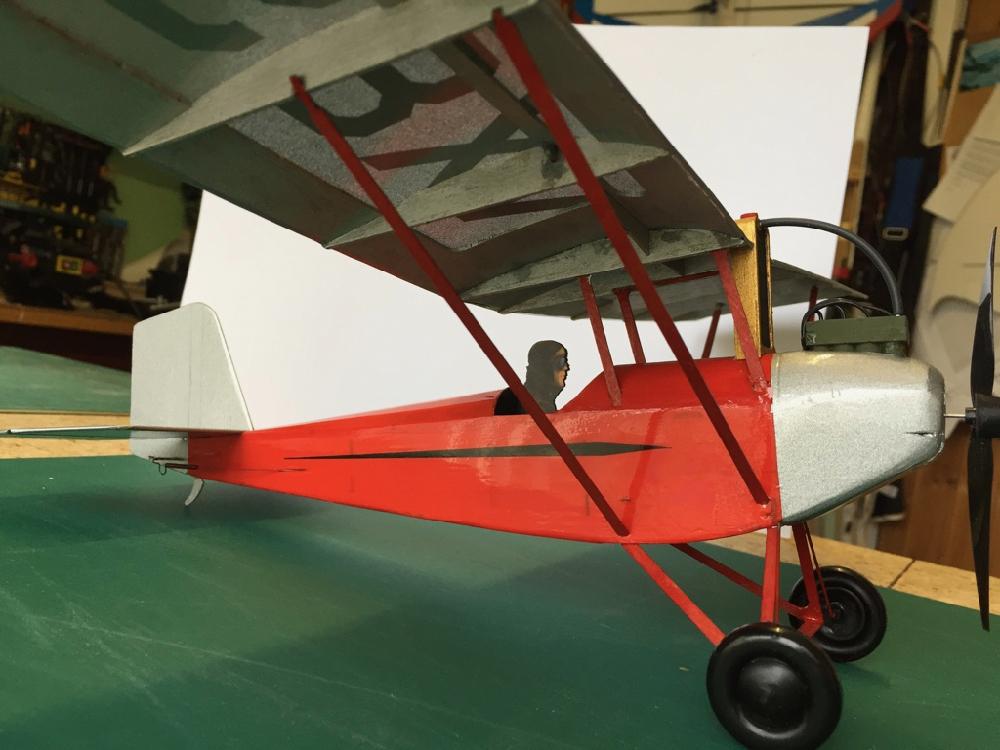
At one of our recent indoor meetings, Andrew Tubb brought along a nice little model, the SweetDream, which flew very well in our small hall at Durlston. It is one of a range of kits by Stevens Aero which are sold in the UK by Micron Radio Control. They are traditional kits inasmuch as they are built from balsa, but the parts are precision laser cut, unlike the die crunched or even printed sheets I remember from the fifties. Anyway, I spent several indecisive hours before picking out this one, the Pietenpol Sky Scout, a model of a 1928 homebuilt. Key Data: Wingspan 29.5" Weight 1.6 oz Wing Area 70 sq ins Wing Loading 3.3 oz/sq f The hardware is from a crashed Parkzone UM Spacewalker, kindly donated by John Macklin: A geared brushed motor; combined Rx/ESC/linear servos brick; 160mah single LiPo cell. This first picture gives an idea of how the laser cut parts fit together.
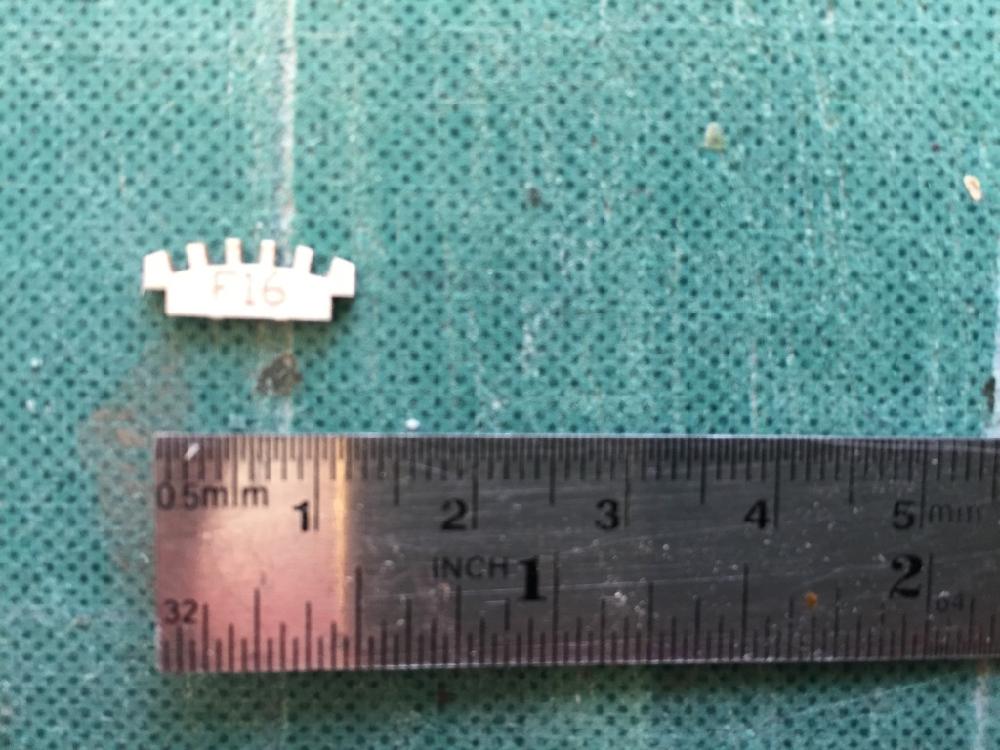
The cutting is very precise, lending itself to the 'dry fit then wick in thin cyano' method of building. Unfortunately I became sensitised to cyano fumes many years ago and generally only use the odourless formulation which is rather too thick for this approach. So, with the extractor fan on, I used regular cyano where necessary and hoped for the best. I fared pretty well although the last stages of assembly which necessitated some close quarter work with the wing struts did leave me snuffling and wheezing for a few days afterwards.
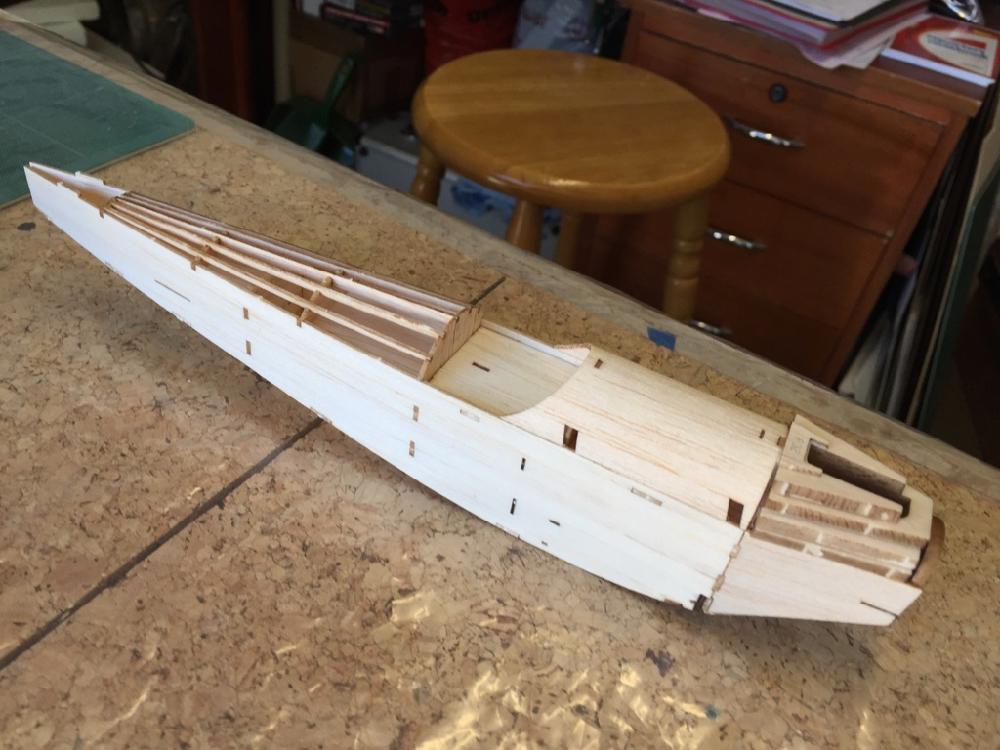
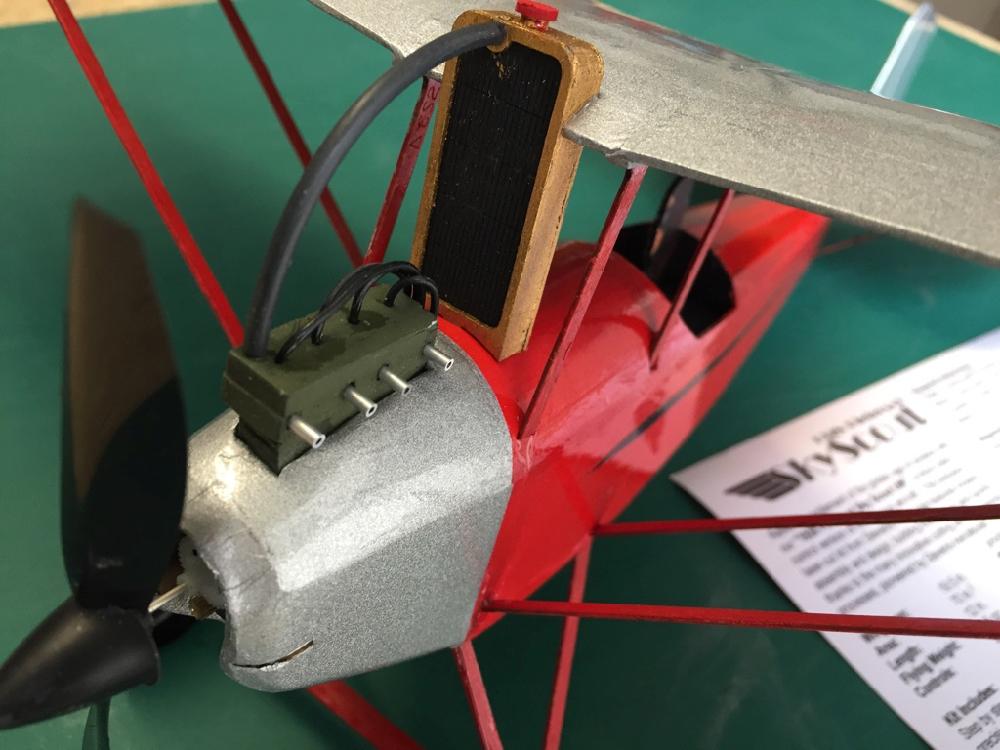
There's some nice detailing on this model, particularly around the front end. The dummy engine is built up from layers of pre-cut balsa and cleverly incorporates the holes for the aluminium tube exhaust stubs. Holes are also provided for ignition wiring but, shock horror, I had to find some suitable wire myself! The radiator is a piece of balsa with the front and back frames cut from thin ply. By painting these before assembly, even I was able to make a reasonably tidy job of the painting. Heat shrink tube (unshrunk!) connects the radiator to the engine. The radiator also helps to steady the wing on its cabane struts.
At the time of writing, the model has yet to fly, so I'll report back in due course. |
|||||||||
|
[Home] [Chairman's Chatter] [Ken's] [Flight Sim] [Aerotow] [Aerotow 2] [Full House] [Hurricane] [Spitfire] [Indoors] [Sky Scout] [The Whoov] [3-D printing] [Tailpiece] |
