|
Christchurch and District Model Flying Club |
|
CATCH-UP #1 update at 15 March 2019 |
|
COVERING TECHNIQUES, STARTED BY JEFF, WHO IS BUILDING A TOPFLITE SPITFIRE (63” SPAN)
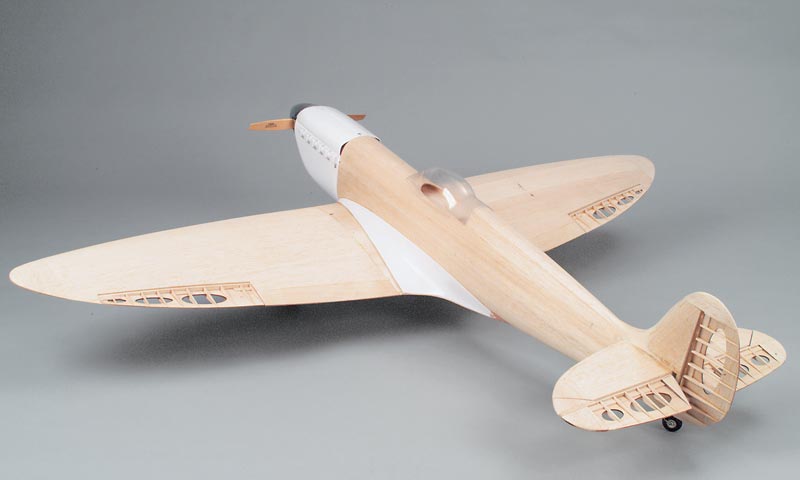
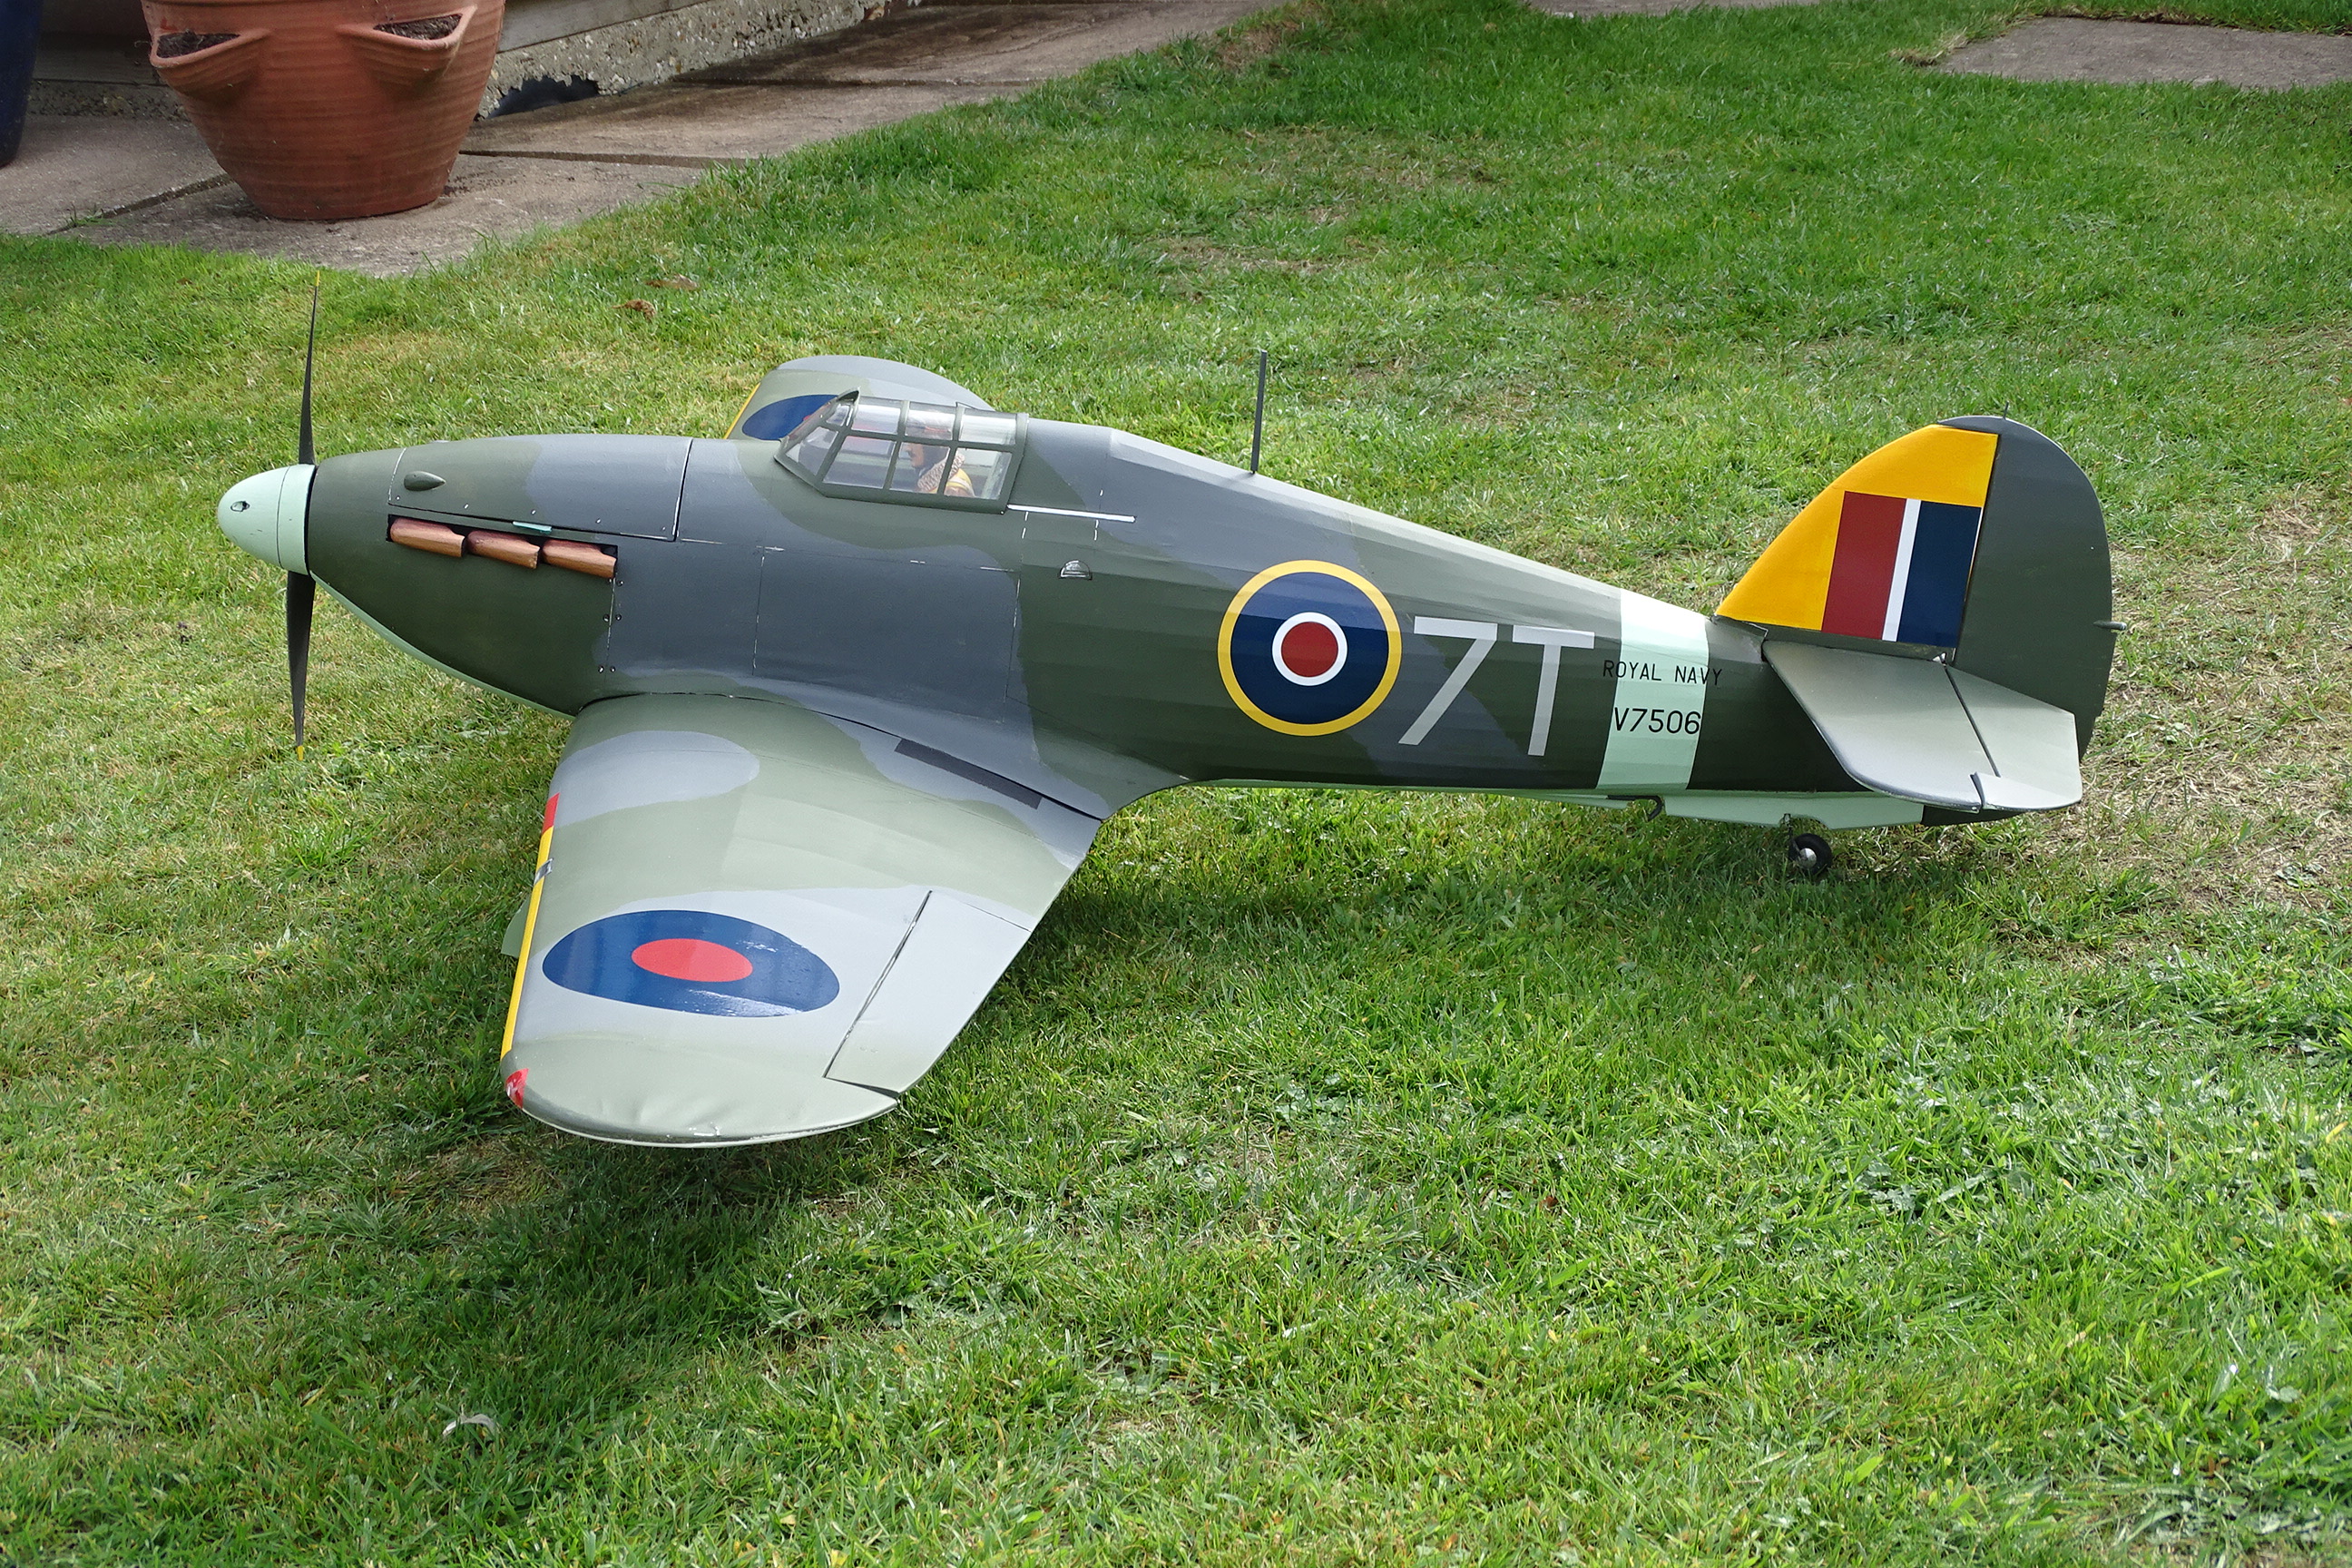
This is the model, from the Topflite website “This is my first real build project since the 80s and I'm now at the point of considering what materials I use for the covering. I have looked around at what is available online and I'm not really any the wiser. I saw one product I liked the look of but it doesn't seem to be available over here. If it was another type of plane I think it would be much easier to decide but being a Spitfire I want it to look right but not add too much weight as it sounds like that is a bit of an issue with this particular kit. The kit recommends Monokote but there are obviously several colours involved and that type of covering seems quite heavy. So, I'm seeking advice as I'm sure there is a great deal of experience within other club members. Any advice, the ups and the downs would be helpful and much appreciated.” FIRST REPLY WAS FROM MIKE - Hi Jeff, I used Solartex on my similar sized Hurricane (which is a partially open structure, not mostly sheeted like your Spitfire) and painted it with Dulux emulsion mixed to the correct colours at Homebase. I used a roller and brushes, so it's quite easy. All covering adds weight, and I've had to use a 3 cell 5000mAh battery at the front, plus a couple of ounces of lead, to get the balance right.
Film covering won't be as heavy but will be shiny and still require painting or matting down with a spray of some sort. Others will have different views! NEXT UP WAS MARTIN HARDY WITH QUITE A DIFFERENT TECHNIQUE My preferred method with a balsa skinned model is to use De-luxe Materials Eze Kote. Method 1 After sanding the surfaces apply one coat by brush and leave to set hard (overnight). Then lightly sand with a fine paper and apply a second coat. Again leave to set hard. A second light sanding gives a good surface for spray painting with car primer. Again sand down with fine paper then apply the top (colour) coat. The result is a lot more ding proof than a film coating as the balsa surface is hardened. You can also use this as an undercoat before applying film covering. The really smooth surface under the film takes the finished appearance of the film to a new level and is easy to achieve. Method 2 More ding proof than Method 1, and adds strength to the structure. Use the resin to apply light weight fibreglass cloth to the structure with the first coat. The cloth is easy to work around compound curves. Then proceed as for Method 1. It is a lot easier than using fibreglass resin, but the resulting surface is not as hard. I cannot comment on the fuel proofing properties as all my models are electric. Hope this helps.
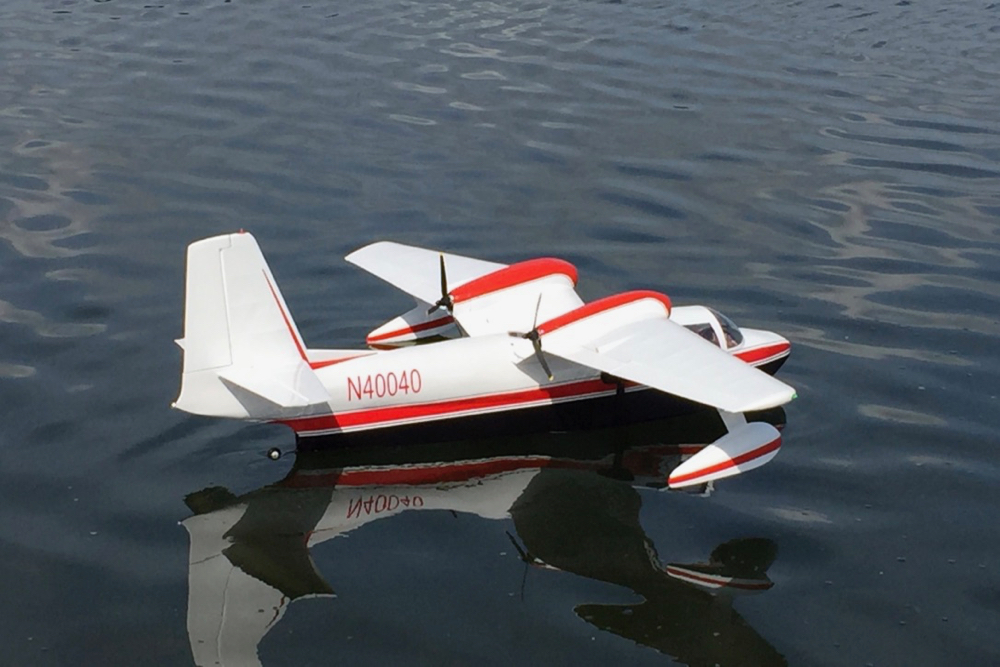
Martin’s superbly finished, own design Piaggio Royal Gull. TIM CALVERT MADE SOME MORE SUGGESTIONS You will get lots of conflicting views, as there are many ways of achieving the finish you want. I assume you are going for a painted finish, you can't easily achieve a realistic finish with monocote or any of the other alternative glossy heat shrink film finishes unless you paint on top, which can be challenging. For my 45" Tucano which is all sheeted balsa, I used a mix of Glasscloth with a WPU (water based polyurethene) varnish and then Dulux emulsion rollered and airbrushed. I used doculam (document laminating film) a clear heat shrink film on the wings as a a lightweight alternative to glass cloth before painting.
Your Spitfire does have some open areas on the flying surfaces which will need covering with heat shrink, or something like polyspan before painting, glass cloth cannot be used here. Have a look at https://www.modelflying.co.uk/forums/postings.asp?th=79476 which shows some aspects of finishing the Tucano. The Dulux paint was finished with a Matt varnish to protect the finish. If you need the codes for mixing the Dulux, I have them, just ask (or you can see them in the March 2018 Sloping Off here http://cdmfc.org/archives/mar18/html/paint_colours.html - Ed) - the EzeCote and similar products from Deluxe are highly recommended Hope that helps. TIM ADDED TO THIS AND ATTACHED A PDF OF THE RAF PAINT CODES FOR USE IN DULUX MIXING MACHINES You will have to use Homebase or other Dulux mixer stockist as B&Q dropped dulux for Valspar and their machines only accept a limited range of paint codes, though both will scan match from a colour sample. The Codes in the document are either RAL paint codes eg RAL6019 for Sky or the NCS code S2010G30Y entered as one long string, you may get the odd frown from the paint operative but persevere, the colour will come up on the screen as a check. I would use the NCS code for SKY as it a better match IMO. I am not sure what era you are painting your Spit as they changed over the years, if you use the link to my shared files https://1drv.ms/b/s!AngxLQnvvjx_hCrXyOVzTkdhMM2M You will get a copy of the publication Camouflage and markings for the WWII Spits, that will help with colours, camo layout etc. For painting, you can airbrush emulsions but it’s more challenging than using paints such as Tamiya. I have found the best thinner is Lidl window cleaner, it’s the green stuff in a spray bottle, the green doesn’t show in the paint BTW! It better than water as it reduces the tendency of the paint to form droplets, particularly on the first coat, another product is Floetrol by Owatrol which mixed with the paint improves flow qualities, I got a 200ml sample pot direct from them on there website. For spraying both Mike and I use a mini airbrush compressor, I use an AS196 twin compressor, I seem to remember it cost less than £100 with two airbrushes, prior to that I used a std full size workshop compressor, noisy and total overkill, as you had to throttle down the air Supply! The trick with emulsion spraying is thinning and not laying down too much paint with each coat, but nothing special from an equipment point of view. There are a lot of US examples on Rcscalebulder forum site (latex is the US term for emulsion) Most water based paints are not glow fuel proof, but as your petrol based, it’s less aggressive than glow fuel, i can’t offer any specific advice as I am electric only and no experience here, you may find that a good wbpu finish is petrol proof, a bit of experimentation? Good luck with whatever you do. JEFF ADMITTED THAT HE “came along to the meeting at Bransgore, the one before the build competition, and someone brought along a very nice Mustang, very similar size to my Spitfire. That was what inspired me to build mine.” THE CULPRIT (PETER CHALDECOTT) OWNED UP I suspect that the Mustang you saw was mine, in which case I am really pleased that it inspired you to build your Spit. My Mustang is covered with lightweight glass cloth and epoxy resin (rollered on), all supplied by De Luxe Materials. This was the first time that I had rollered the resin on, but it is by far the best way to do it. Paint used was Humbrol Acrylic Matt sprayed on. COLIN DEAN HAS SOME INTERESTING THINGS TO SAY My BKB 1 glider Fuz was covered in light weight glass cloth. I used RONSEAL FLOOR VARNISH .This was brushed on, sanded between coats to fill the weave. TESTED ON BALSA delaminated the balsa when trying to pull it off. SPRAYED with cellulose. You can get aerosol cans filled to your colour at RAINBOW PAINTS, 25 TELFORD RD , FERDOWN INDUSTRIAL ESTATE 01202 896458, I also use this method for repairing my foamies
|
|
[Home] [Chairman's Chatter] [Beaufighter] [Typhoon] [Lest I forget] [Spot the diffeence] [Catch-Up] [Covering] [Safety Plugs] [Silver paint] [TopFlite Spitfire] [Remove before use?] [Flying Site] [Tailpiece] |

 Mike’s Sea Hurricane, from the Derek Micko short kit
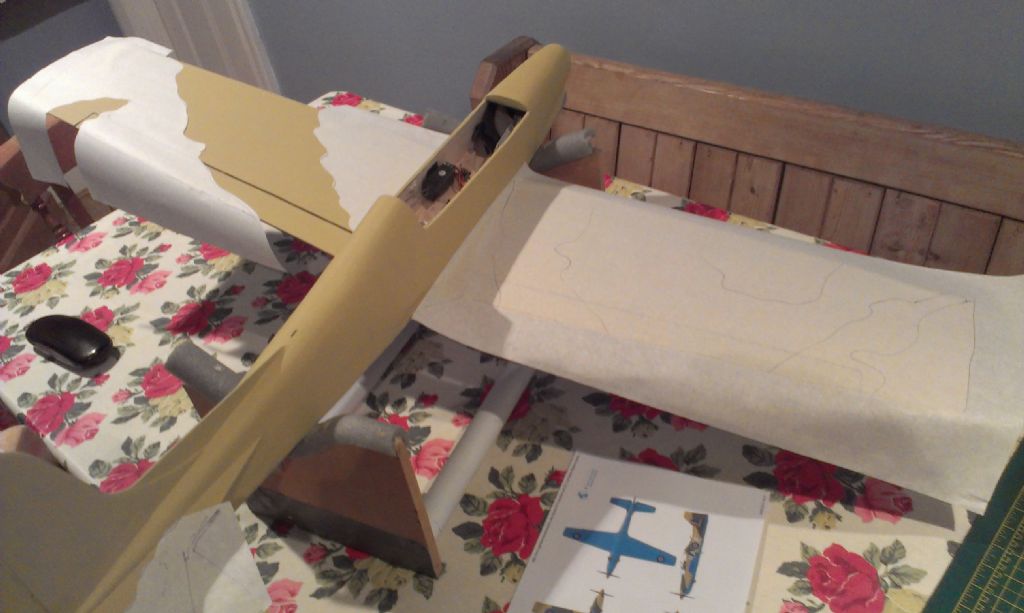
 Tim’s Tucano during construction