|
|
||||||||||||||
|
Christchurch and District Model Flying Club |
|
RESCUING A £3 CATALINA
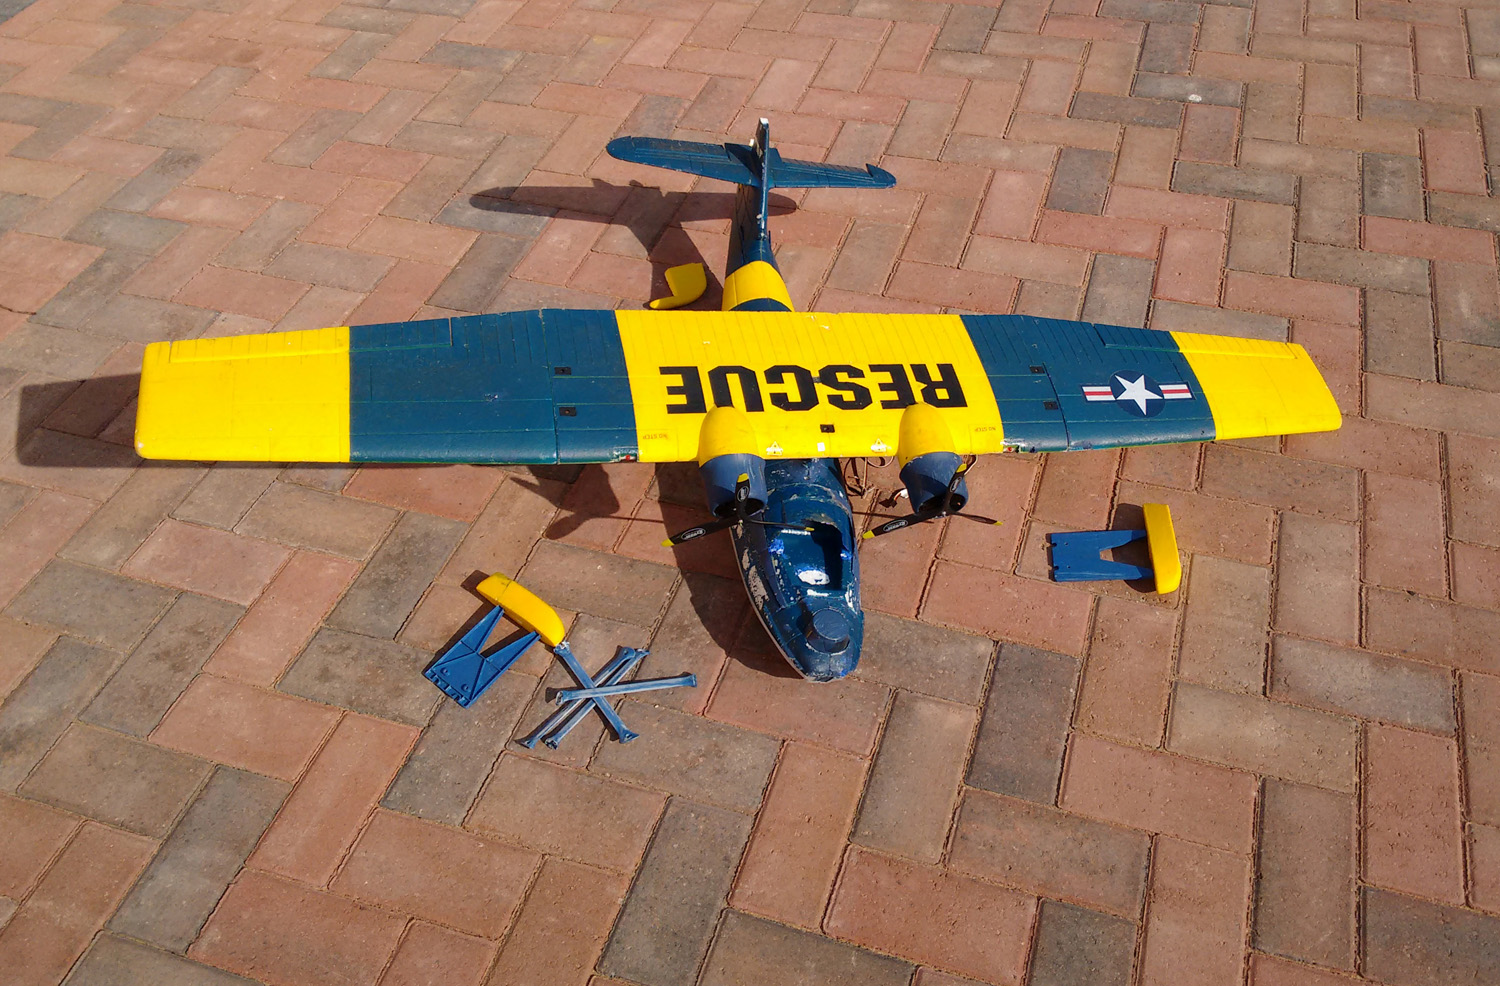
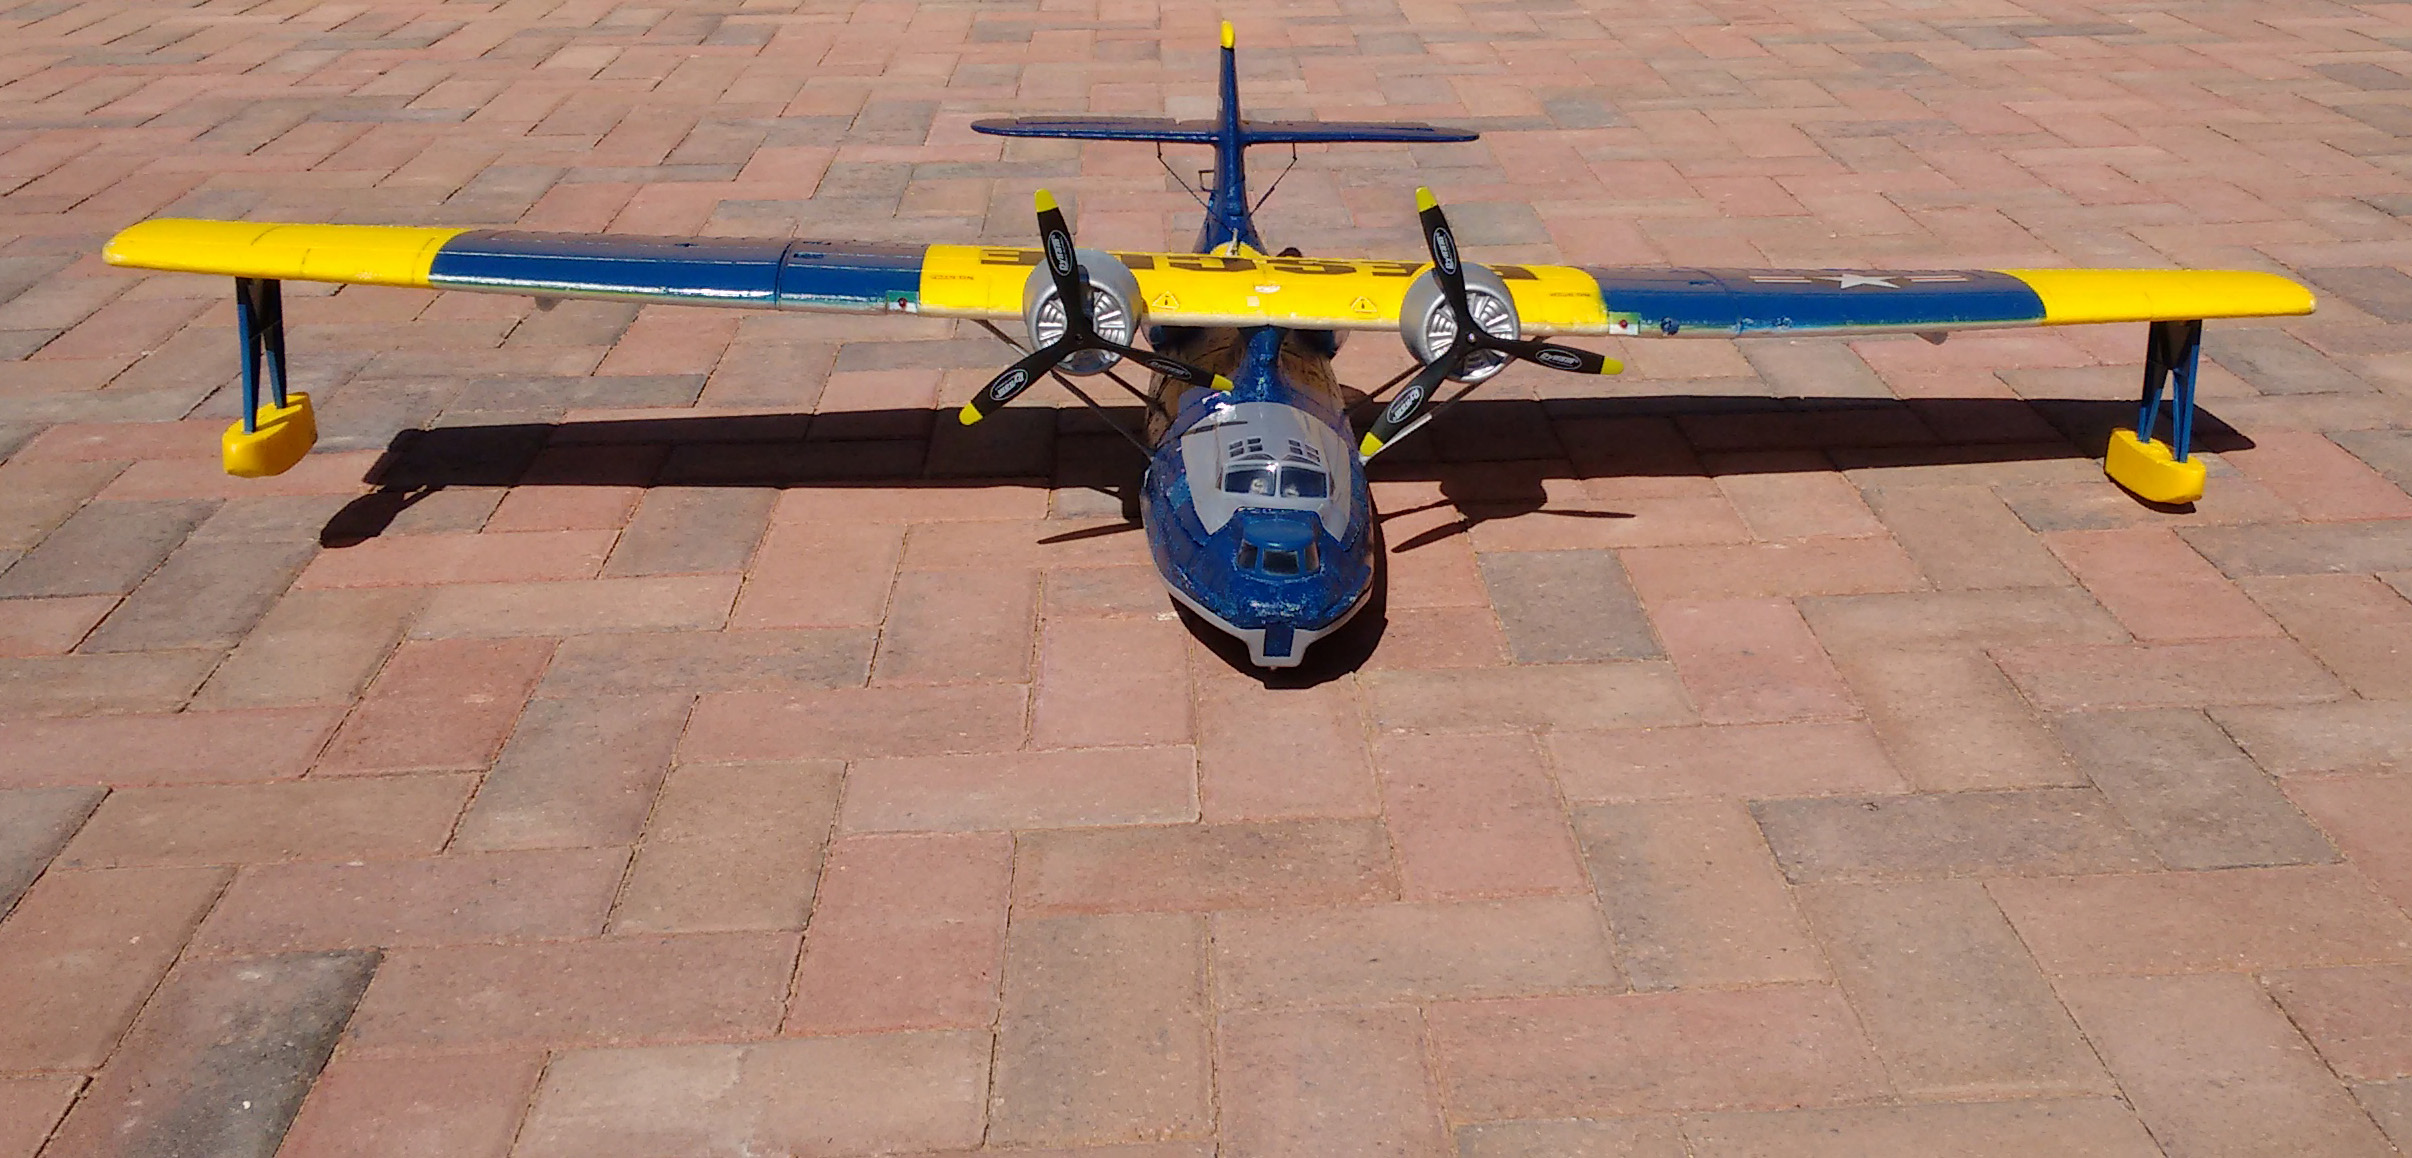
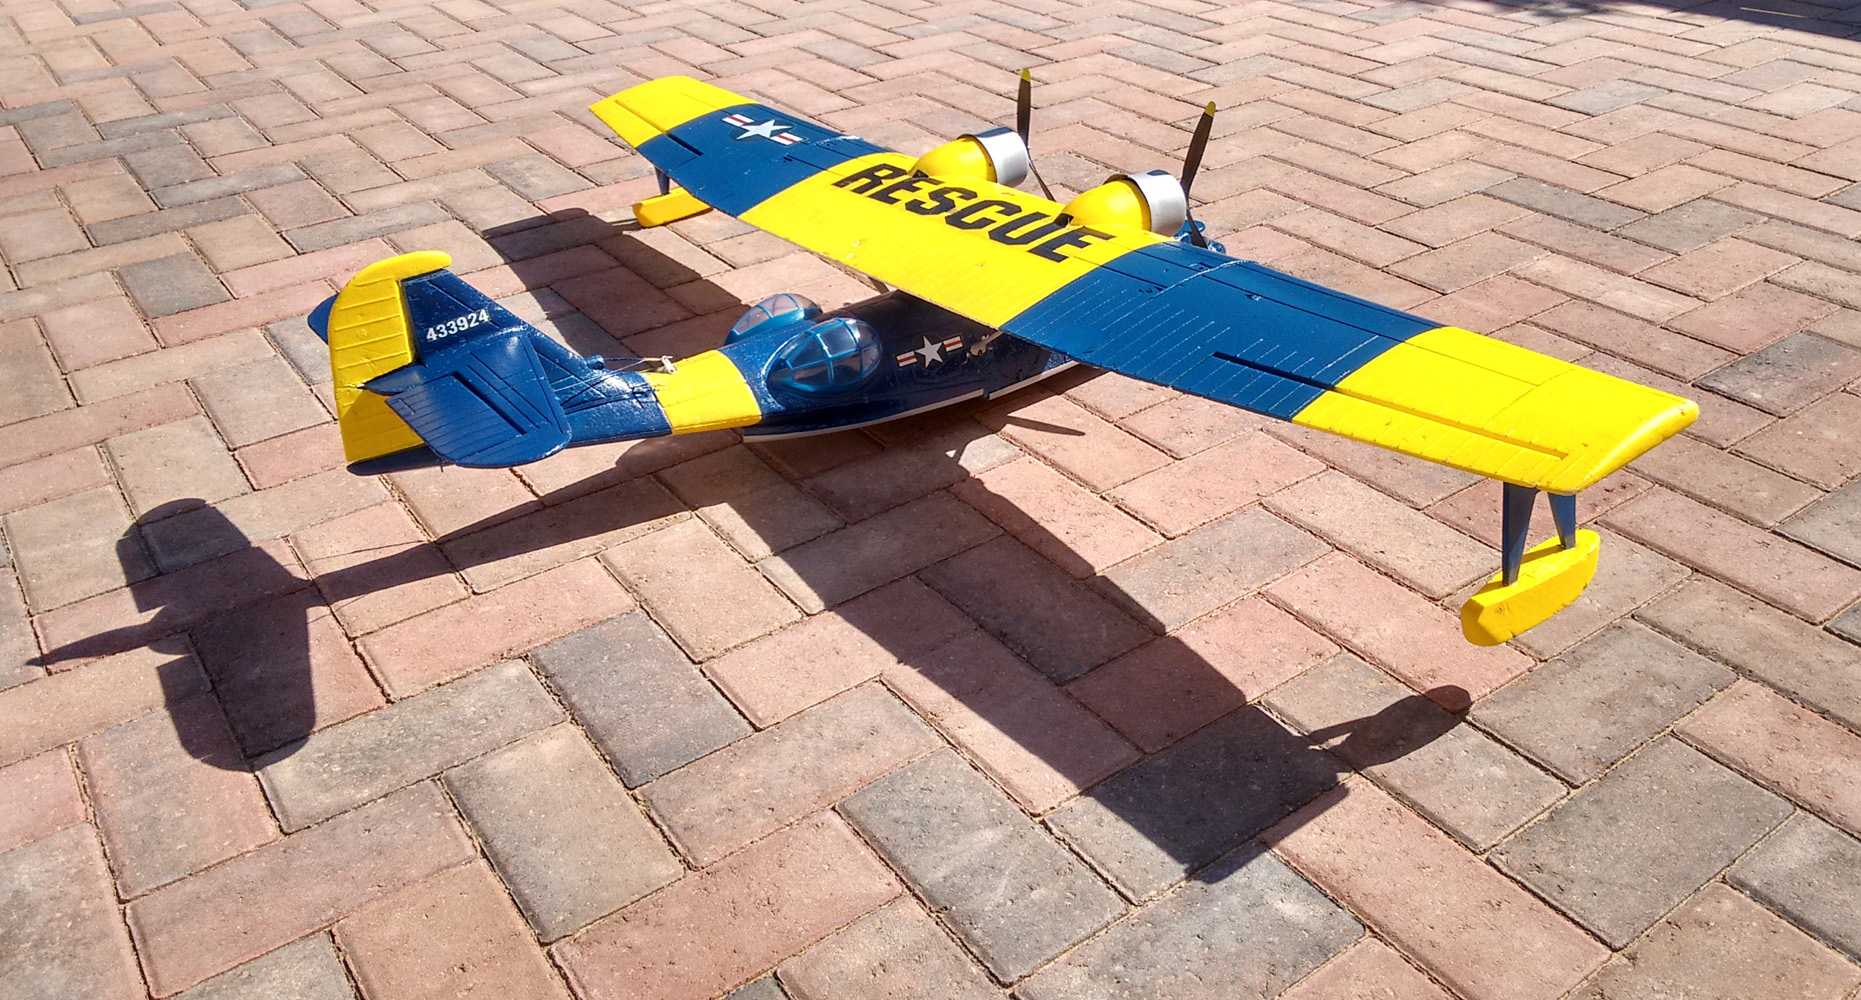
This is to be read only if you have absolutely nothing better to do...... I am making slow progress in repairing the damaged Catalina I bought for £5 at the last club evening. I have repaired damaged parts and made some improvements (hopefully!) to the design, and discovered a couple of surprising problems. I mentioned last time that I thought I was very clever in removing the old paint with parcel tape to get back to the foam to repaint it. This was a mistake, as it took off in very small patches the thin skin on the foam surface under the paint which I didn't notice until I gave it a light spray with acrylic primer. I should have lightly resprayed the exisiting paint which I have now done on the wings which look great. However from a distance it doesnt't look too bad....
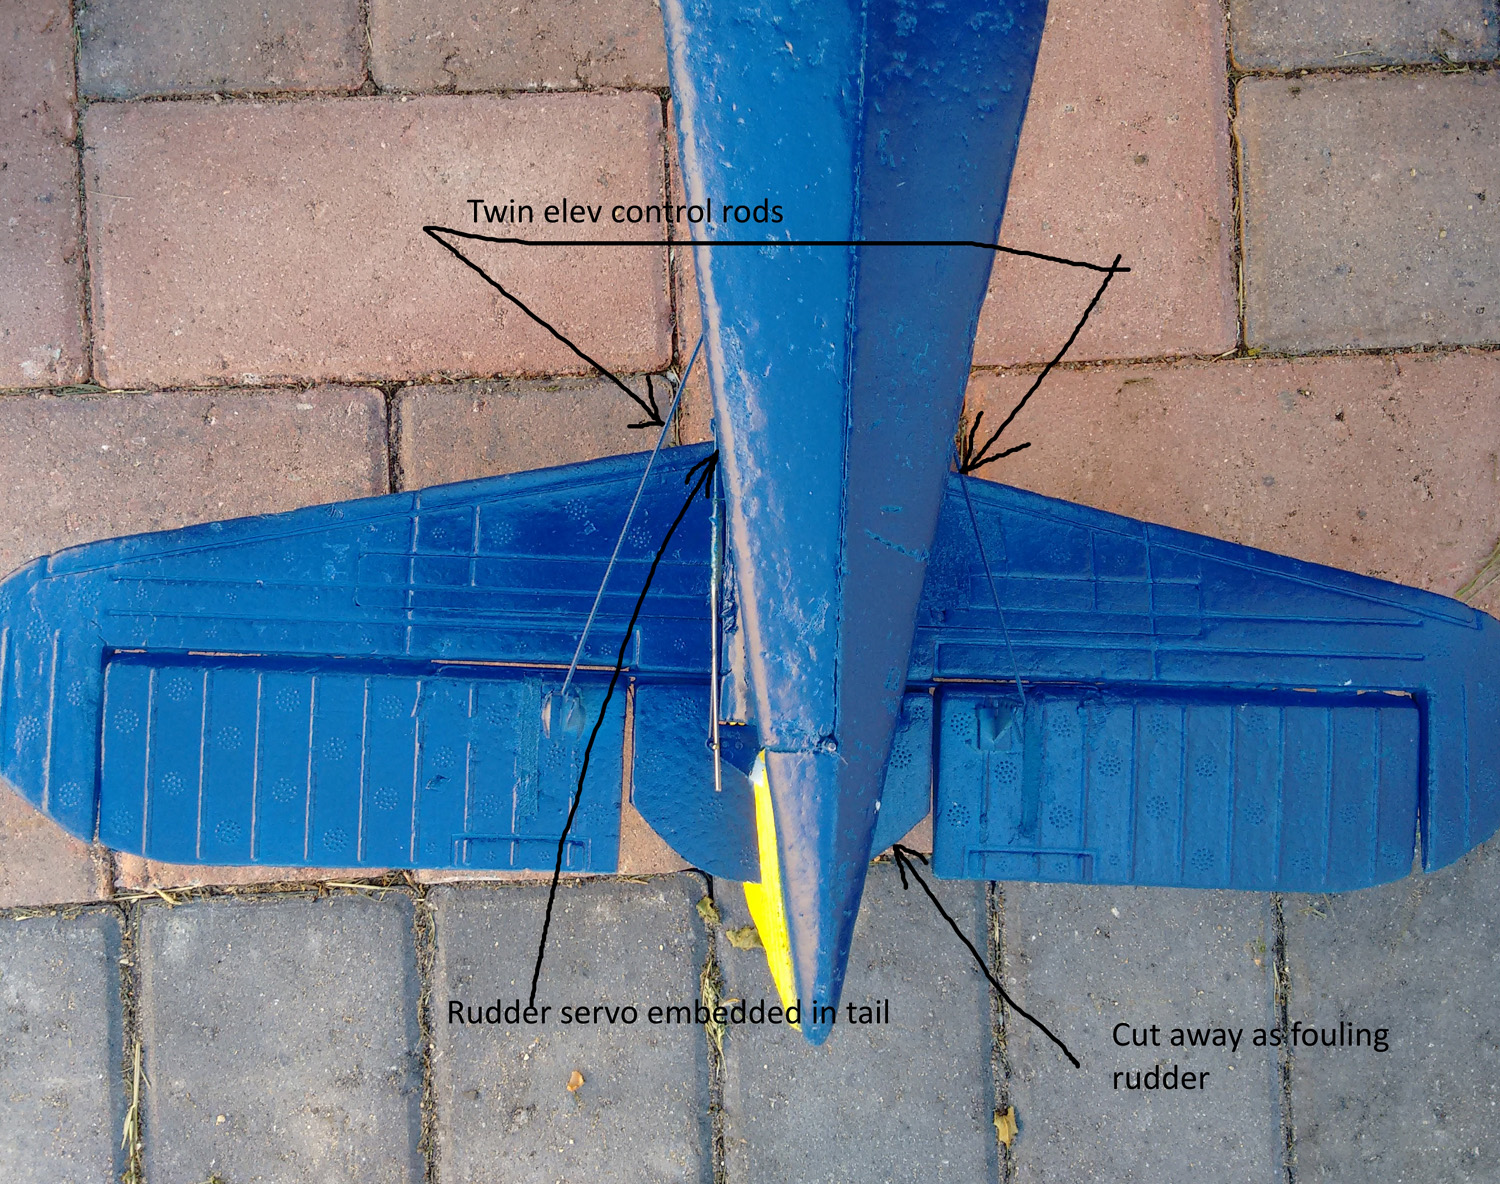
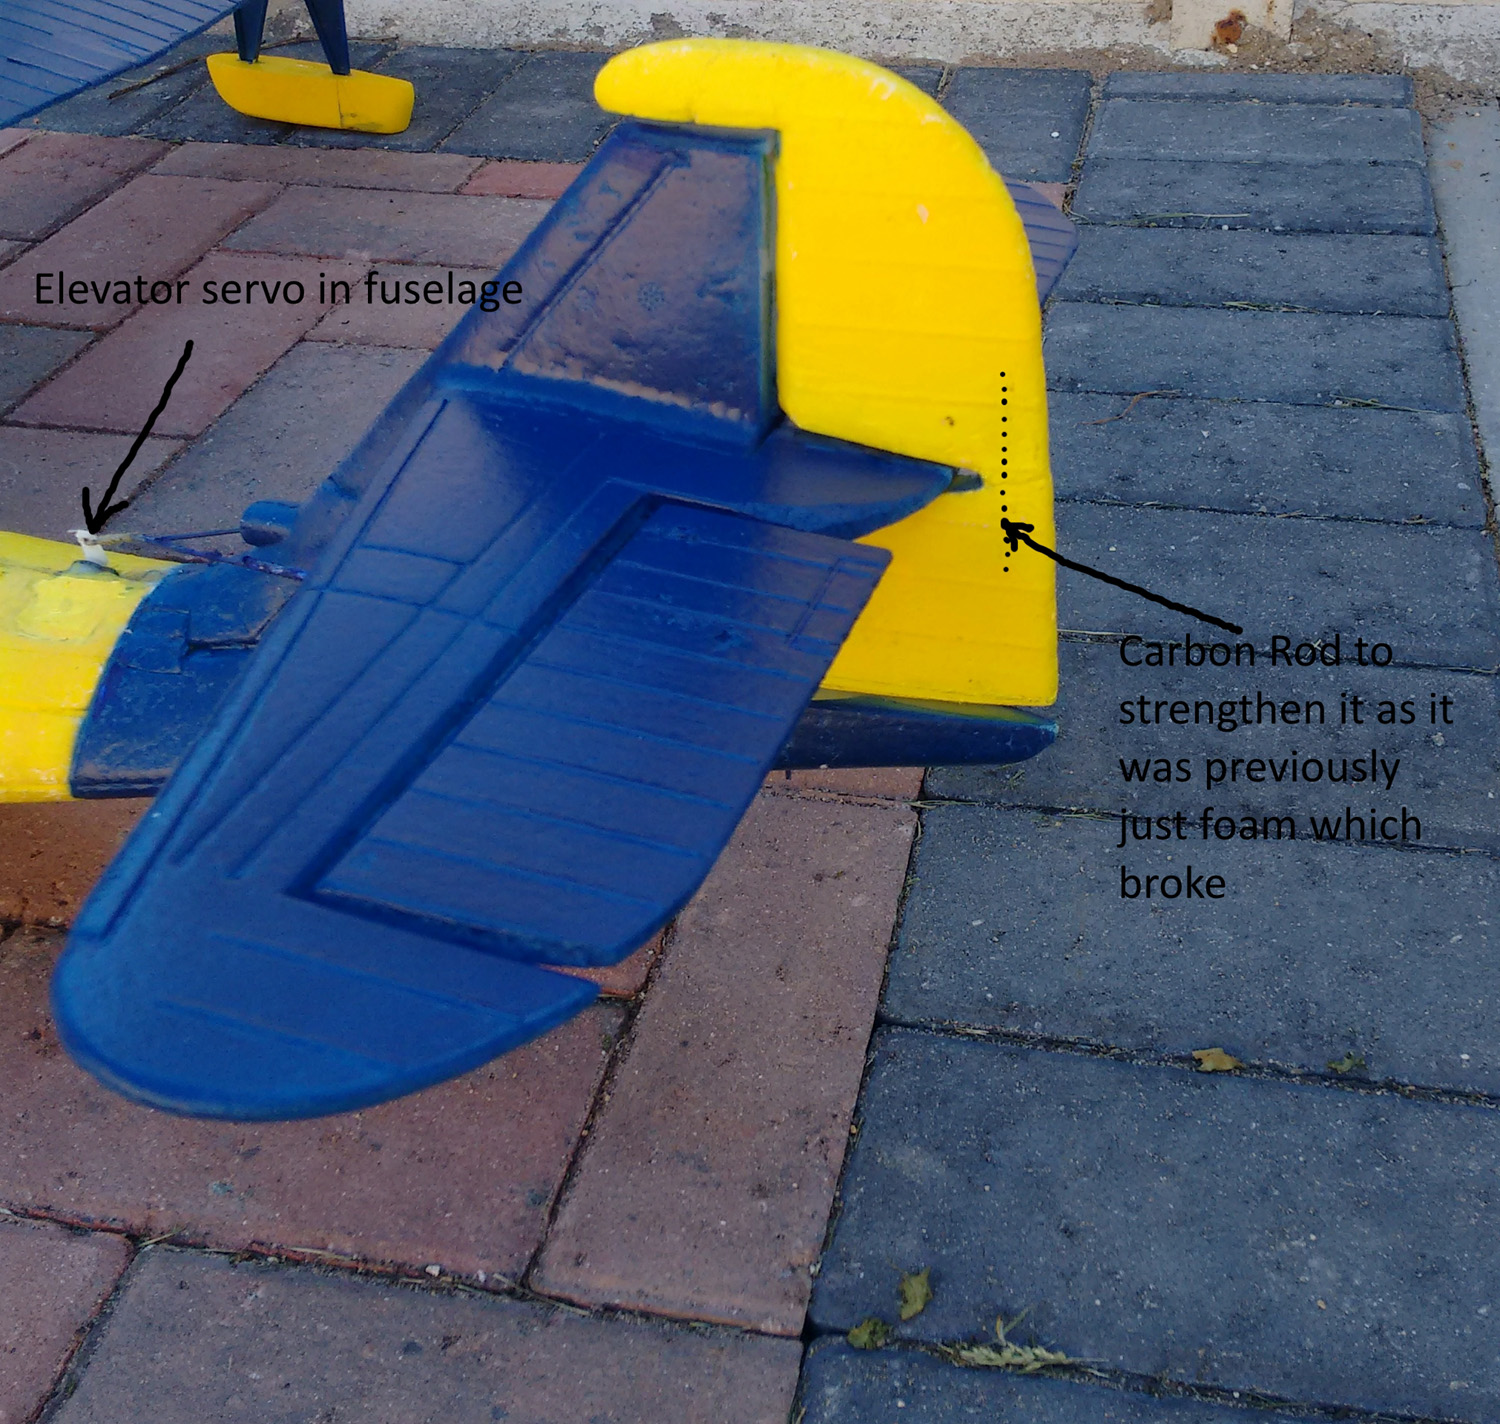
The elevators were controlled by a single control wire from the front of the model to a single horn on one elevator, and the twin elevators connected with a u-shaped wire. This allowed an amazing amount of movement between them. I fitted a thicker piano wire connecting them with only slight improvement. I then fitted twin wire control rods and put the servo in the rear fuselage. This is fine with no flex, but as I did so I saw a better solution? with the rod to go through the protruding nacelle at the front of the tail fin with a shorter length of wire inside a slotted carbon tube, and the twin elevator rods also being shorter to further reduce the possibility of flexing.
I fitted a carbon rod in the rudder when repairing it as it had broken half way up, as it was only a quarter of inch of foam holding the two halves together, and also a new thicker wire to turn the water rudder. Mylar hinges fitted on rudder and elevators. I then discovered another surprising and unsatisfatory part of the design. Three quarters of the way down the tail fin, the foam, which was a full width one foam moulding from the top, reduced to half thickness at almost the maximum stress point above the fuz join, and the fin could move a lot with sideways load. I inserted a thin sliver of depron and Uhu Por glued it. Now it’s solid.
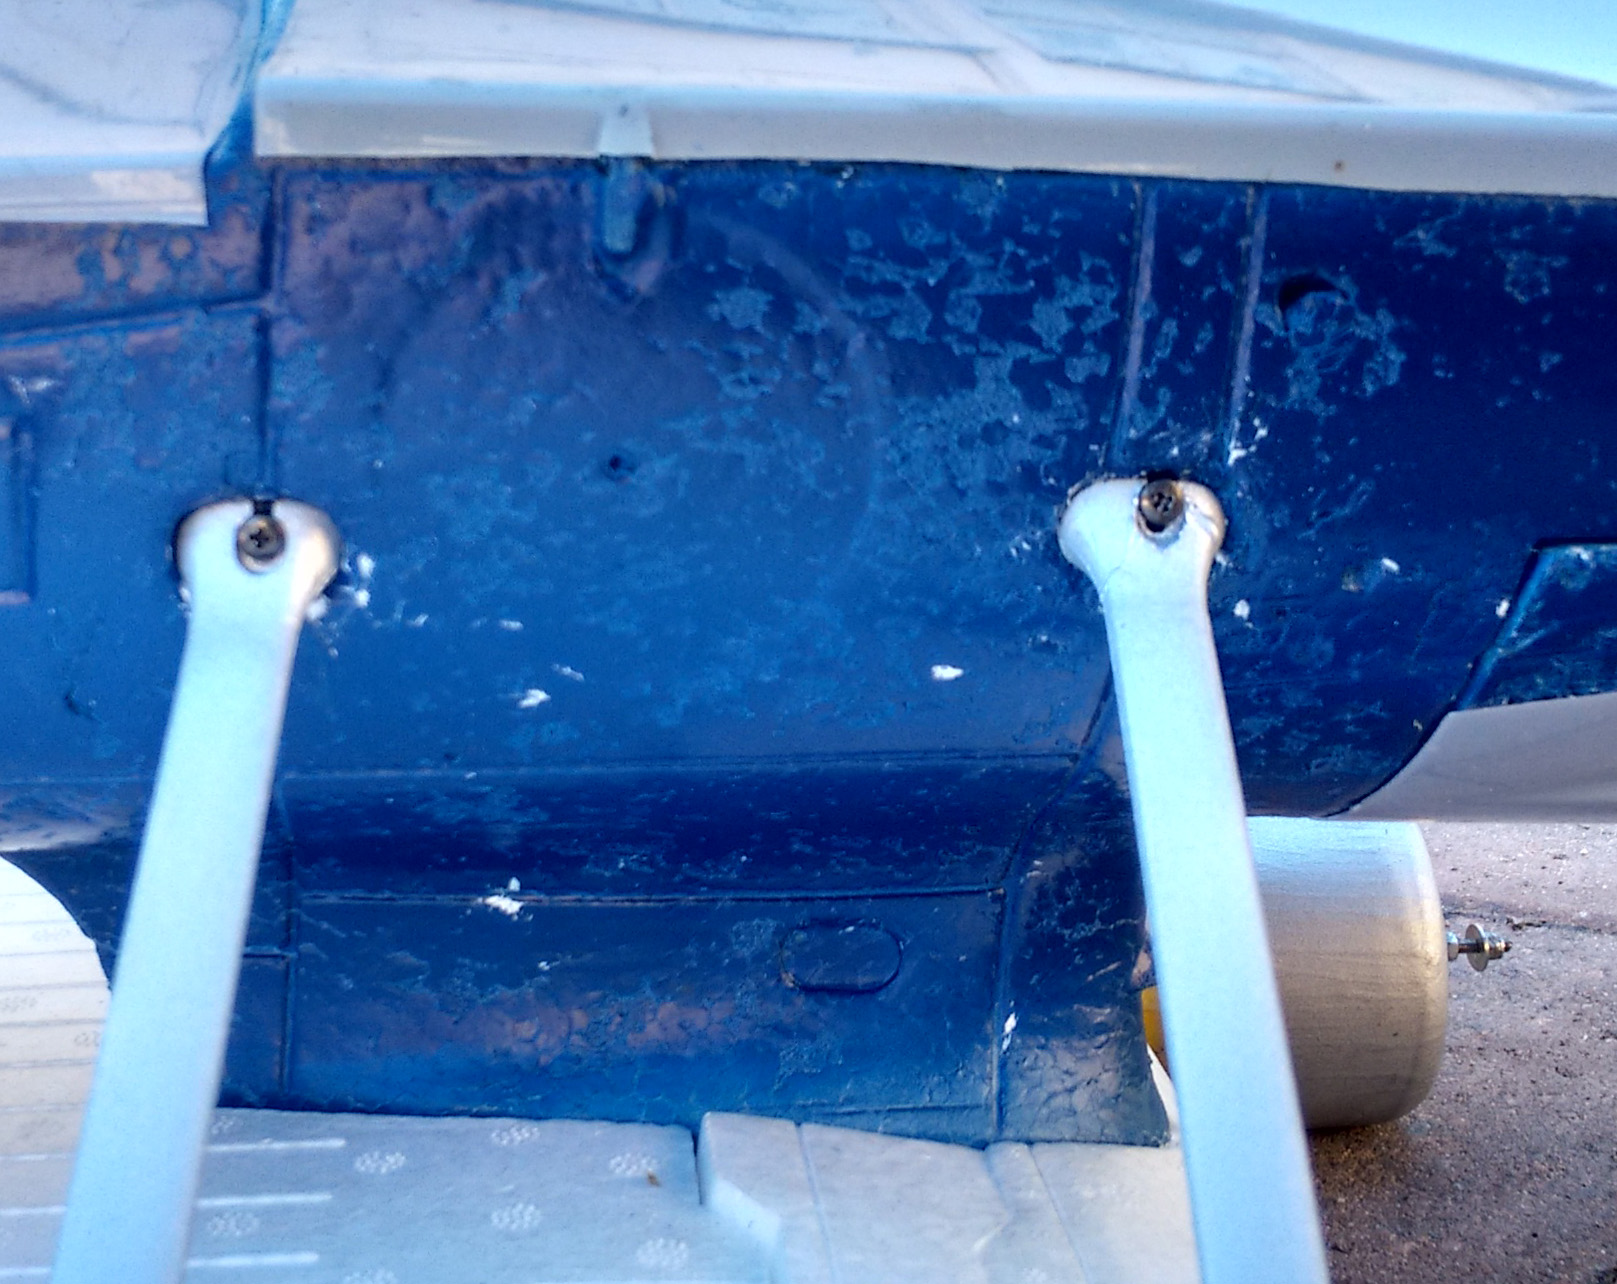
The four under wing support struts are held with screws into good rawlplug type fittings, but the rods on the fuz ends are slotted, and under stress could slip out, so I am going to epoxy some small plates underneath the rod ends with a single hole. I was worried that with the two servos in the tail the balance would be wrong, so I checked the C of G with the battery and rx in situ, and it was perfect within 1mm, lucky. The new plastic centre float protectors I glued with foam safe carpet tile aerosol glue as it was a large area to cover. Remaining jobs: detachable water rudder, wire springy supports near the floats for wing levelling on grass, new elevator control wire through nacelle, paint the new cockpit surround.
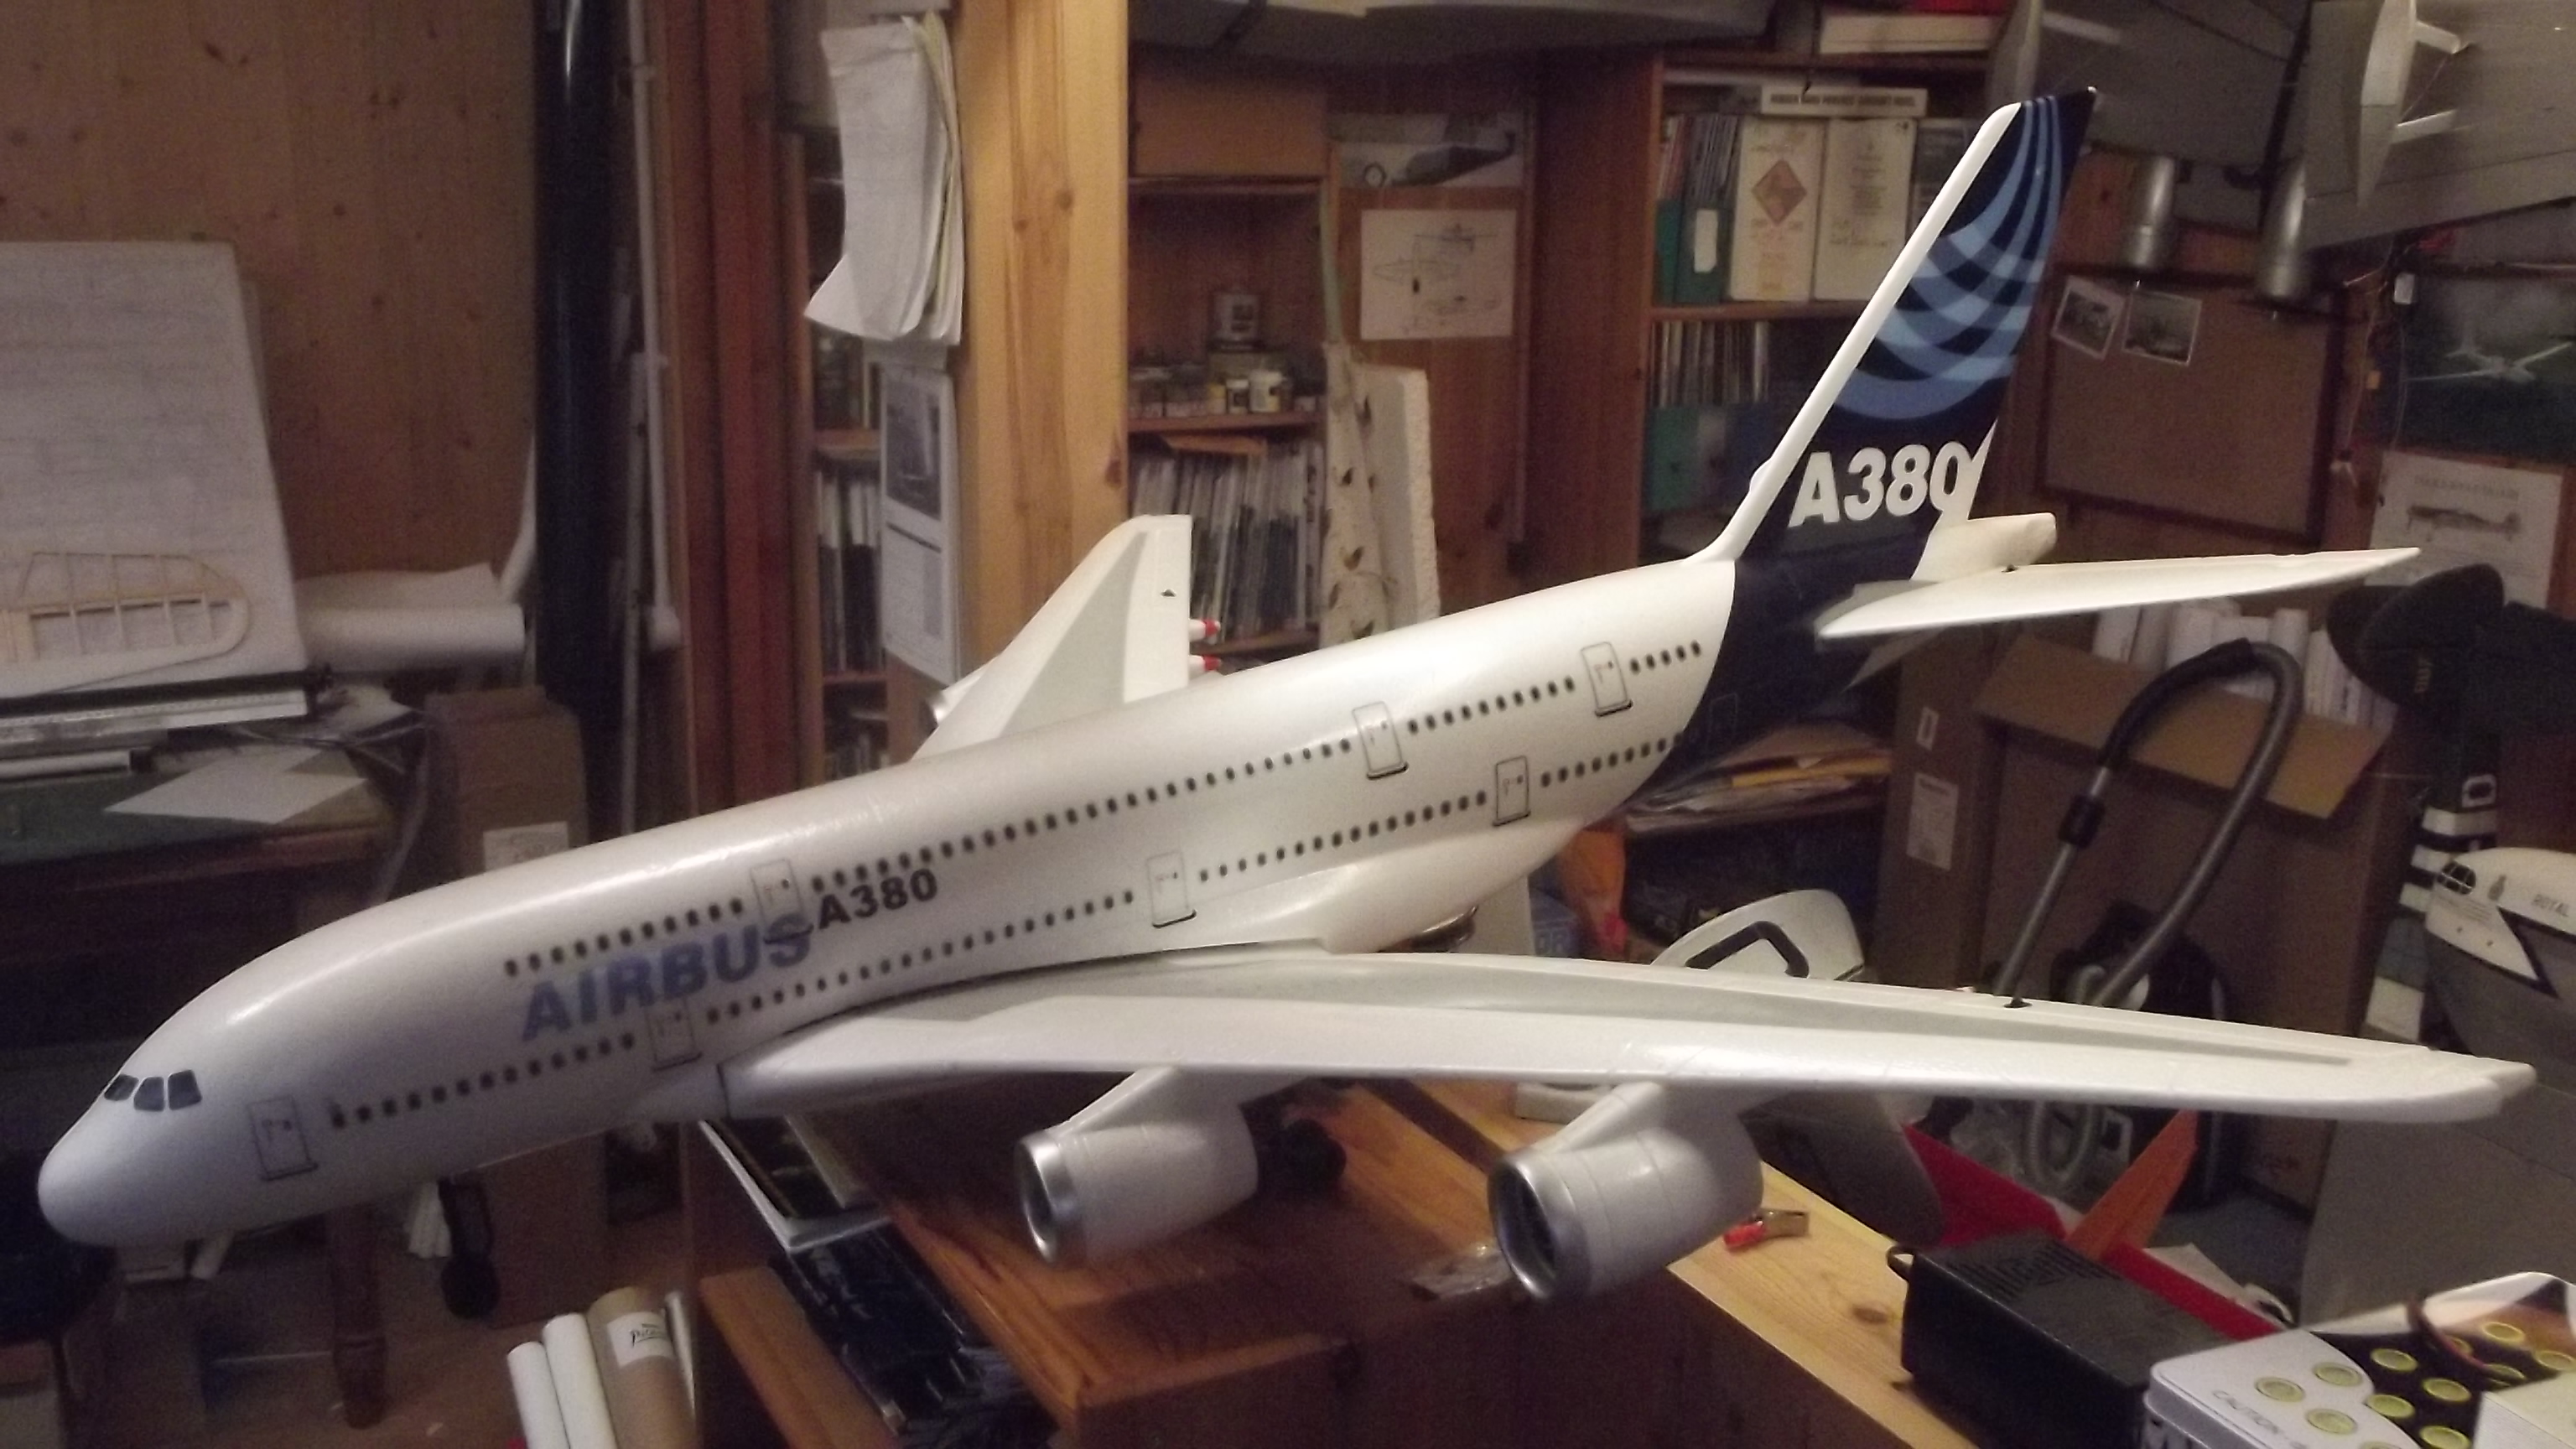
Cheers Frank Bayes I have made similar but less spectacular progress with the Airbus 380 I bought on the same evening for ten times the amount Frank paid for the Cat. My excuse is that I got four edf units, 18 wheels, five servos, four 20A ESCs and loads more servo extension wire and foam. Someone had used a heat gun on one of the elevators, rather spoiling its surface detail and one of the edf units had been separated from the wing (I suspect in a fit of temper following an SC failure). After putting all the wiring back together and calibrating all the SCs, everything seems to work. The elevators are deliberately wired to work as a V tail, presumably to give some yaw control in the absence of a working rudder. This seems deeply suspect and contributors to the RC Groups thread on the 380 think it unnecessary. We will see. The wheels are far too small to fly from Strawberry Field and anyway, the fans make far too much noise to do so very often, so I have joined the Beaulieu club (a snip at £10, and all done over the internet) and one day, the 380 will try to fly! Ed |
|
[Home] [Chairman's Chatter] [From Canada] [Hurricane] [From the Archives] [Fish at Longham] [Rescue!] [Deja Vu?] [A shrine to...] [From the Edge] [Tailpiece] |
