|
|
|||||||||||||
|
Christchurch and District Model Flying Club |
|||
 |
|||
|
Clive spencer’s bubble dancer, part 3
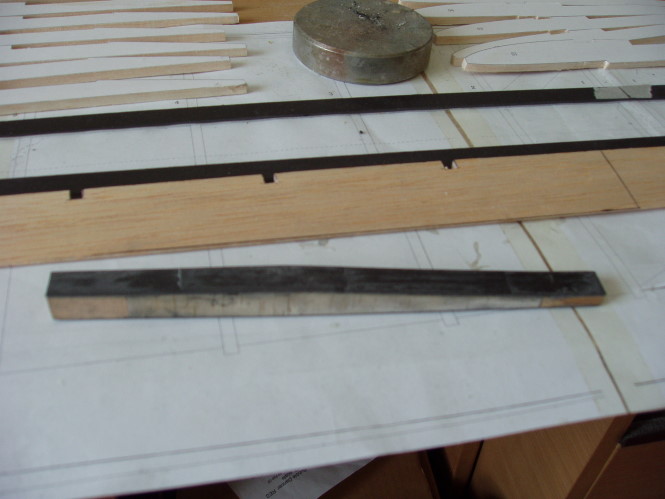
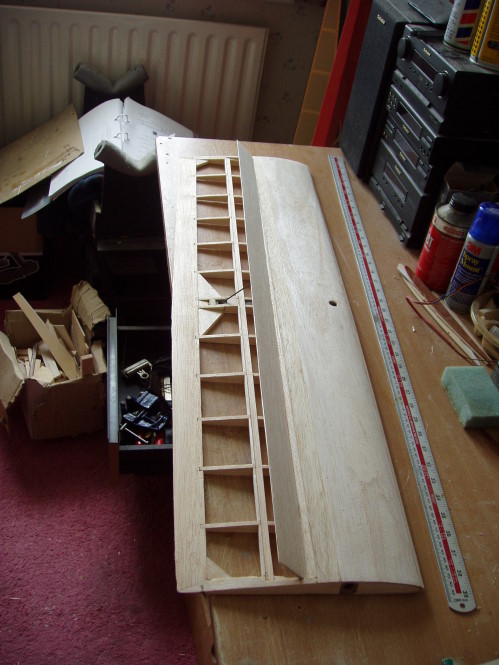
THE CENTRE SECTION The centre section is built in a similar manner to the other sections that I have already described. Added to that are some significant differences. This section is beefed up considerably & is therefore much heavier & stronger than the outers, having to carry the fuz attachments & launch loads. The spar top cap tapers from .060” at the centre to .014” at the ends & the bottom cap .030” to .014”. They are initially 48” long. The wing attachment is via a bolt beam built into the middle of the centre section. The first job is to cut 6” off each end of the spar caps & epoxy the together to form the bolt beam caps. These are the bonded to vertical grain balsa, the whole thing is then wrapped with two layers of 2.5 Oz resin covered glass cloth, bound with electrical tape to ensure no voids, and allowed to cure. The tape is removed and the boltholes drill to match the fuzz.
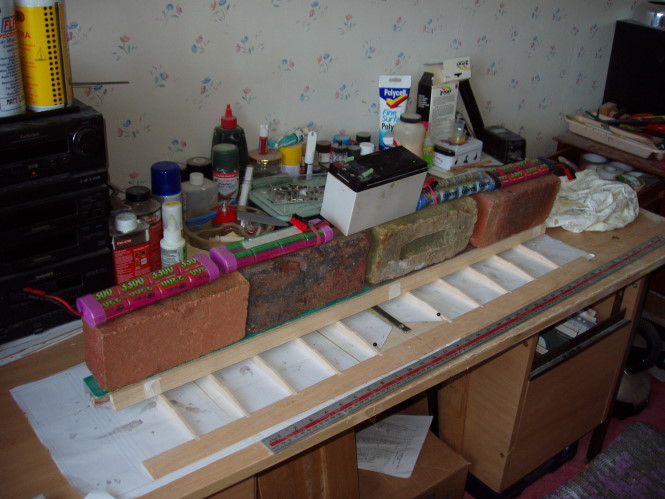
Having done this we can now begin the assembly starting with the joiner blocks onto the bottom spar cap. It is imperative to check that the blocks form the correct angle of 10 deg with the outer panels as once they are bonded you are literally stuck with the result. I had to do some light sanding to the blocks to correct them. The ribs & vertical grain balsa webs can now be added together with the bolt beam and finally the top cap. The whole lot being epoxied, weighed down and allowed to cure. Note the amount of weight used here.
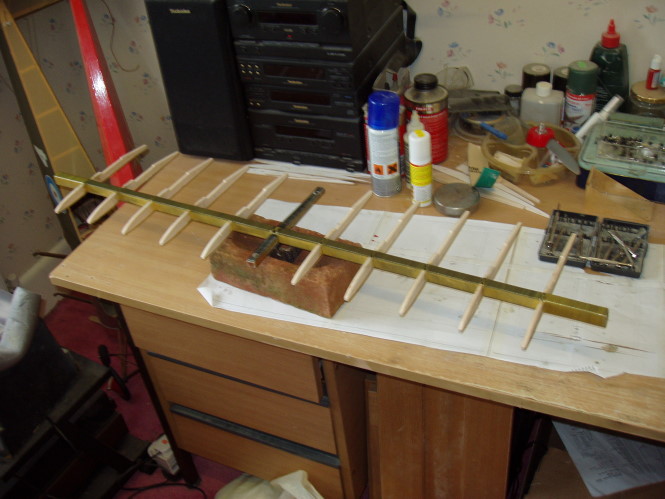
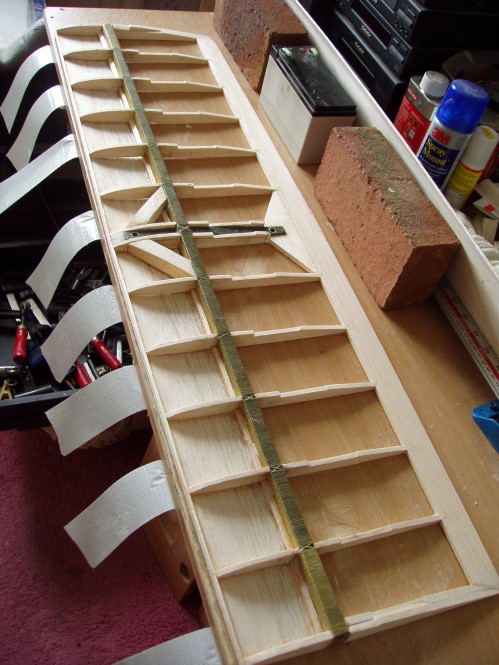
When this has all dried the outer attachment blocks are wrapped with two layers of 2.5 Oz glass cloth and allowed to cure. The complete assembly is then bound with kevlar thread per the previous assemblies. Unbelievably this took six hours in easy stages to complete. That will teach me to buy kevlar tow in future and not thread.
The trailing edge is tapered from the centre to the ends in thickness & width so cannot be a purchased item, it has to be planed & sanded to shape before gluing to the ribs. The end ribs are then set at the 5 deg angle & glued together with the false leading edge, reinforcements & bottom D box sheeting.
The centre top D box sheeting & leading edge blocks are added & the leading edge sanded to shape. This is one of the most difficult tasks to complete as the section top has an angle of 35.5deg where it meets the top sheeting & an angle of 20 deg on the bottom. I finally managed to do this by setting the sanding block to the correct angles resting it on the table edge and chocking it up with another block sat on the table. The leading edge was then passed along the sanding block until the correct angle was achieved. The final component to make was the spoiler, which like the T/E has to be planed & sanded to shape, & the servo box & hatch made up.
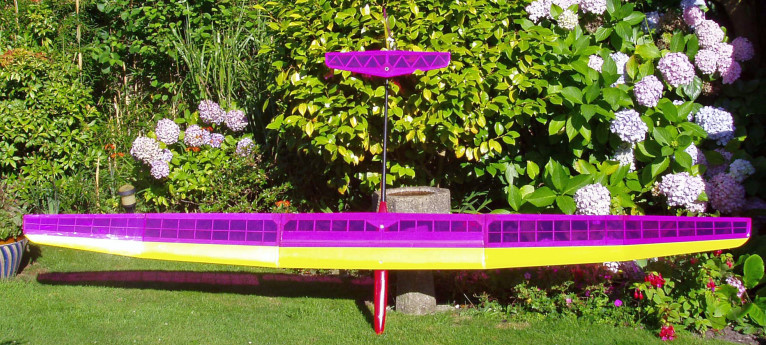
At last, we have a completed structure & all we have to do is to reinforce some of the joints with glass cloth and we can now put the whole wing together for the first time. Big or what? I chose to cover the wing using Profilm. This is not recommended by the designer who used the lightest covering possible, but having some experience & problems with some these, I opted for the somewhat heavier but more reliable Profilm. This just about finishes this saga & our maiden flight awaits the miserable summer weather to change. FLYING The BD is supposed to balance at 6.75” from the trailing edge of the wing, which gives a neutral load on the tail plane. The tow hook being .25” in front of this point. Having achieved this, the only thing now was to commit the BD to the air. Having been fed up with waiting for the wind to drop to a more moderate level I opted to go to our club thermal evening on the following Friday night. Our first attempt was a near disaster, the model rotated very quickly and veering to the left, came of the line & disappeared behind us into the nearest tree in the bird sanctuary. Getting it down was a major exercise with Brian climbing the tree to extricate the model & me underneath to catch it. Luckily, the only damage was a small dent in the l/edge and we were able to continue after I’d changed my trousers. Much sole searching later & a lot of useful advice from Dave & Brian we moved the CG forward half an inch & reduced the elevator throws. This brought the tow hook right under the CG, but there was nothing we could do about that on the flying site, so we reduced the pressure on the bungee for the next launch. This was much more successful with a good climb rate to a reasonable height. I did a few gentle turns to get a feel of the model, which was quite sensitive to the controls, & then set up for the first landing. The approach was too high so I employed the spoiler, which was very effective, to the extent that I had to close it quite rapidly, where upon the BD floated on serenely to a decent landing. Post flight corrections where to reset the controls, centralise the trims & move the tow hook to a new position .25” in front of the new CG position. The next flight was on the following Friday & the first attempt was nearly another disaster with the BD needing all the up trim in the tranny to avoid a steep dive? I have to blame myself for this as I’d reset the controls from the previous week & I must have got it very wrong somewhere. Once again, I received a lot of help from all the club members & the next flight was much better being six minutes, which included some in-flight fine-tuning. The final flight took place at about 8.30pm with strongish winds & quite cool air & we finally saw the BD’s potential with a 10minute flight. I have to say that I heaved a huge sigh of relief, as this was the culmination of a year’s effort & a lot of sole searching. So, has it all been worth it? I have to say that there is some huge satisfaction in building your own plane & successfully flying it. If anyone would like to build a BD I would be very willing to help, but this is not a model for the beginner, you should have constructed at least three or four models before you should attempt this one. For example, I have accumulated one hundred & two pages of literature on this model & that does not include downloading the plan from the internet. The build costs where in the ballpark of £120, which is good value when you think that an Avia, which is an ARTF copy of the BD costs upwards of £500. |
|
[Home] [Chairman's Chatter] [Editorial] [Diary of a Flier] [3 Wheels] [Swift Kit] [Bubble Dancer] [Dummy Engines] [Kit Review 2] [Tailpiece] |
