|
|
|||||||||||||
|
Christchurch and District Model Flying Club |
|
Swift 2 Kit Review by Terry Antell Swift 2 is an EPP foam electric flying wing model that slope soars well, too!
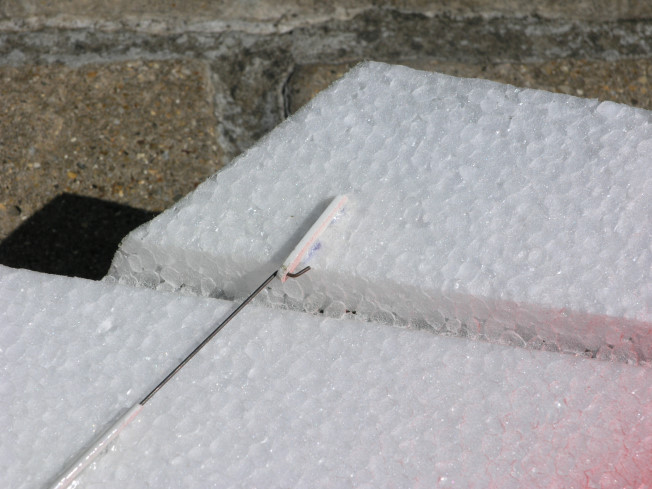
This kit can only be bought from Aeroshack Models, South Ruislip, Middx. It can be ordered on line or by telephone www.Aeroshack.co.uk Telephone 0208 423 2981. The model is delivered in a stout plain cardboard box and is housed in a plastic bag! Two wing halves, two winglets and some basic instructions. There is a plastic bag containing all the parts required to complete the Swift. The elevons are already attached to the wings! Glue the two wing halves together using UHU POR or foam friendly cyano and set with foam friendly accelerator. Turn inverted and fit two mini servos in holes provided. Before fixing servos in place be sure to connect up your receiver etc. to centre the servo arms. Fix servos in position with UHU POR. When set (over night) prepare the two push rods supplied and insert into the white plastic tubes. Line up with the servo arms. Take out two plastic horns and align with servos. Now make scalpel cuts into the foam elevons to take the horns. Glue in place with cyano. Glue the outer push rod covers to the surface of the wing with cyano. Remember to first insert the push rod wire. Swivel connectors are supplied to fix to the servo arms.
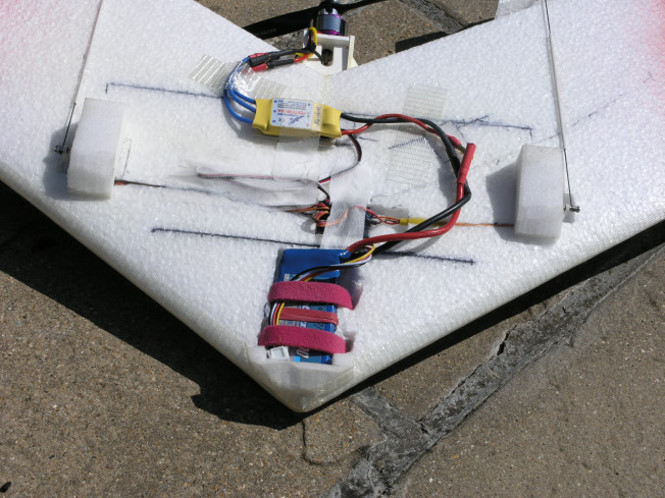
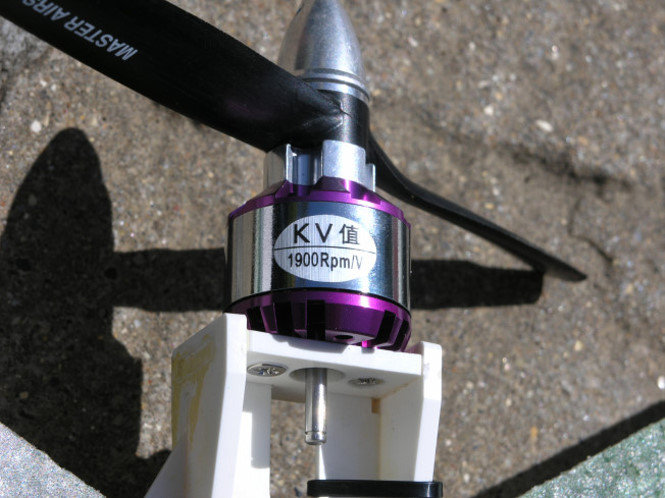
Assemble the motor mount, securing the parts with cyano. Fit electric motor to motor mount using two of the 4 screws supplied. Fit an 18amp ESC onto the bottom surface of the model using Velcro. I would suggest placing a little cyano to the foam, give a light spray of accelerator and immediately position the sticky Velcro to it. This stops the Velcro self releasing in the air!!! (Yes, it happened to me.) Now glue the mount to the top of wing, again using cyano.
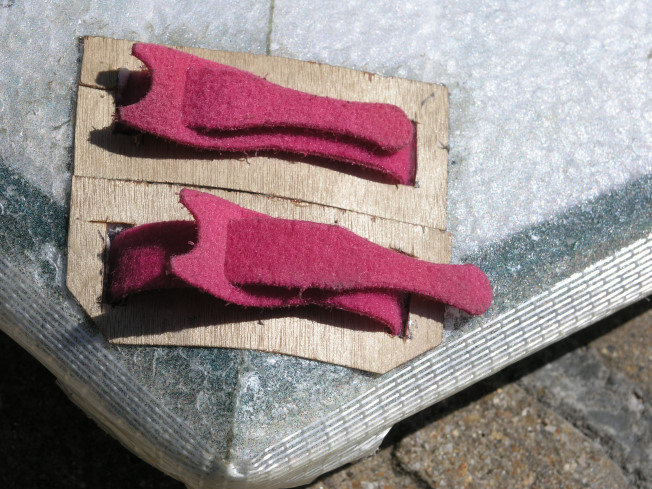
There is a cut out space for a receiver Itís large enough for a 5 channel 2.4 Spectrum Rx or a 7Ch JR 35 meg Rx. Next cut slots with a sharp scalpel blade into the foam from servo positions to Rx and push the servo wires into them. Do the same for the ESC throttle wire, too. The battery compartment is too small for the average 3 cell Lipo of 1300 capacity. Take care and enlarge this opening to fit your chosen battery. I deviated from the suggested method of fixing the battery (Velcro) and cut 4 small slots through the wing and used Velcro cable ties to hold the batt in place. I also added a small piece of 64th plywood to the top wing surface to stop the Velcro ties pulling through the foam. This works extremely well and makes battery replacement for charging easy.
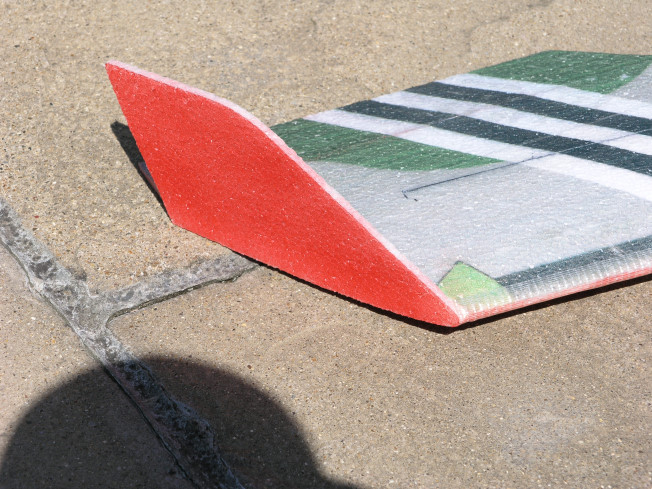
Finally, fix the winglets to each wing tip using UHU POR. A little to each surface, let dry (about Ĺ hour) then press together. Get this right, youíll only have one chance!!
Now for the details. Swift 2. Wing span (when completed) 870mm (34Ē) x 210mm (11Ē) which includes elevons. Price (August 09) £33. It comes ready printed directly on the top of the wing. Many different designs, including nude lady!! Motor (from Aeroshack) SA0934 SpinAir 09-34 Brushless. This is a 300 brushed type replacement. Standard current draw 8amp, weight 29g. It comes with front and rear mountings. Cost? £16. Prop Ė 7 x 4 although itís better on a 6 x 6. ESC Ė 18amp Hobbywing Pentium from www.Giantcod.co.uk they are in St. Agnes, Cornwall 01273 782495. Price £11. I also bought the set up card for Hobbywing ESCís (works with all their ESCís) at £5. This card makes life unbelievably easy. For ballistic performance purchase an XYH2826-09 1900 16amp outrunner motor from Giantcod and use a 6 x 6 prop. Cost? £9.62. This will run on the same 18amp ESC (just). The 1300mah 3 cell Lipo was from Giantcod at £10.
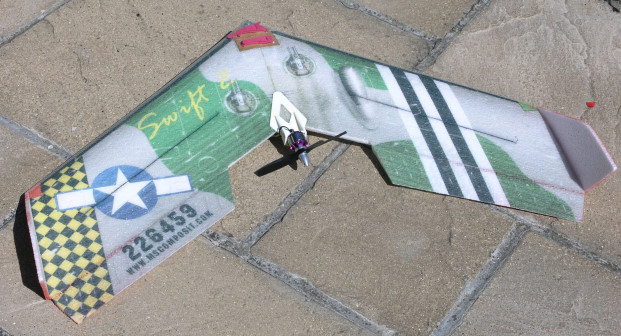
Radio gear, props and glues all from Channel 4 Models, Charminster, Bournemouth. My model balanced exactly on the prescribed C of G without any lead using a 1300 Lipo battery. See photos of completed model and note the added foam skids by servos to protect the servo arms from landing damage. I also added 10mm x 1.5mm carbon to strengthen the wings, not needed unless flying supersonic! This model can fly EXTREMELY fast and do most manoeuvres except knife edge. On the other hand itíll also fly VERY slowly and land gently. Sheís not overly noisy for a pusher aircraft. Iíve assembled 3 of these now, no I havenít crashed it, they were for other guys. Total assembly time 3 to 4 hours. Terry |
|
[Home] [Chairman's Chatter] [Editorial] [Diary of a Flier] [3 Wheels] [Swift Kit] [Bubble Dancer] [Dummy Engines] [Kit Review 2] [Tailpiece] |
