|
|
 |
 |
|
CHRISTCHURCH AND DISTRICT MODEL FLYING CLUB
BMFA affiliation no. 2581
|
|
|
|
 |
 |
|
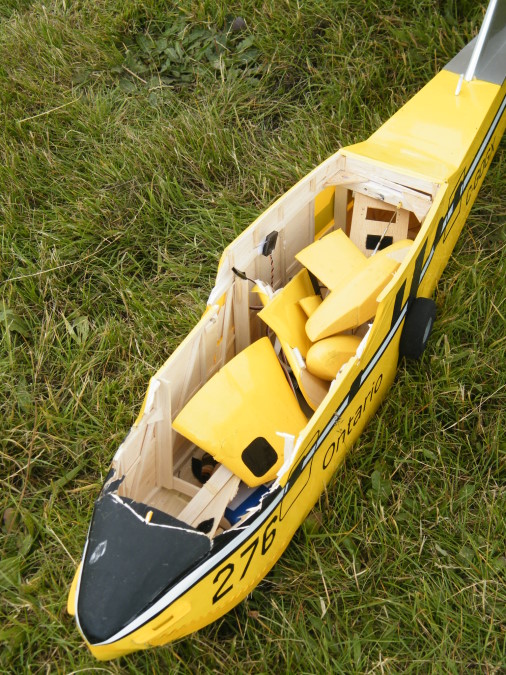
Crashing a model is something that happens to all of us from time to time, and the first impression of what remains is very important in the “is it worth repairing?” stakes. The Scooper crashed rather publicly at our first fly-in on 2 July 2011. As we were collecting the bits, Trevor said to me “That won’t take long to repair” and made me look at the wreckage with new eyes. Indeed the wing was pretty well undamaged apart from some cosmetic stuff: the motor mounts had broken away from the nacelles, but that’s what they were engineered to do. The tail group was unharmed and the fuselage seemed to be decimated, but in fact was not too badly off. I deliberately left the crashed model out in the open, partly to come to terms with the damage and partly to see what people thought. Thanks to everyone for being so positive!
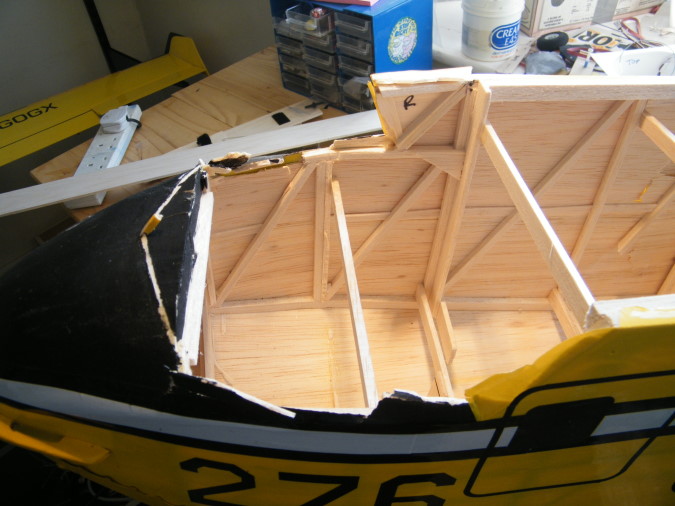
That evening I stripped out the broken framework and the next morning started by inserting a 6 x 3 top longeron each side to stiffen up the rather wobbly structure and reinforce a couple of actual breaks. Then I inserted cross-pieces to get the basic rectangualar shape correct, then some extra diagonals to restore some torsional rigidity. The covering was torn in a couple of places (tough stuff, Pro-Film) and the balsa sheeting had minimal tearing, easily repaired with sheet doublers.
|
|
|
|
 |
 |
|
Step 1. Clear out all the wreckage and save any bits you might use as patterns.
The main damage was restricted to the top of the fuz. The hull part was undamaged, which Trevor must have noticed immediately. I have to say it took me a bit longer!
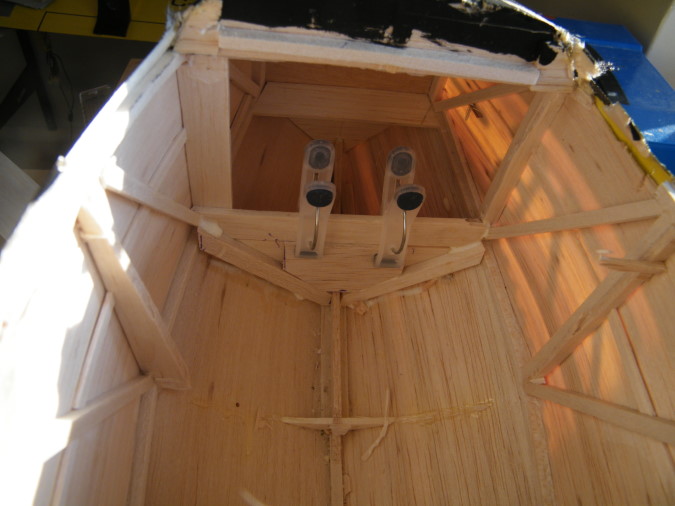
Here the two top longerons have been doubled with hard strip and the first of the cross-pieces inserted to maintain the correct cross-section. It was still pretty wobbly at this stage.
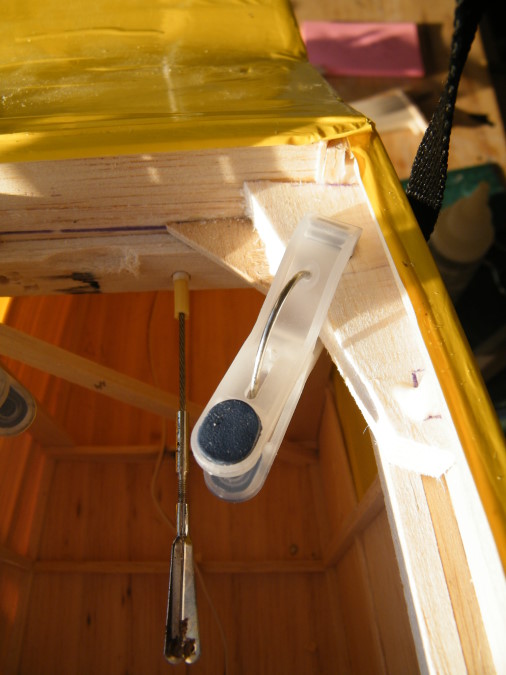
Step 2. Below left, the fuz is being stiffened up by the insertion of diagonals. By the way, the clamps were from Tesco a year or so ago, and are very useful indeed.
|
 |
 |
|
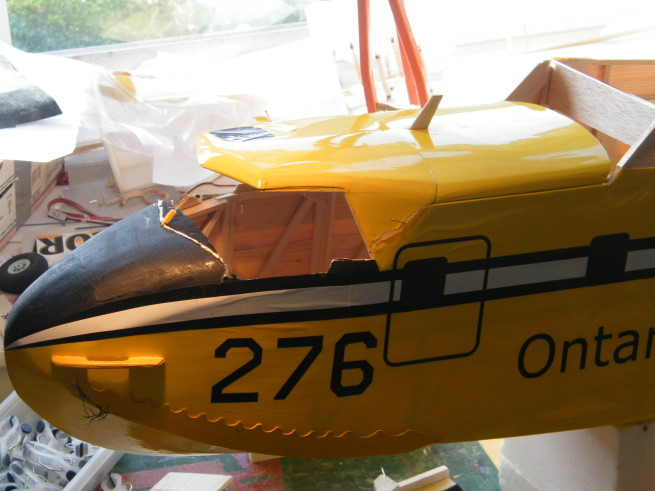
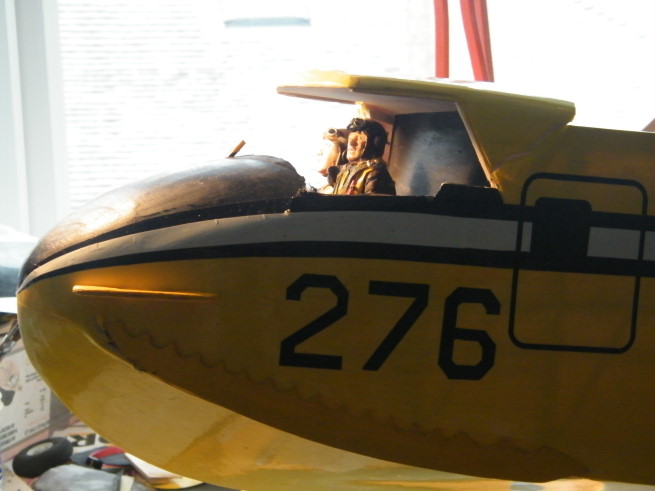
The worst cosmetic damage was to the cockpit area which was completely, but fairly cleanly, wiped off.
|
 |
 |
|
You don’t need to be subtle or elegant when repairing internal structure. Just get it back to being strong and in one piece!
Big lumps of wood are the order of the day, with lots of glue, tightly clamped until it is all solid.
|
|
|
|
 |
 |
|
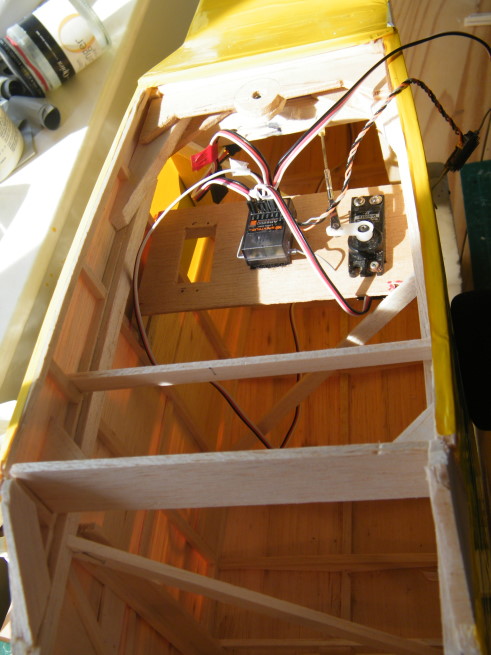
Left above: The rear wing bolt cradle epoxied in place (from the original bits) and the RC gear re-installed.
Centre. The cockpit roof cantilevers out from two triangular pieces. It gets most of its strength from the actual cockpit framing and glazing. Anyway, it’s not structural!
Right. The hatch, slipped in to make sure everything fits.
Below. The terrible scene that greeted Mike and Trevor. Give generously to SPNOKA (or it may be your pilots next)
|
|
|
 |
 |
|
All better now!
|
|
|
 |
 |
|
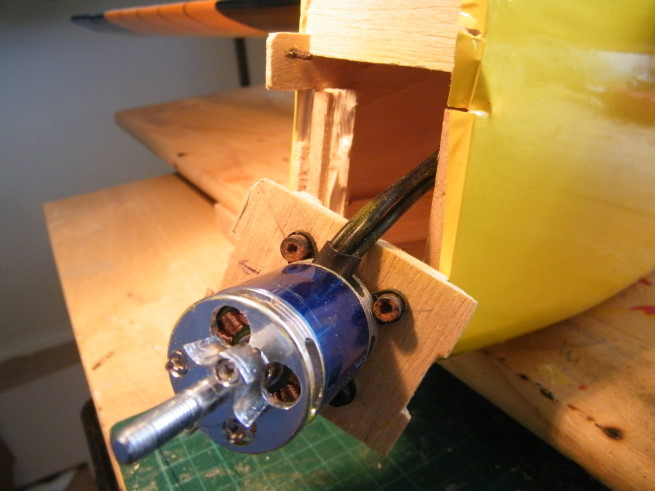
The wing was just about in one piece, with no damage to the spars, ribs or covering. The motor mount plates had simply broken off quite cleanly, so it was the job of moments to epoxy them back on. One of the plastic cowl fronts was shattered but I may have a spare one somewhere.
|
|
|
 |
 |
|
After stripping off the spinners and props, the damage was seen to be minimal. Some epoxy, and leave in the upright position to cure.
|
|
|
 |
 |
|
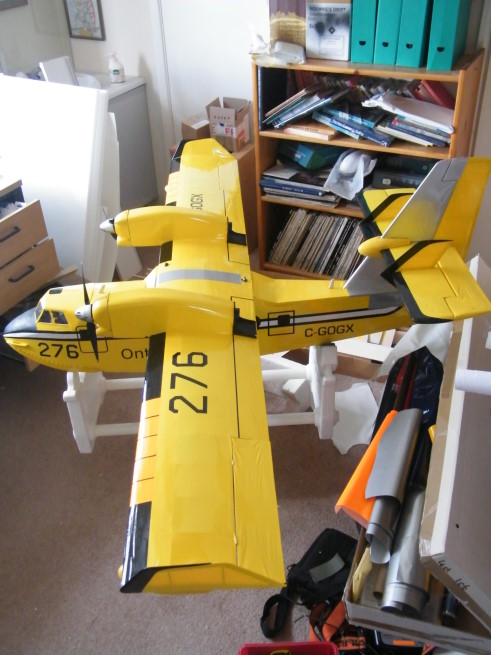
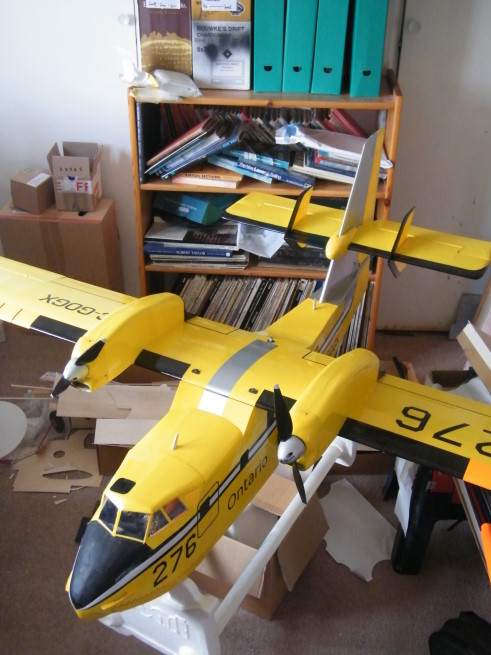
And finished. A week and a day after the crash, she’s ready to fly again. Slightly more battered-looking than before, and certainly very slightly heavier and less well finished. But better than being in the landfill, eh?
|
 |
 |
|
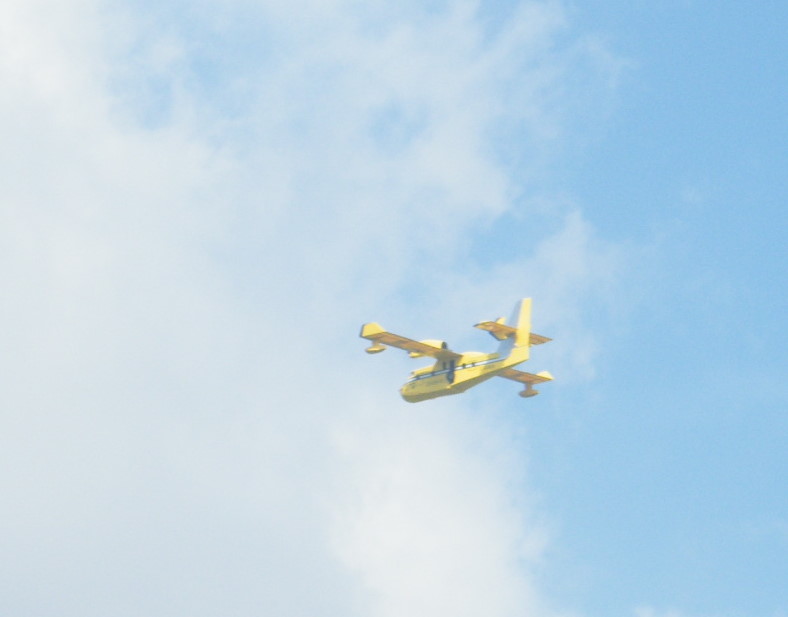
And here she is, flying perfectly with very little trim adjustment needed, well balanced, easy to take off, fly and land. You beauty!
|
|
|
|
