|
|
||||||||||||||
|
Christchurch and District Model Flying Club |
|
|
|
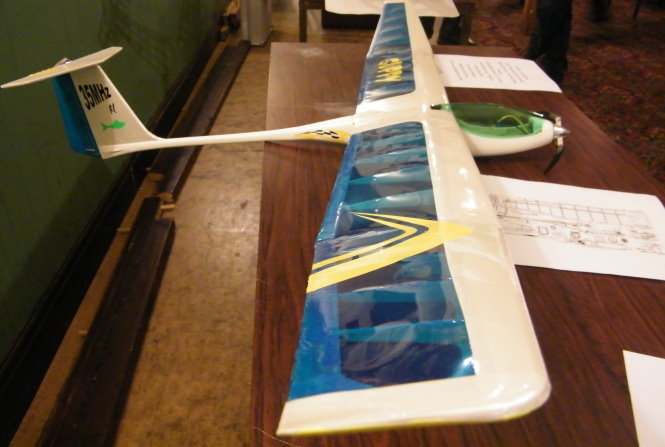
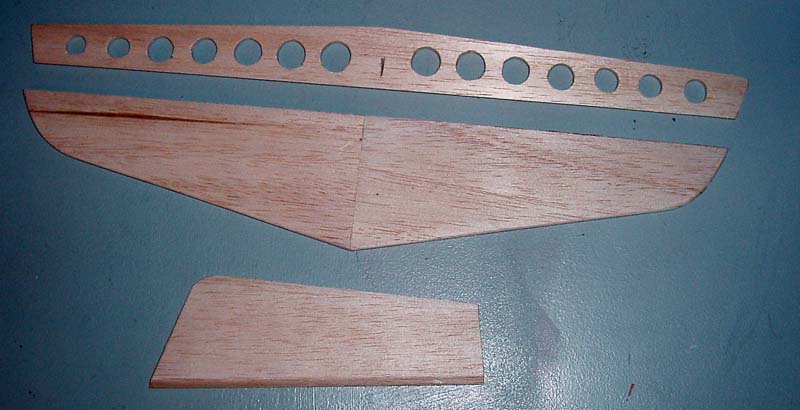
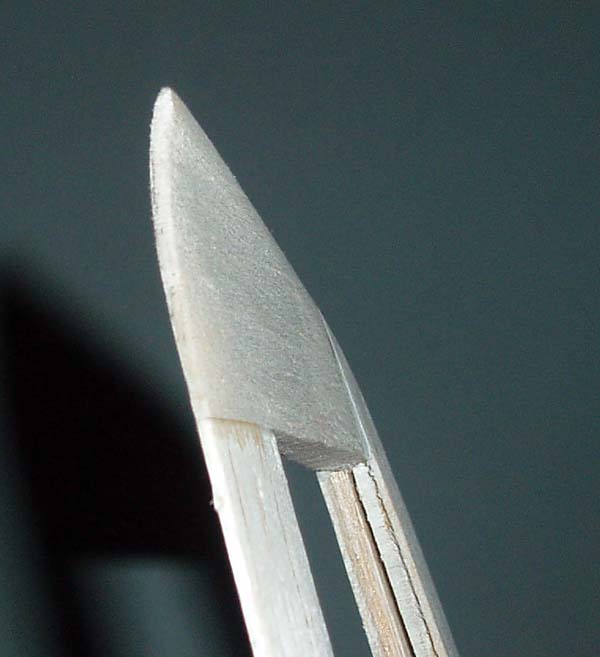
The Guppy originated from Slovenia (http://ultralajt.webs.com/) as a 1.5m span speed 400 powered sailplane and was published as a free plan in 2006 on RcGroups. There are several long running threads on the Guppy with reputed 1/2 million hits. The sailplane could be build also as pure sailplane without motor. The model is build entirely from balsa, only the boom is build from balsa glued around carbon tube stiffener. There is also a version with a "Hotliner wing" and 2m wing versions, and a Guppy 2 version has recently been released. The model could be built from plans, template prints of all the parts that need to be cut have also been produced greatly speeding up building. There are available also the CNC laser cut parts. It was an instant hit and more than a 1000 have built. I am building the basic 3 channel R/E poly wing version. Fuse Construction Stage 1 The fuse is made from ¼ inch balsa, with a laminated molded bottom sheet (3 x 3/32), the suggested method is to make up a mould from foam, not having any to hand, I taped the dampened/glue covered sheets to the cut fuse sides with pvc electrical tape and a few rubber bands, the bottom taking up the curved shape nicely, and then cooked it in the microwave for 45secs, this dried it out sufficiently in its final shape and was left to cure for a day. Tail Construction With a stack of cut parts in kit form a start was made on the tail surfaces. These are all fully sheeted. Construction is simple with the 1/8 balsa spacers being glued on the 1/32 lower sheet and then the top sheet applied. The spacer design uses interlocking notches and each part fits perfectly (nice design!). For the rudder the spacers are sanded down to shape the rear TE to a point before the top sheet is added. Also remembering not to apply the top sheet on the stab until the elevator snakes had been installed!!!, as they run through the stab to the T mounted elevator. The elevator is 3/32 balsa sheet with lightning holes. The result is a very light, stiff and flat set of tail surfaces.
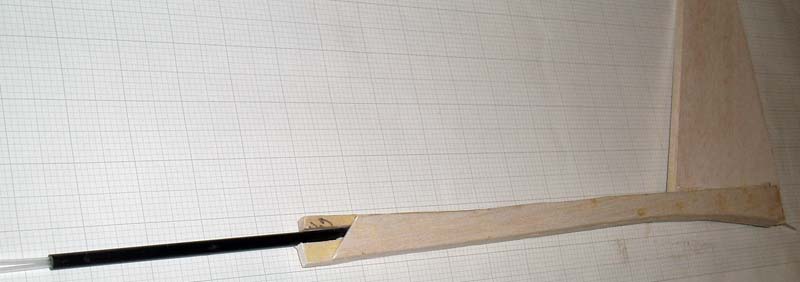
Boom Construction Next was the assembly of the boom and tail surfaces. The boom is a 6mm carbon tube encased in a balsa box, with the snakes for the tail surfaces running inside using 2mm snakes with thin piano wire inserts. Ken managed to provide me with one length of suitable 2mm snake, and after some research sourced from Giantcod some more (at 77p for 1.1m). They are actually the inner of snakes tubes on offer from Giantcod, so I still have the outers for another project! The designer of the Guppy recommends to use of PU (Polyurethane) glue for fixing the Carbon tube in the balsa box, this being lighter than epoxy as it foams up on drying. I actually had some left over from my shed/studio build, but a test showed it to be a bit rubbery, and I used epoxy/microballons mix, which is equally as light (or lighter) and is more rigid IMO.
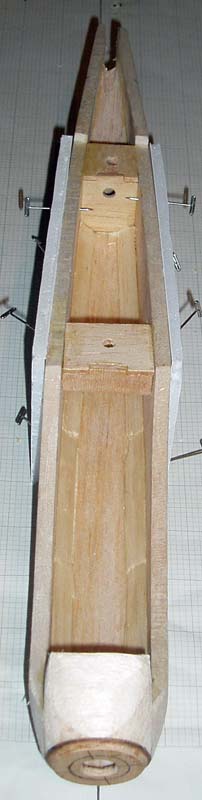
Fuse Construction Stage 2 I deviated from the suggested fuse construction sequence, gluing the front and rear ply fuse formers/wing mounts to one fuse side first, and then using a square block of 3/8 balsa on the building board, squared up the two fuse sides (upside down) on the wing mount to ensure it was all parallel, clamping the two fuse sides together with the slight taper to the rear. Once that was done the laminated pod floor and motor box were glued in, with a 5% downthrust. The rear boom and from pods slot together nicely, and a bit of fettling to get the tail lined and squared up and a jig was made from a piece of 5mm foamboard , the two sections were epoxies together, Next is the planning, sanding and smoothing of the pod and boom to get that smooth curved shape.
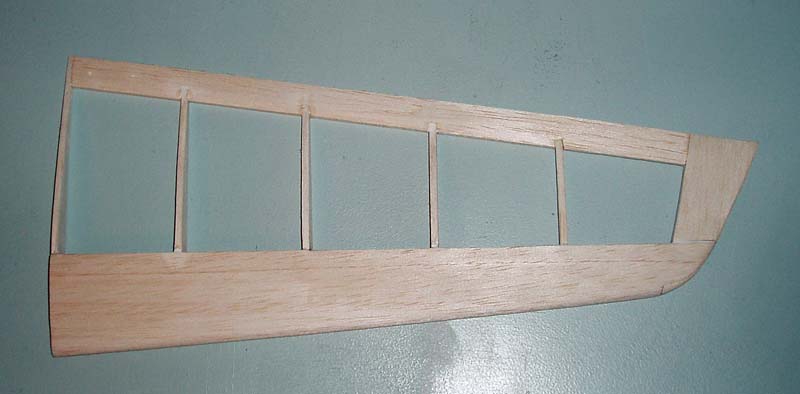
Wing The wing is a single structure made up in four parts. The wing tip panels were made first, being more complex, with a tapered section and curved wingtip.
The lower spar is glued to the lower sheet, and ribs are then glued in place with the TE. The upper spar is then glued in place. The Wingtips are carved from a solid piece of ¼ balsa and have the lovely curvy tip. I simplified the design a bit by not extending the upper spar all the way to the wingtip, with the wing taper, the wingtip is weakened IMO (I know as I snapped the first wingtip with this method as the section is very thin at this point, I suspect that my version is probably stronger as the upper spar is fixed into the wing tip, but only for about 25% of its width. A beveled length of ¼inch balsa is glued from ribs as the LE. A ¼ inch of washout is built in before the top sheet is applied to fix in the washout. The LE is then sanded to shape. The result is a very light structure with little flex.
The problem is a design issue!!! Essentially the tip is 1/4 inch solid balsa with a channel carved in it to take the spars and upper and lower sheeting. 2 x 3/32 spars and 2 x 1/32 sheetings leaves only 1/32 by my maths for the bit sandwiched between the spars , also allowing for the taper this disappears to nothing!!. By notching in the top spar in about 25% (and lower spar all the way to the tip rather than taking it to the tip allows the spar to be firmly attached to the tip.
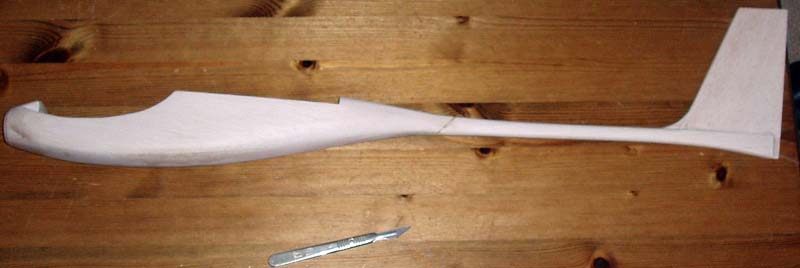
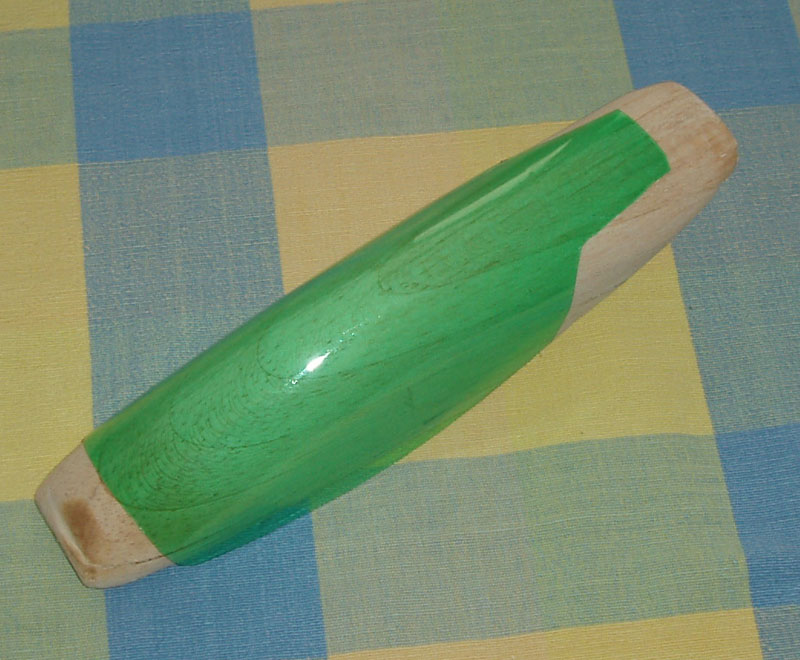
Fuse Construction Stage 3 Lots of planeing and sanding resulted in very satisfying fuse shape, not a flat surface anywhere and a final unfinished weight of 68g. The thought of trying to iron on film has resulted in a first attempt to use .6oz glass cloth and acrylic Varnish ('Roach method') and painted finish, will have to wait to see how this goes and what extra weight this adds.
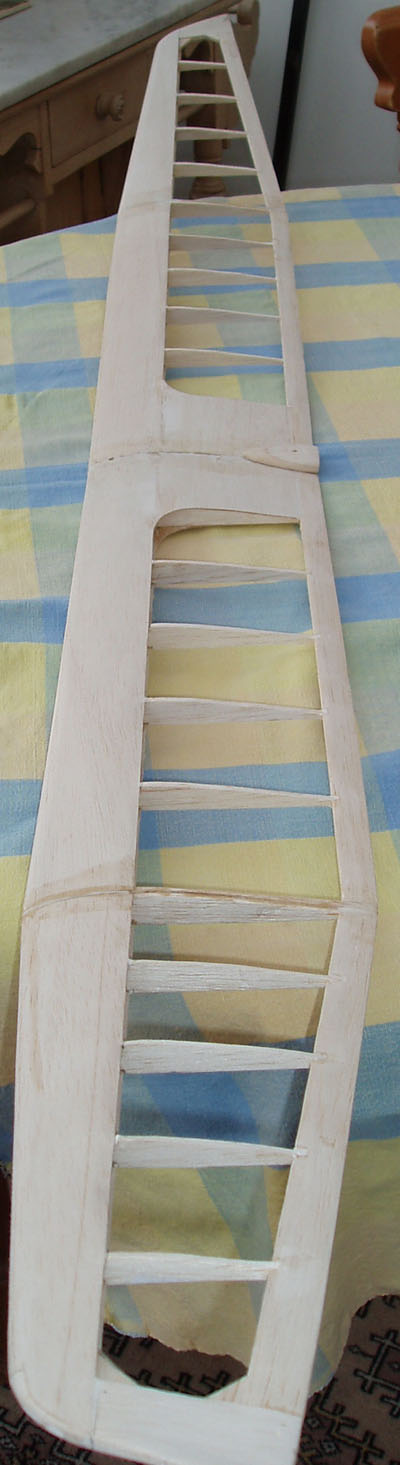
Wing Progress One wing half near complete, the polydihedral angle set using a 5m Foam board jig to maintain the level and built in washout, the two parts glued with epoxy. Next installment 'Boil-in-a-Bag Canopy!!' Canopy and finishing off Well, good weather and work conspire to slow progress, and a backlog of DIY to address the winter ravages now that there is some dry days - ho - hum.
|
|
[Home] [Chairman's Chatter] [Editorial] [Bring a Model] [Paint Mixing] [Fly Diary] [DIY Electronics] [S-B Crusader] [Bumble Bee] [Falke ribs] [Guppy] |