|
|
|||||||||||||||
|
christchurch and district model flying club |
||
|
bluebird group feedback, by ken spokes Now that I have assembled (rebuilt) my Bluebird, perhaps others who have bought the glider might be interested to compare their impressions with mine. First off, the box was big and shiny and the contents well packed and nothing seemed to be missing. The built-up wings and tail were nicely constructed, warp free with the covering neatly done apart from a few wrinkles which were easily removed with a hot iron. The plastic fuselage was quite well moulded, adequately robust and very lightweight. The instructions were not a lot use but were amusing - I liked the bit on repairing where it advised you to "Keep you chin up after a crash" Where to begin. First, I tried mating the wings to the fuselage. The joining rod had been bent by Terry to give increased dihedral and for me, this presented a problem. No way would the front locating screws now fit the eyelets on the wing. By removing the screws, the wing could move forward but to achieve a good fit I had to contour the fuselage to the top of the wing leading edge. This however, left a gap between the underside of the wings and the fuselage which I filled with 1/16" balsa sanded to the wing dihedral angle. With the wing now seated solidly on the fuselage the front location problem was solved by removing the eyelets and replacing them by two short 3/16" dowels to locate in holes drilled in the wooden former previously carrying the original locating screws.
The wing is fastened to the fuselage with two plastic bolts which the blurb says screw into two nuts built into the wing saddle. Either my nuts had fallen off (painful!) or as I suspected had never been there in the first place - all I had was a thread tapped into wood. As a short term solution, I put a few drops of thin Cyno down each hole to prevent the threads wearing out. By the way, I used a hot glue gun to stick the balsa to the plastic having first roughed the plastic with coarse sandpaper - this gives a rock-solid bond. Now for the tail. This was nicely made and covered but sad to say, the elevons were each attached with three plastic pieces and were so tightly glued that deflection of more than a few degrees was almost impossible. No amount of flexing back and forth would loosen them up and I really had no alternative but to replace them with pinned hinges. This, as it turned out, was no easy task .I don't know what wood was used but it certainly didn't seem like balsa - if it was, then its the hardest I have ever come across. Each hinge slot took about twenty minutes to complete but was worthwhile as I now have nice free moving elevons. (I found this problem tooEd)
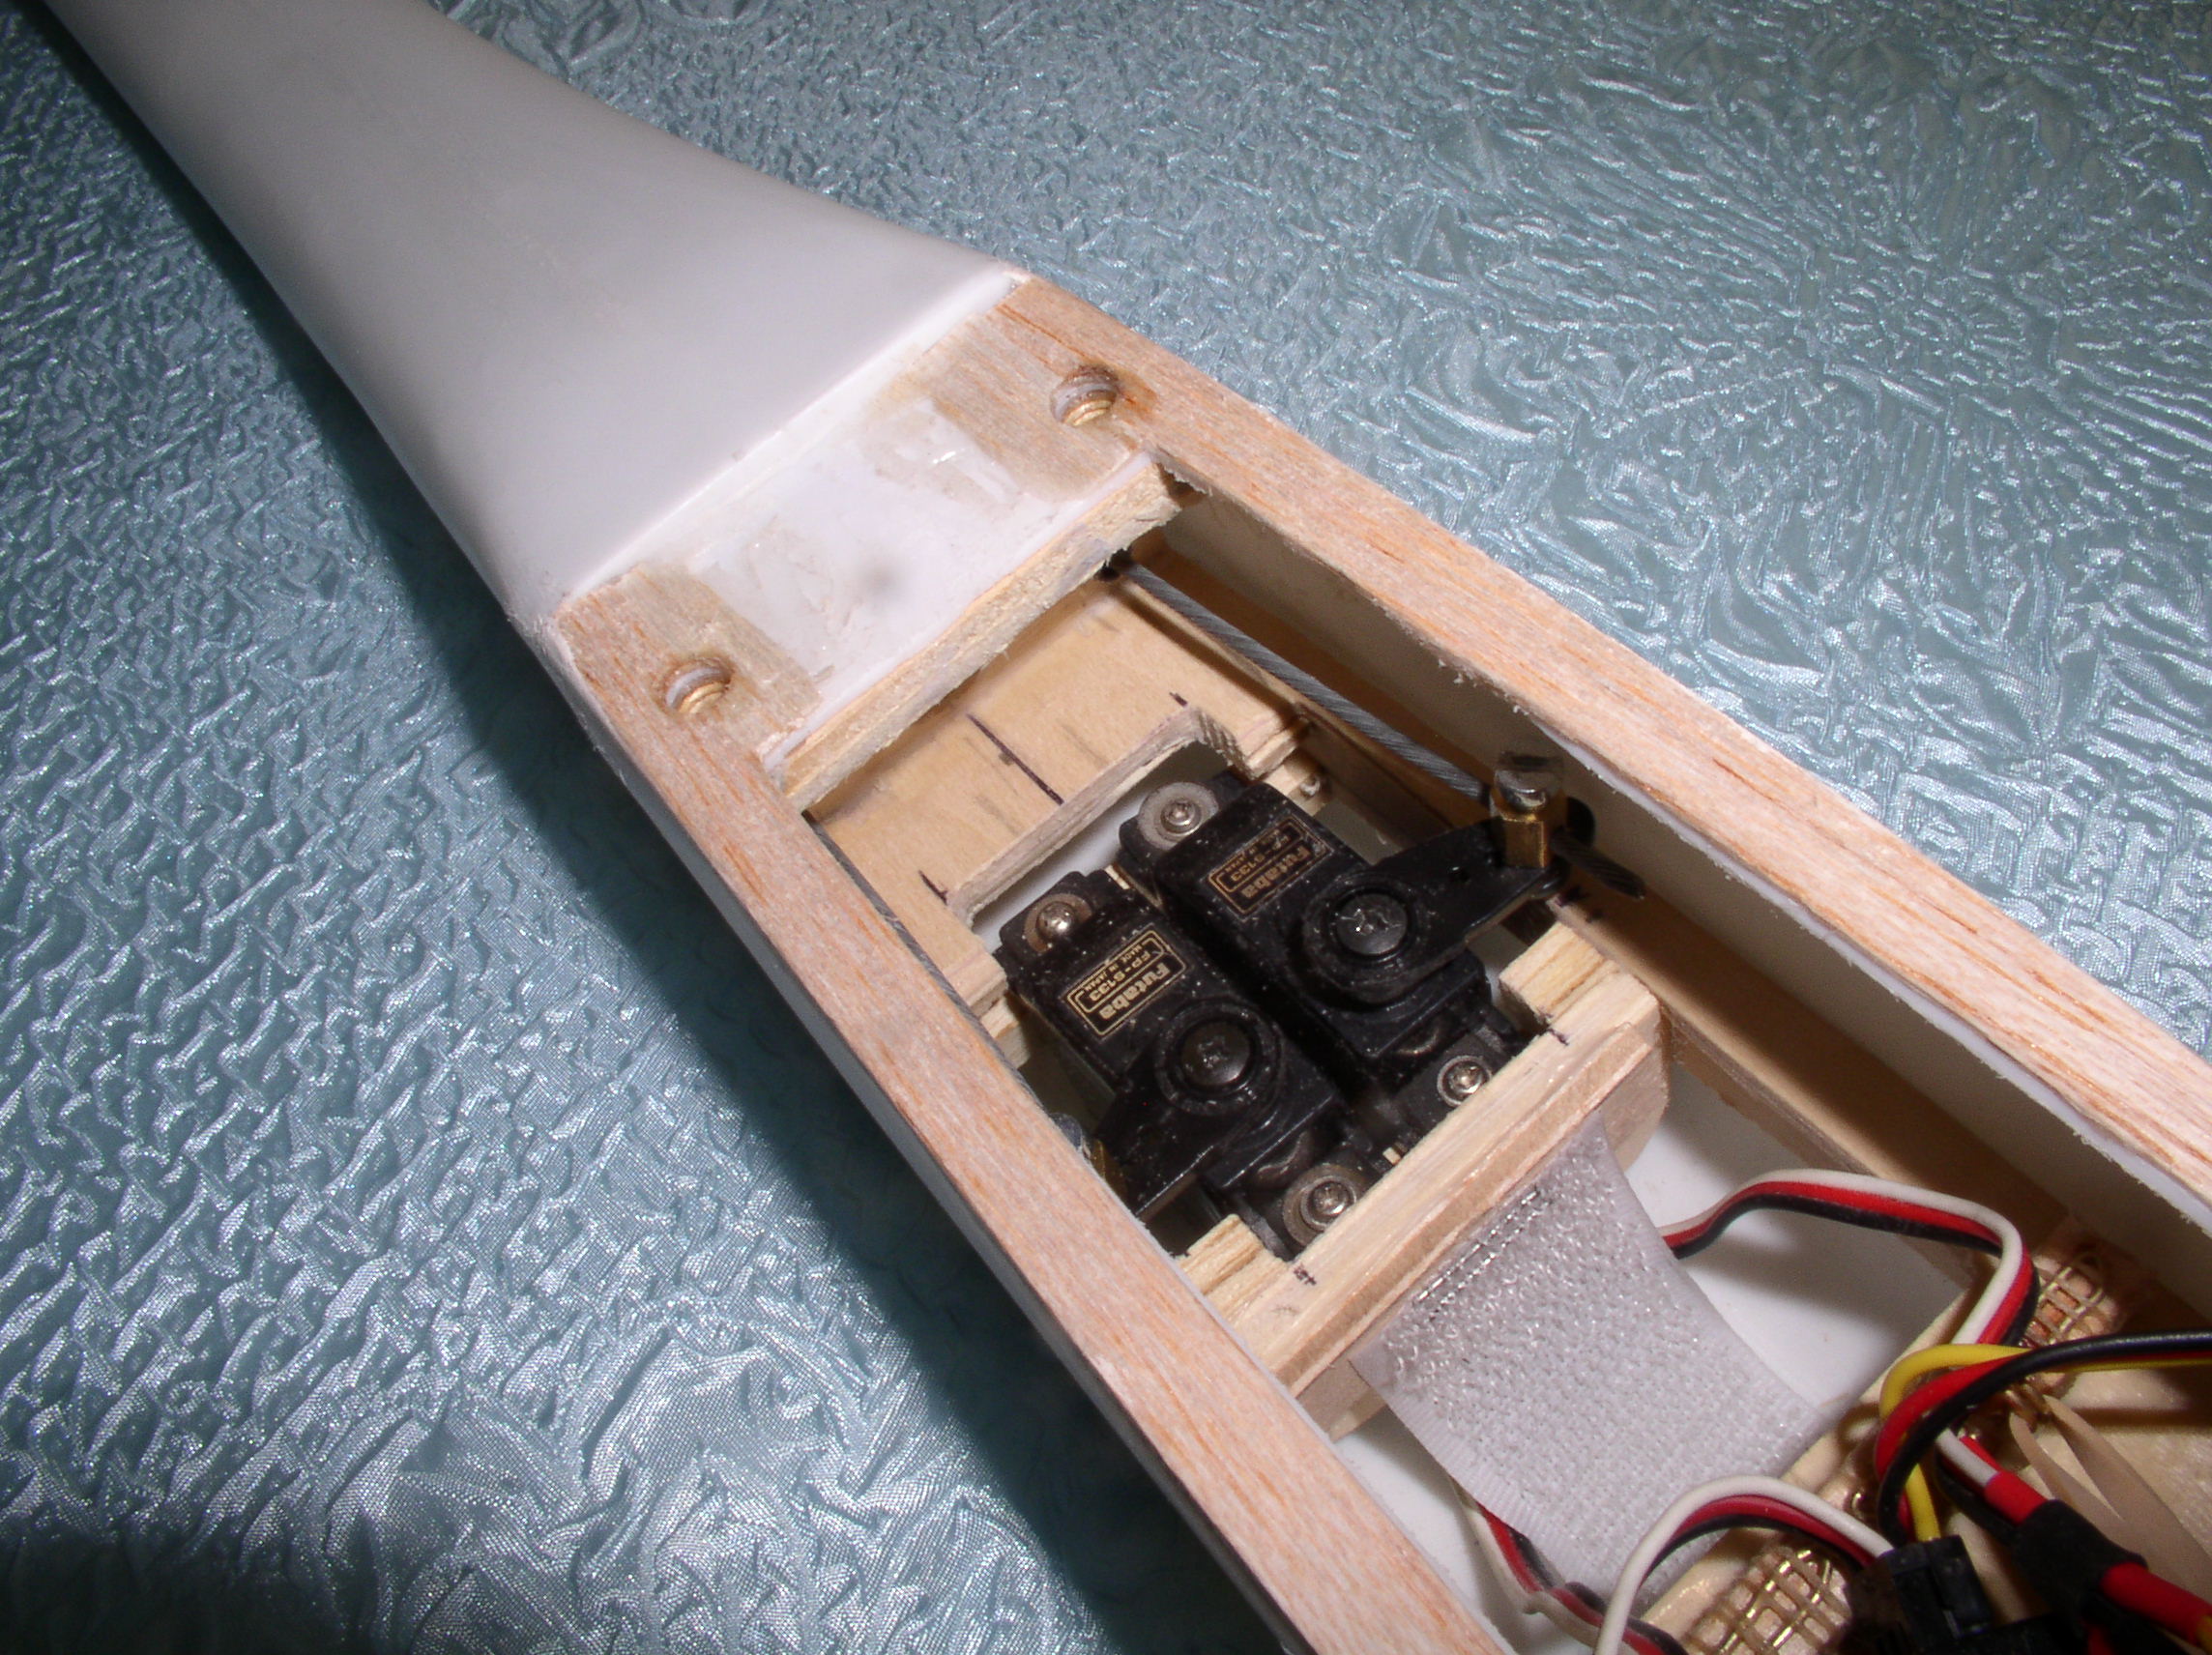
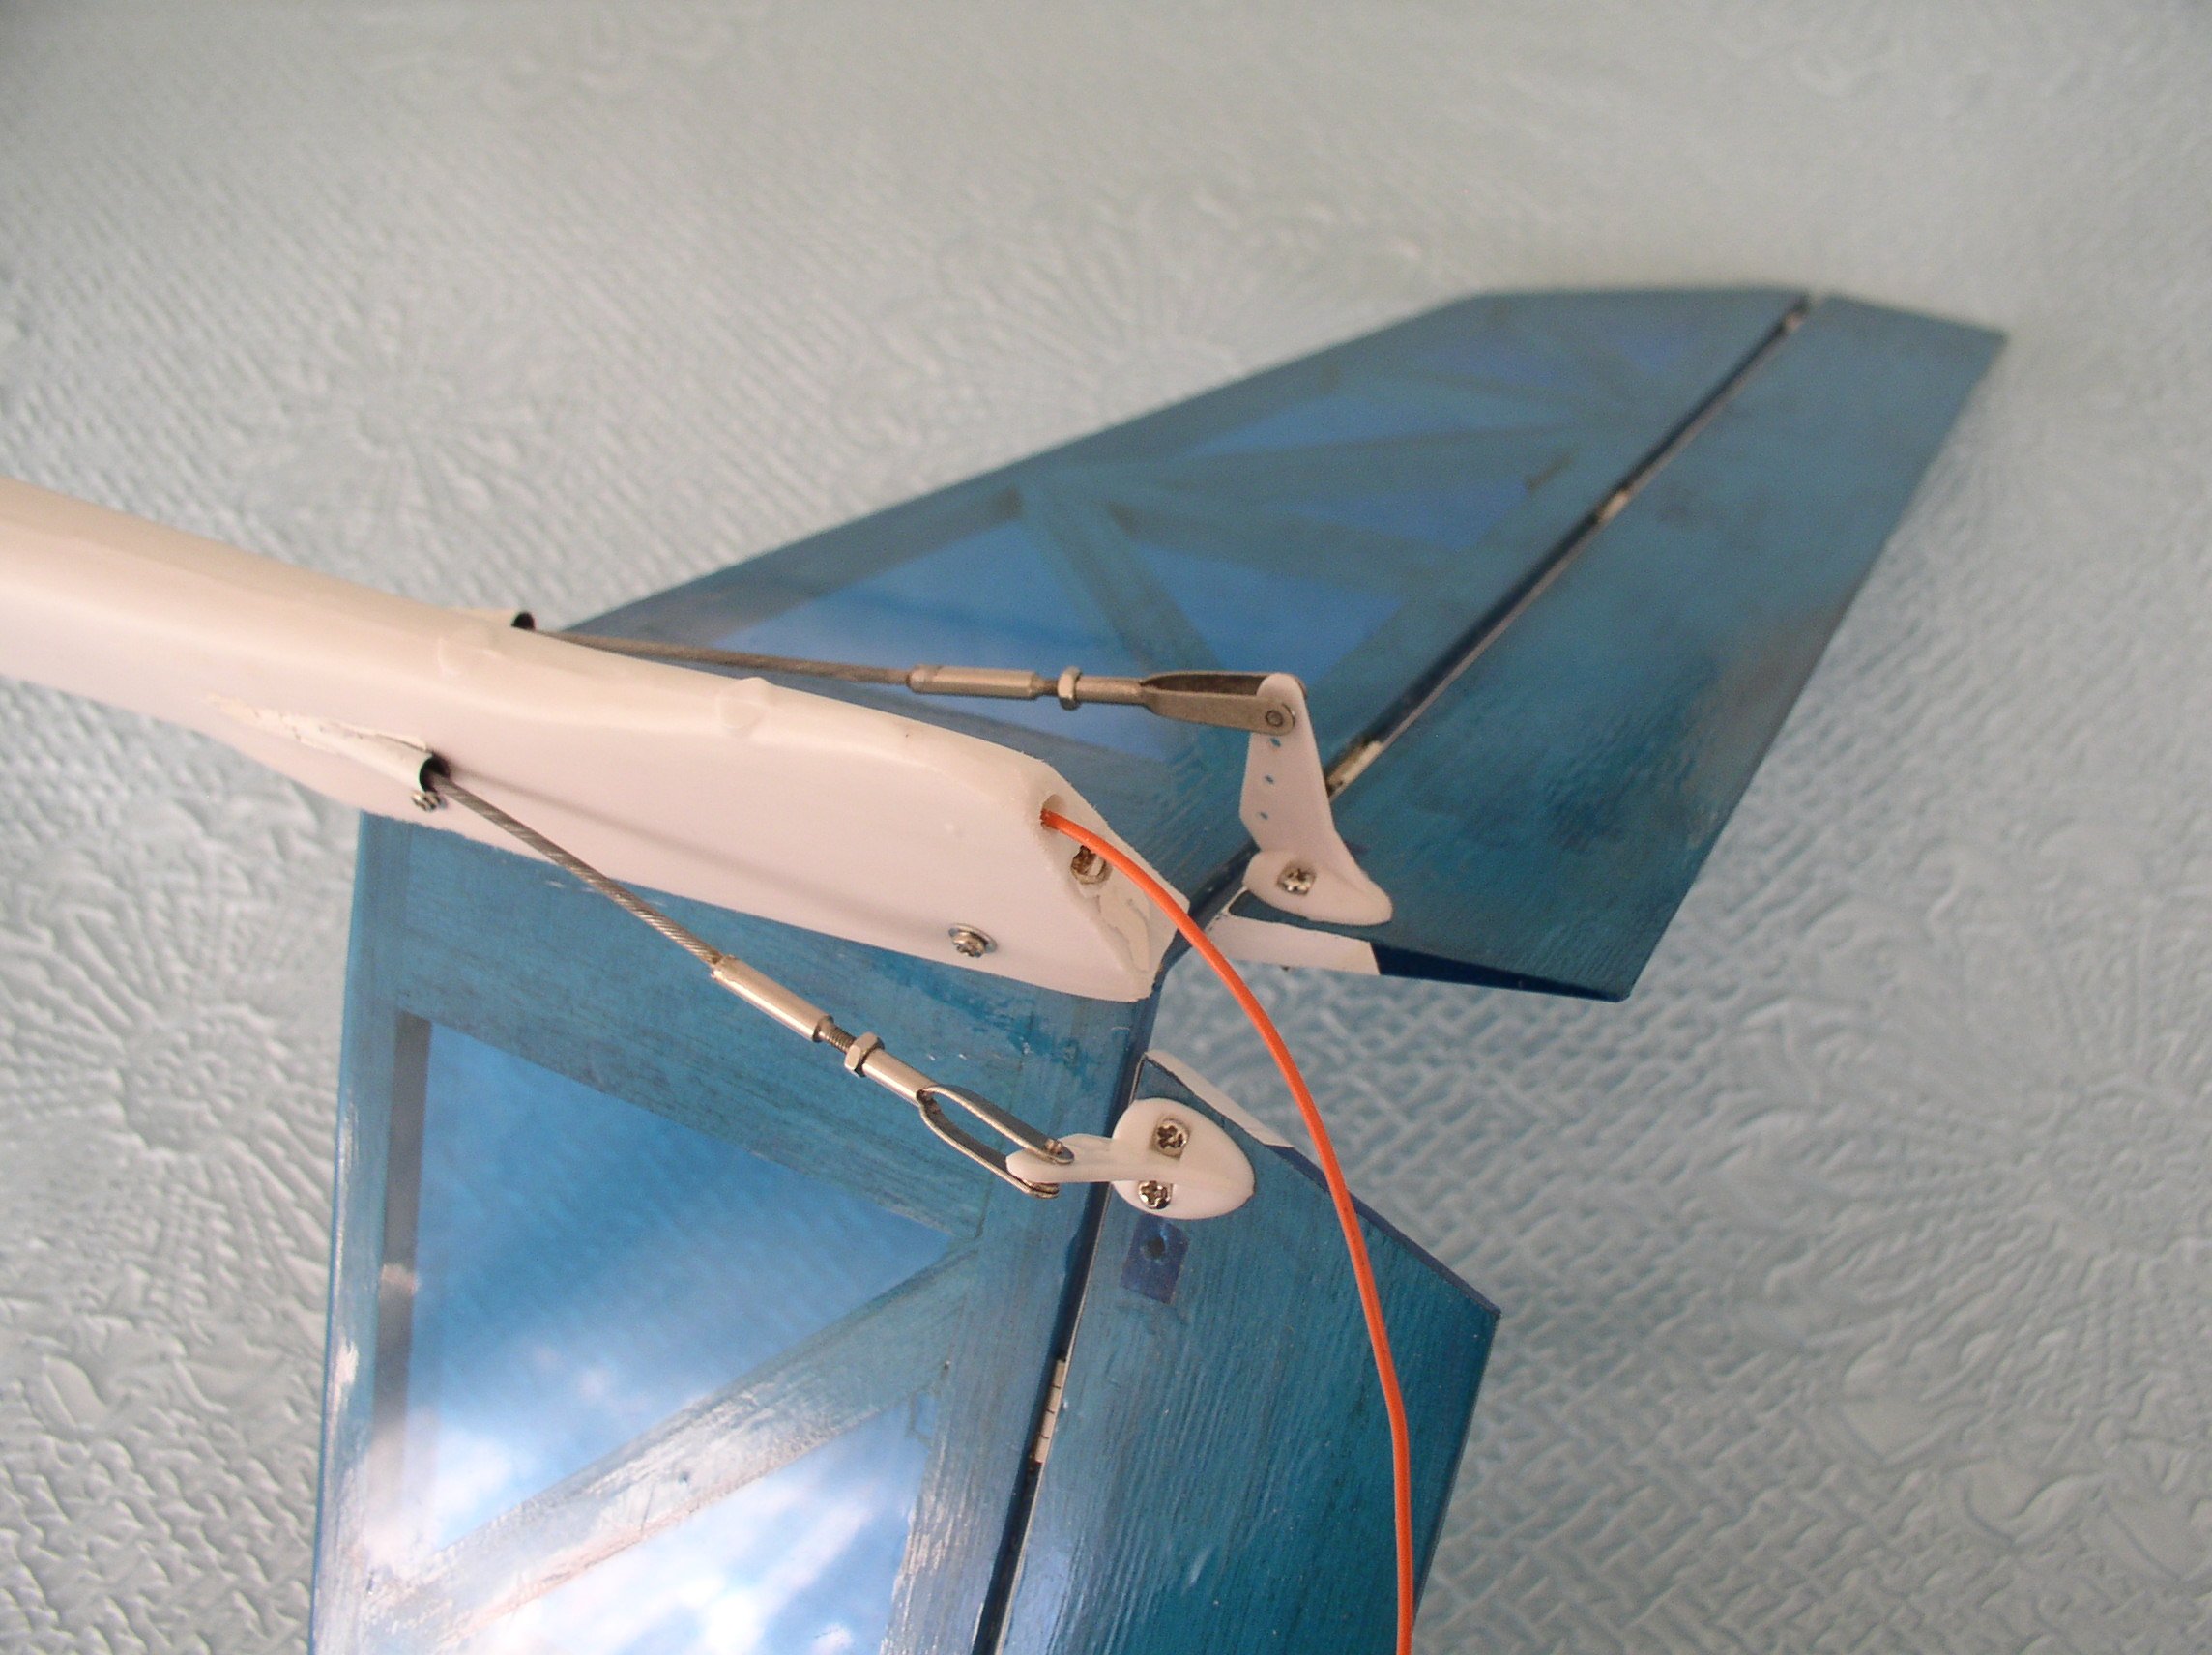
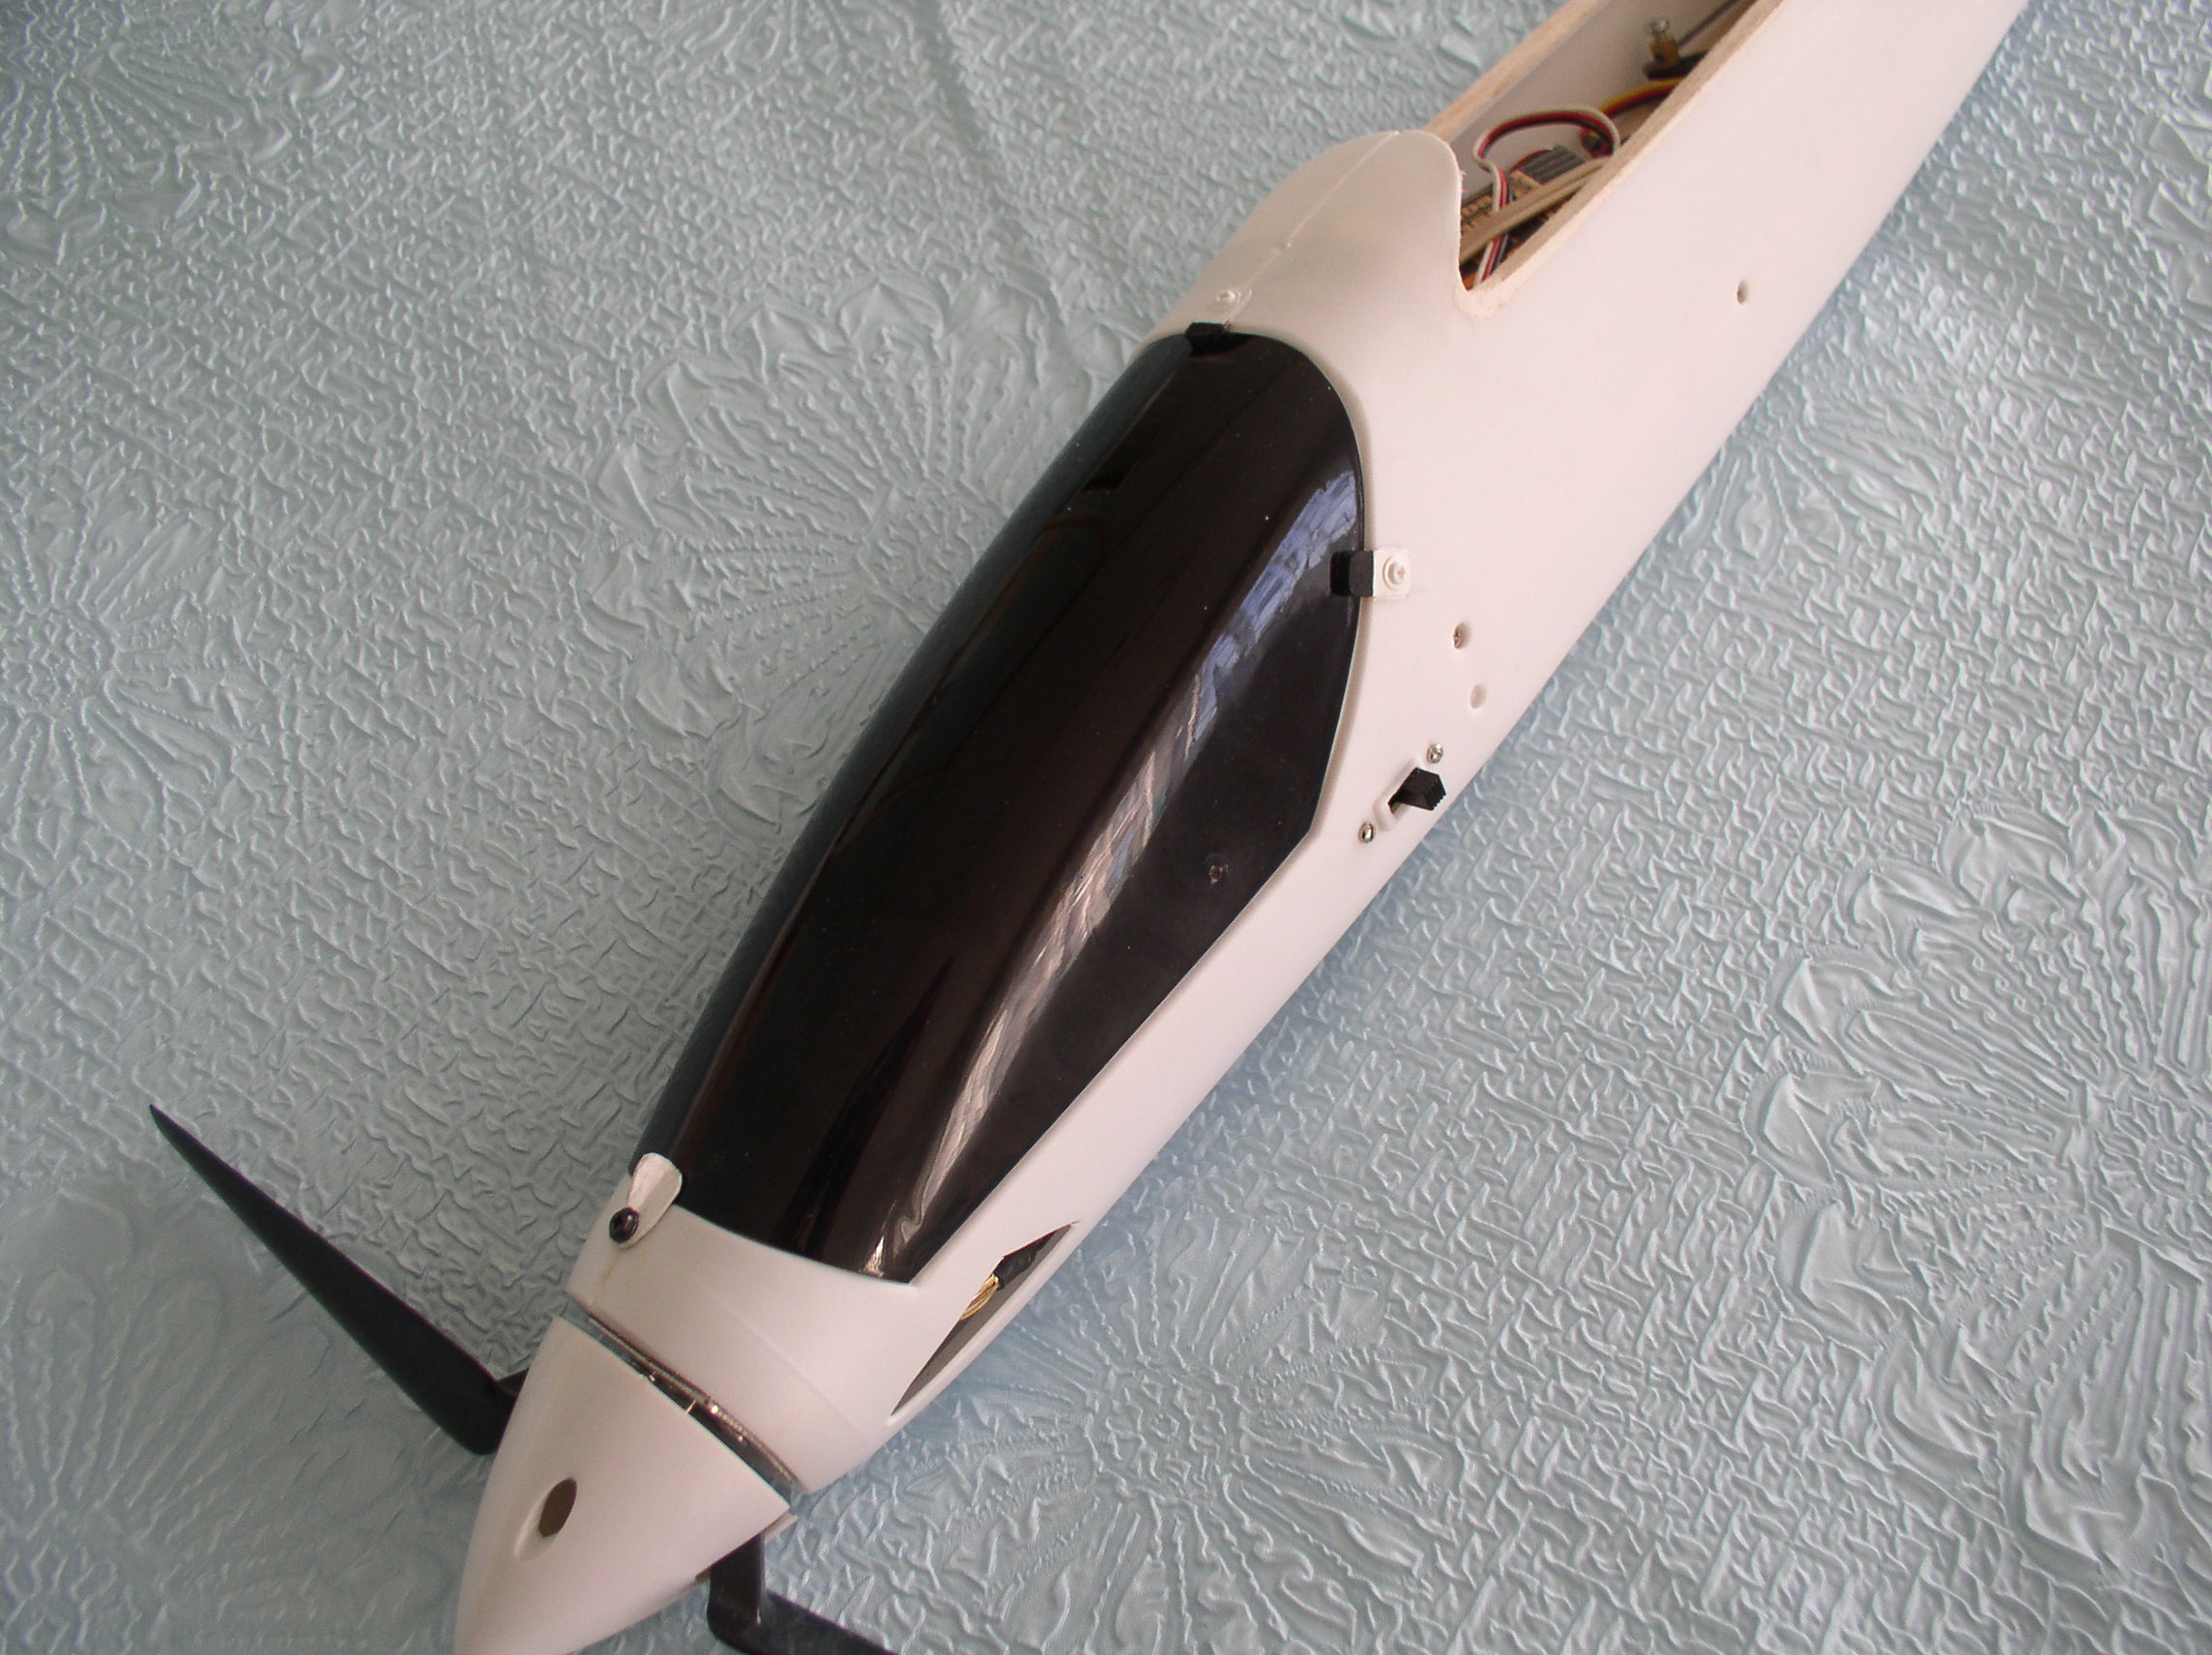
I next tackled the pushrods. These were made of 1/14" obeche with 16g wire ends and for some reason one was 1 1/2" longer than the other with the servo bend facing 90 degrees from where it should have been.( This was probably for the mechanical mixing version shown on the box lid.) When they were put in place,try as I may, I was unable to get a nice free movement without them binding on each other. I gave up and decided to replace them with lightweight plastic tubes and bowden cable. This worked like a charm, but it did mean cutting out the moulded pushrod exits and adding a supporting former on the end of the servo tray. I also moved the control horns ( one had three holes, the other four ) right to the ends of the elevons to give a better lay of the cable. With virtually no load on the servos, I was now able to use a couple of compact Futaba FP-133s I had spare. (I have not fully rigged mine, but get better results from the pushrods of they are parallel, not crossed over. My wire ends were also incorrectly aligned, but I think the length difference is to allow one servo to fit the opposite way to the otherEd) From information gleaned on the Web ( Have a look at http://www.orlandobuzzards.org/vtail.htm which gives a lot of good advice on setting up V tails) it seems that perfect alignment of a V tail is essential if best performance is to be achieved. When I checked mine, it was out of true by several degrees - twisted clockwise when viewed from the rear.I thought about using a heat gun to twist the fuselage back but decided not to as I had visions of the whole thing melting. Sanding one side of the wooden block and adding 1 mm ply to the other eventually got it sorted out. While I was at it, I removed 3/16" from the bottom to permit the installation of an aerial tube which exited through a hole at the rear of the fuselage. The canopy is nicely moulded and a good fit. It is held in place by a couple of self tapping screws which I found fiddly to use and I am sure could easily get lost on the flying field. I decided instead, to put three fixed locating lugs to hold the canopy in place at the rear and a swivel lug at the front. I have used this arrangement before and it allows the canopy to be installed or removed in seconds.
After reading Martin's comments, I checked my motor installation and found that the mounting screws needed tightening about half a turn . I am using a 40 amp Multiplex controller with BEC which gave 29 amps at full speed from a 7 cell pack. I noticed that the controller was drawing 15ma when the Rx was switch off. This would mean that if the battery wasn't disconnected after flying, the pack would be totally discharged in a day or two with the risk of polarity reversal on some of the cells - never happened to me, but there is always the first time! I intend putting in a 25 amp isolating switch and a battery charging socket. Balancing the wings, I found that the port was the heavier which was corrected by putting a white wrap-around Solarfilm strip one rib spacing wide out near the opposite wing tip plus the Club logo. This will also help identify my model when several of us are flying together. I was at Sandown a few years back when during a glider demonstration, the commentator brought to our attention that four pilots were flying three models - it could happen again. I have set my elevon movement at 15 degrees up and down following the website advice and see what happens when rudder is applied - should be interesting! All that remains is to take it out and fly it.
|
||
|
[Contents] [Chairman's Chatter] [Editorial] [Diary of a Flier] [Slicker 50] [Arising Star review] [Soaring DVD review] [RCME Storch build] [Neitoperz] [Sealand jaunt] [I only..] [Bluebird build] |