|
|
|||||||||||||||
|
christchurch and district model flying club |
|||
|
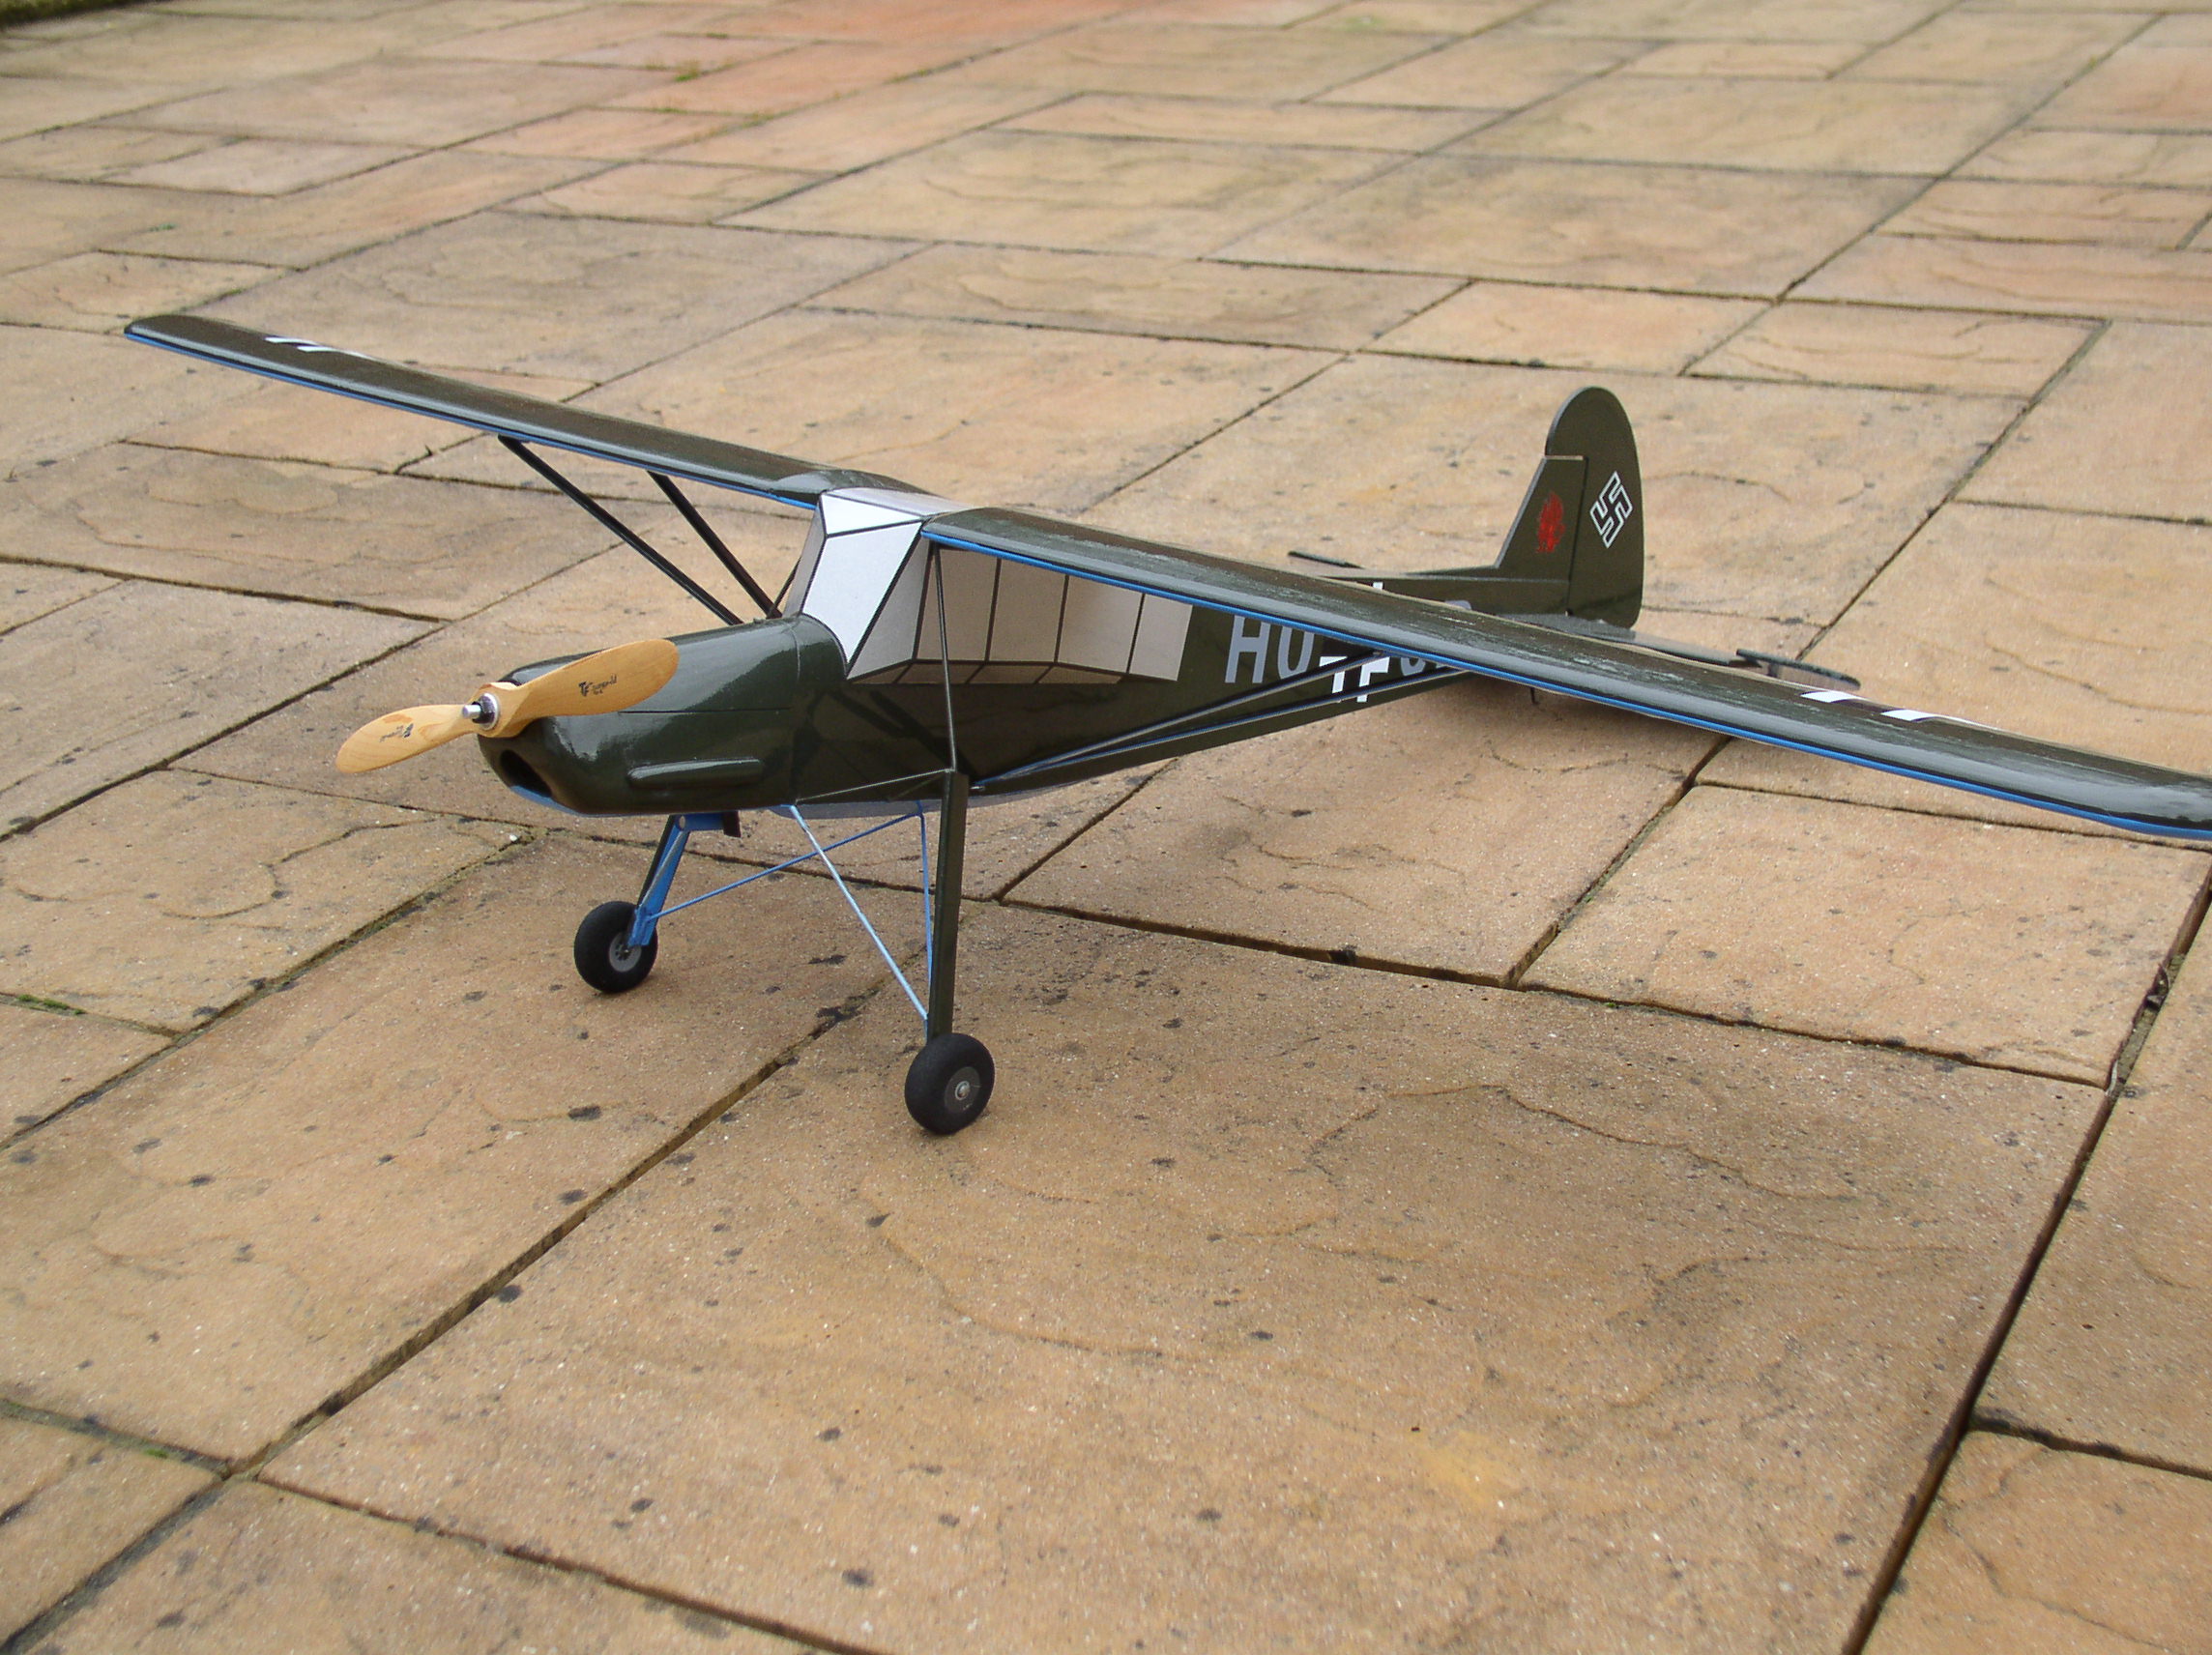
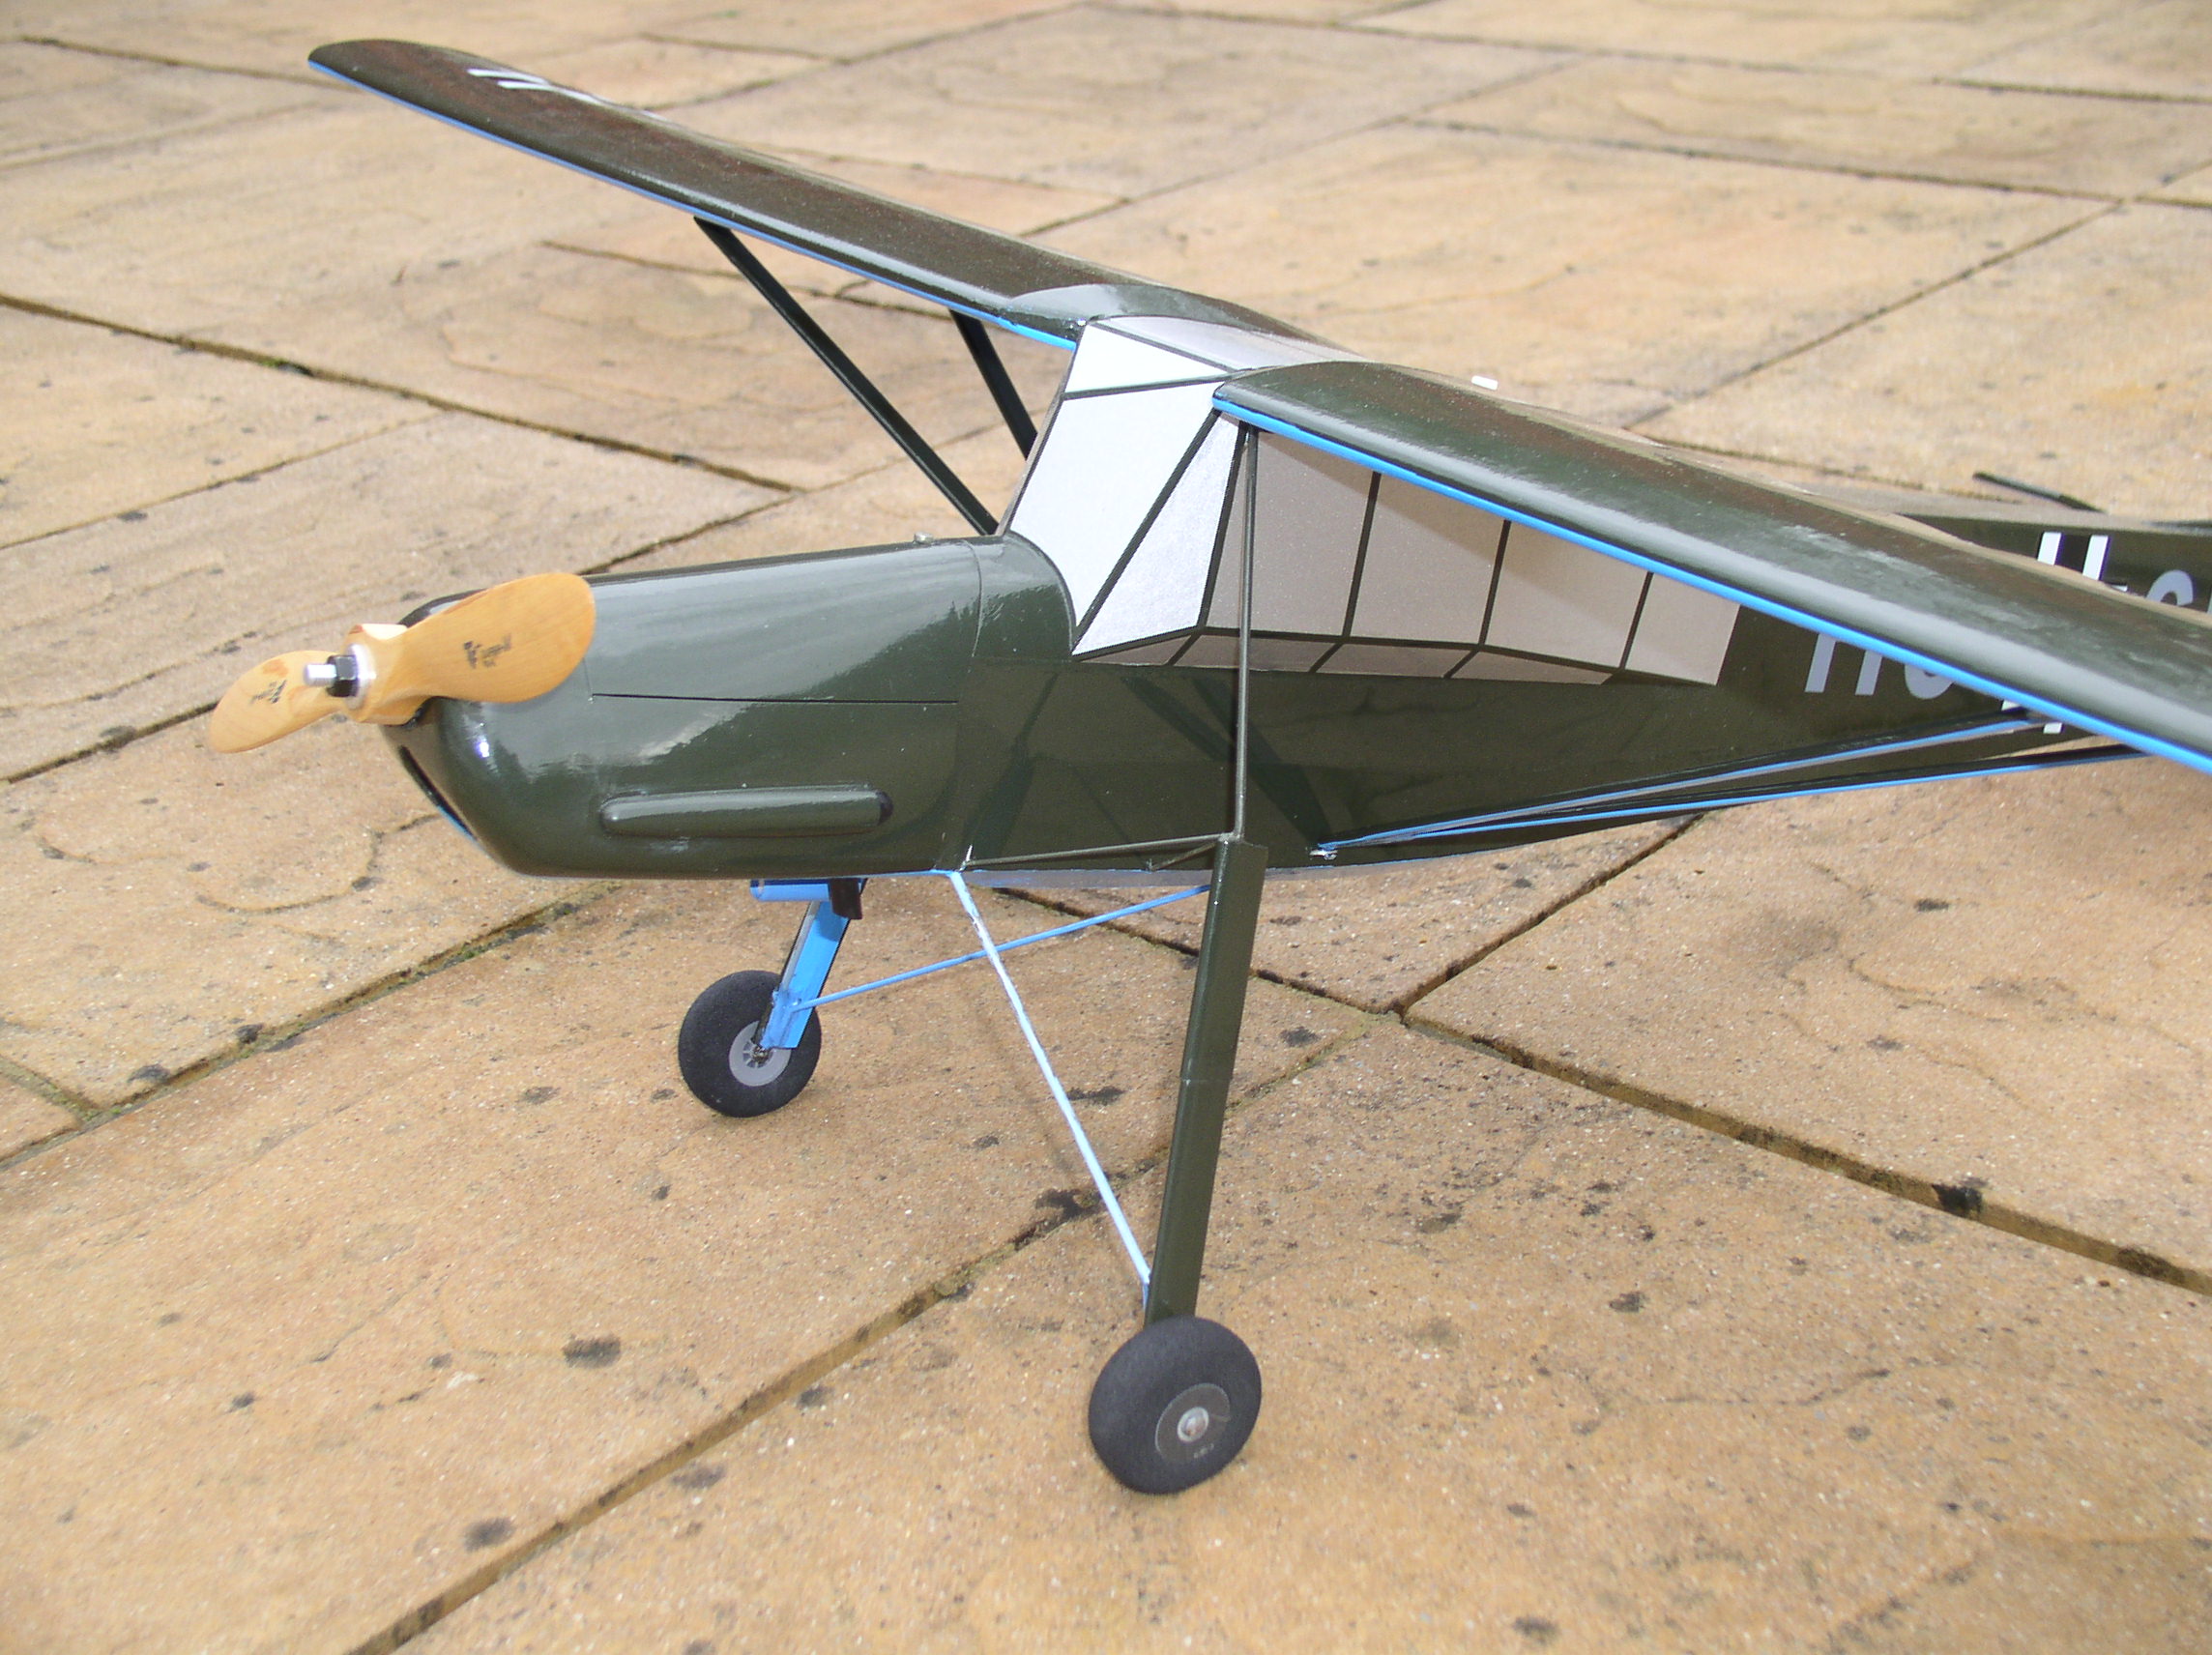
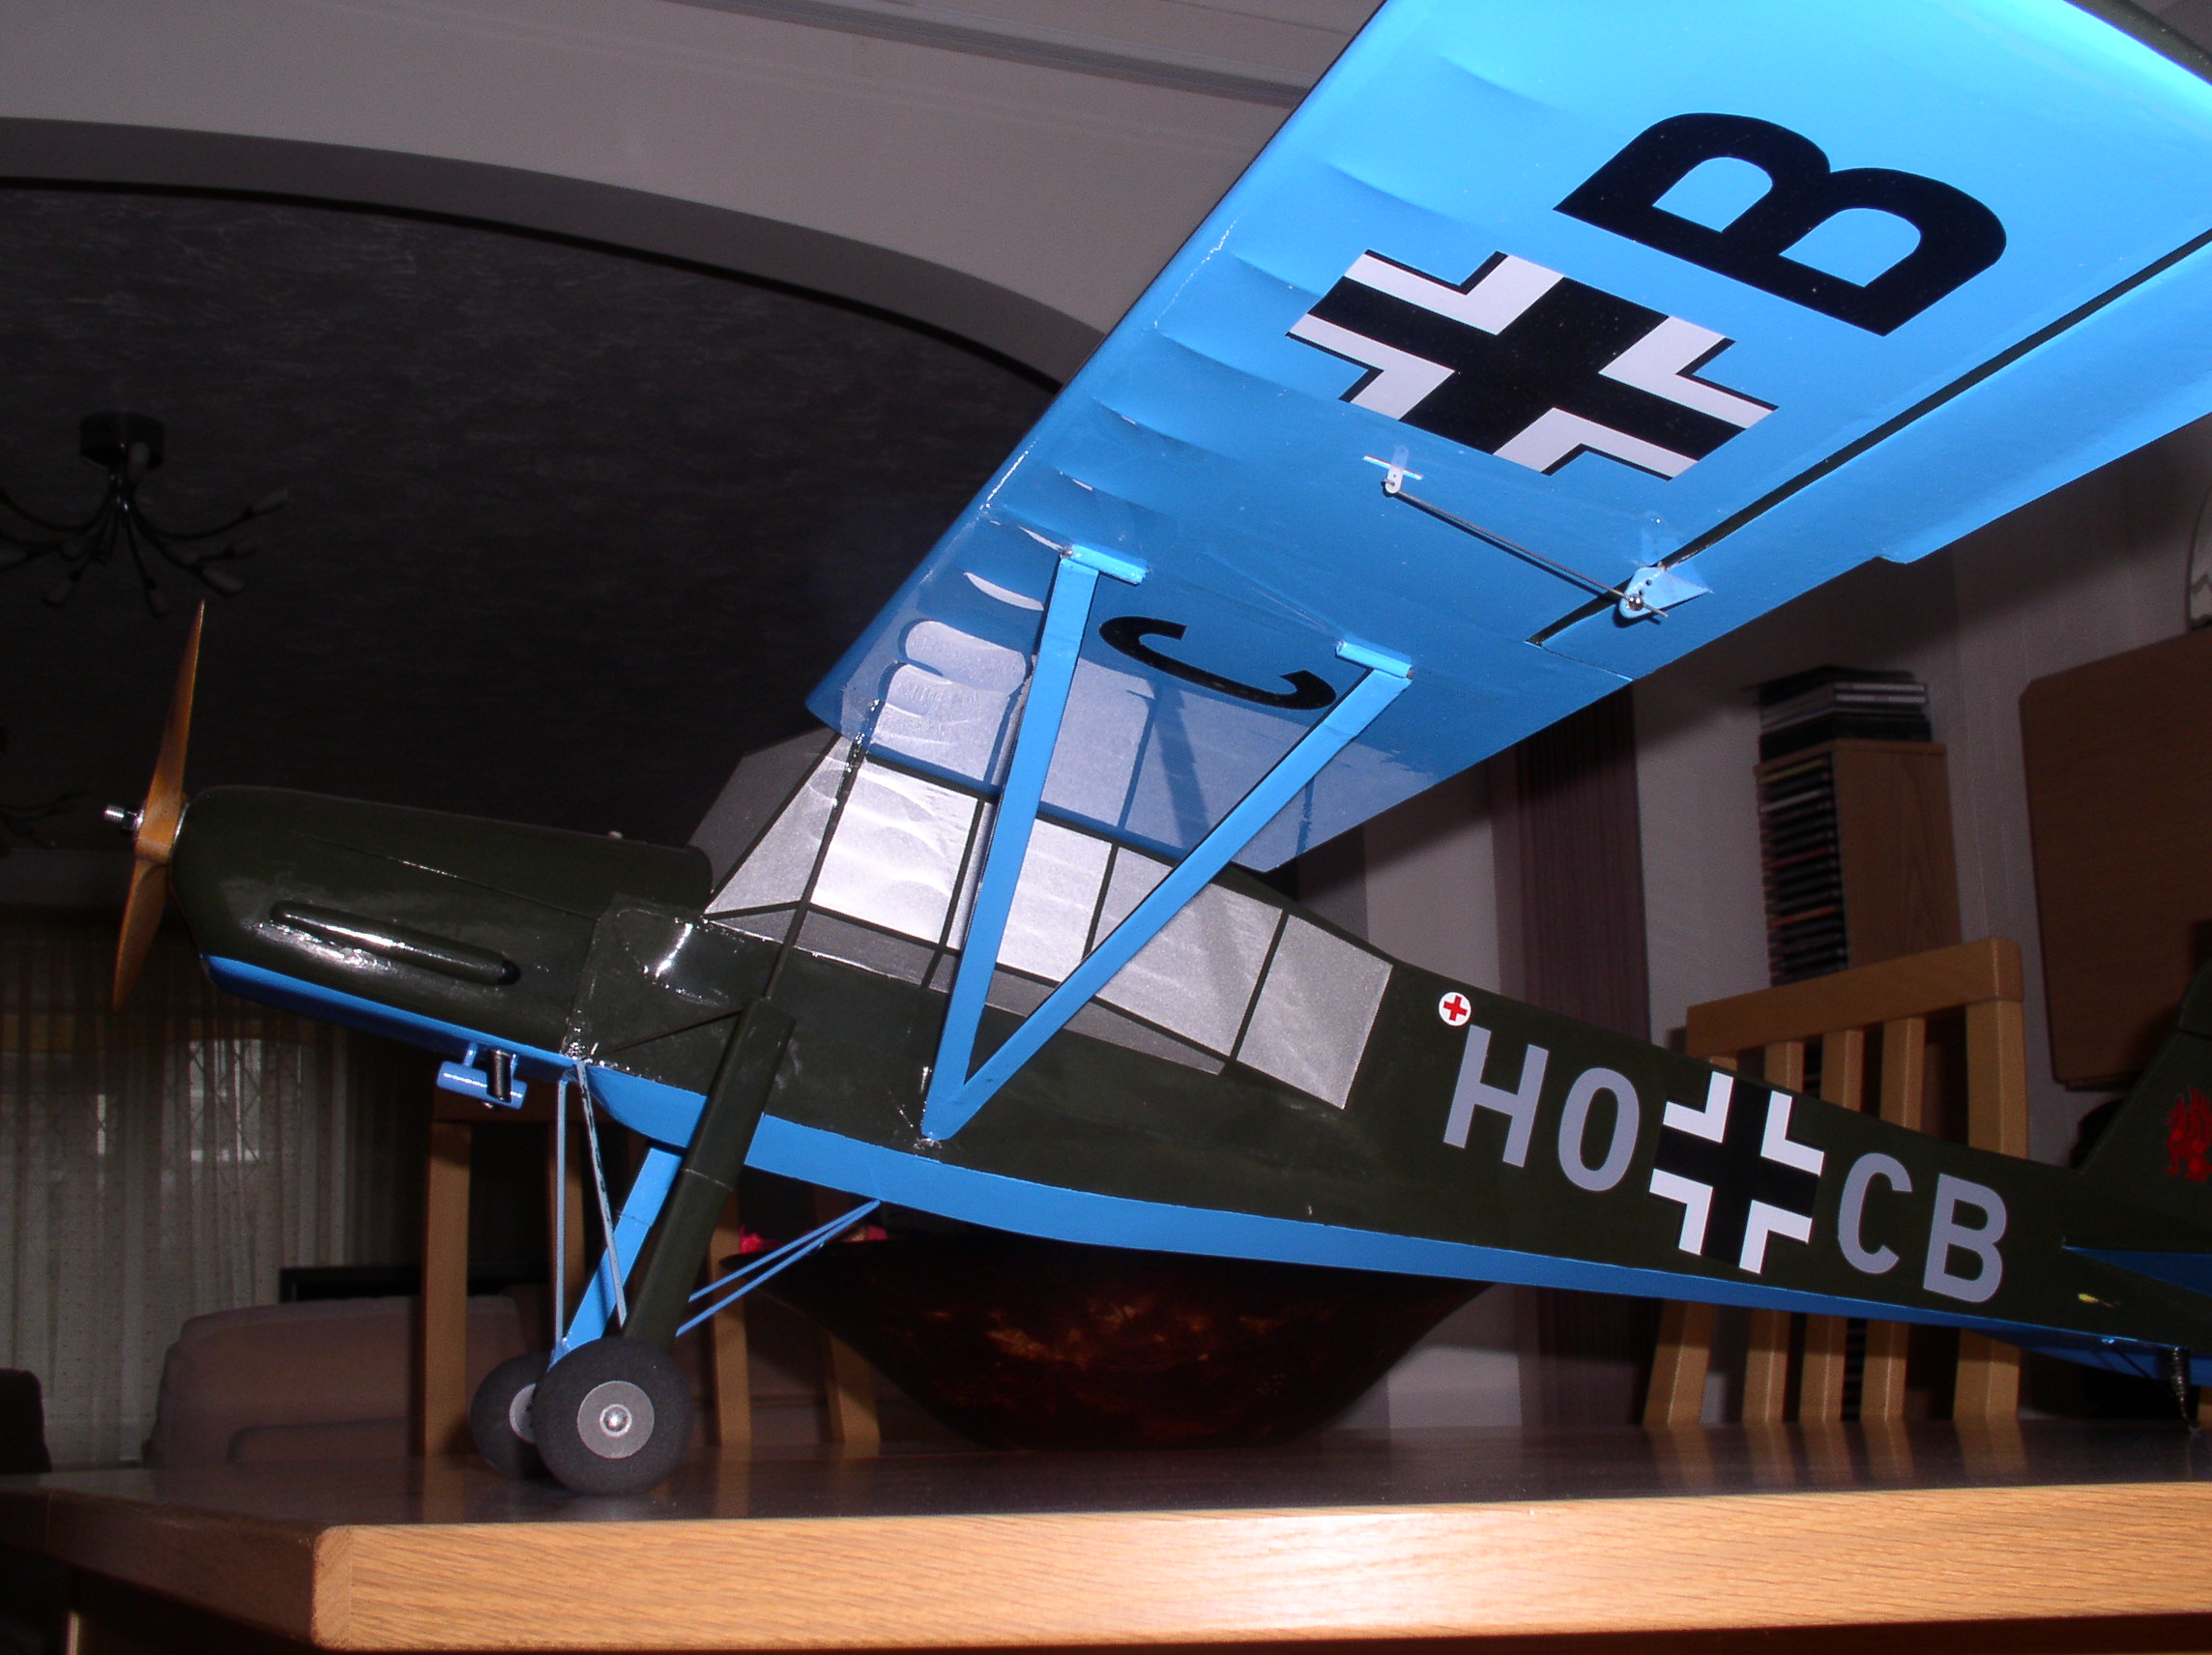
Building the RCM&E free plan Storch,
I've always had a fascination for the Storch since I saw one flying at an air display shortly after the war, where it stole the show with its short take off and landing. I have often thought since that it would make a good model but it was nearly sixty years later after seeing a freeby plan in the December 05 issue of RCM&E that I have finally got around to building one. The model has a 55" span and is constructed in the conventional balsa and ply tradition which suited me fine - I have never taken to foam. However, after having a good look at the plan and comparing with drawings and photos in the Profile booklet of the Storch, I had to make up my mind how faithfully I should detail the model. I decided that "standoff scale" would be adequate. However, there were one or two major changes that I felt I must make. The the plan showed the wings to have considerable dihedral which didn't look at all right since on the full size, dihedral was zero. .So, zero it was to be but now with added ailerons I also omitted the flaps and slots.. The other major change was to the undercarriage which needed the angle to be changed to give a more forward slant. Photos of the plane on the ground showed the undercarriage to be splayed while those taken in the air had a droopy look. I opted for something in between but a bit droopy. There were also some minor outline changes which were easily sorted out. I started construction with the undercarriage which was to be rigid and fabricated out of piano wire pieces silver soldered together. First I made a wooden jig to the exact dimensions of the fuselage supported on a base where each wheel axle would be. This enabled all the wire pieces to be bent to shape and clamped firmly together particularly where they were to be joined. Silver soldering was something I had fought shy of for a long time but it really is quite easy and now I wouldn't think of joining wires by any other method. Next the balsa bashing. The aim, as with all electric models is to build as light as possible and with this in mind I reduced the thickness of most of the wood shown on the plan. I also cut quite a few extra holes in non-strategic places in the fuselage - I don't think it saved all that much weight but it looked good. The fuselage was basically a sheet balsa box with the cabin windows and dummy stringers added on. The nose was built-up from pieces of 1/4" sheet and sanded to shape. All very conventional. The battery box shown on the plan seemed rather short lengthways so I extended it by an inch at either end to allow some adjustment of the battery when sorting out the CG. (Proved to be a good move as the model came out nose heavy) Covering caused a bit of a problem. I wanted to finish the model in standard Luftwaffe colours - dark green on the top surfaces and pale blue underneath I was looking for something iron-on but had great difficulty finding what I wanted. In the end, I had to settle for standard pale blue Solarfilm which was really too blue and Solarfilm Solite which was a very dark green and shiny. I should mention that this was the first time I had used Solite and I soon discovered that it needed much more care and attention to apply than with the heavier materials, Once the backing has been peeled off. the adhesive is so strong and the film so thin, that if it curls back on itself, it is almost impossible to pull apart. To reduce the risk of this happening, I kept the "overhang" to a minimum and peeled the backing off only when placed over the piece to be covered. The iron temperature is also something that needs to be carefully watched - much above the right heat and the covering tends to melt into the wood. Miniature Hitec HS 55 servos have been installed throughout together with a standard Futaba receiver. For power, I have installed an Axi 2808/20 with a Jeti 30 Plus Bec Controller and a Flightpower 1500 mAh 3 cell lipo battery. Measured input power with a Topflight 10/6 prop peaked at 400 Watts when first switched on from a fully charged battery. After three or four minutes running at various throttle settings, peak power settled at around 350 watts which should be more than adequate as the all-up weight came out at 30 oz. This was a bit above the 28 ozs for the model described in RCM&E but was not unexpected as I had built more weight into the U/C and had fitted ailerons. Flying details later! Ken Spokes
|
|||
|
[Contents] [Chairman's Chatter] [Editorial] [Diary of a Flier] [Slicker 50] [Arising Star review] [Soaring DVD review] [RCME Storch build] [Neitoperz] [Sealand jaunt] [I only..] [Bluebird build] |