|
|
||||||||||||||||||
|
CHRISTCHURCH AND DISTRICT MODEL FLYING CLUB |
||||
|
75Ē span Short Sealand twin, for electric power, by Trevor Hewson, Page 2 |
||||
|
Readers who are impatient to see more of the Sealand, or indeed any of Trevorís fine aircraft, should go straight to his site. |
||||
|
4 March 07 I was a bit nervous about making the mounting pylons just from balsa, then I found some 1/8 in offcuts of floorboard quality. Some of this balsa is so hard you can't cut it with a knife! (This is the aspect of amphibian model-building I donít fancy - whatever you do, the tip floats are very vulnerable on landing - I think T plans to use velcro. Consolidated had the right idea on the Catalina when they made them retractable - Ed) I have built ply mounting plates into the wing as per plan. Ivan flew his model off water all the time (where you really don't want the floats to be knocked off!) and so they are shown as screwed into position. I would like a knock-off mechanism for landing on solid ground, but haven't decided exactly what yet. Possibilities are: Undersized screws, double sided tape - or, of course, more magnets! |
||||
|
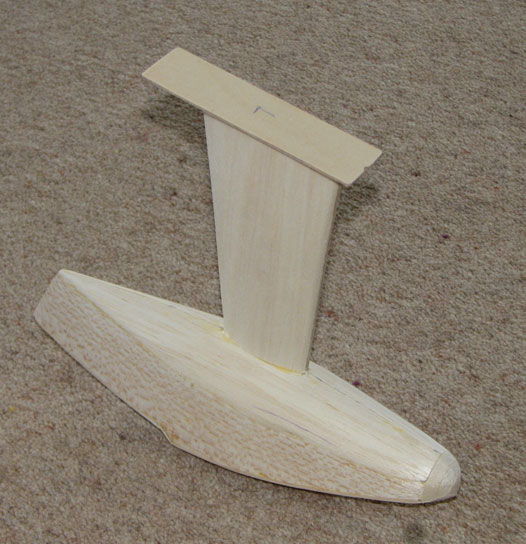
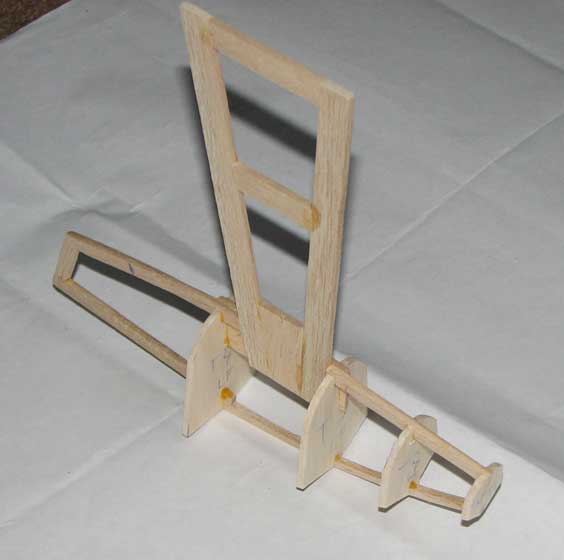
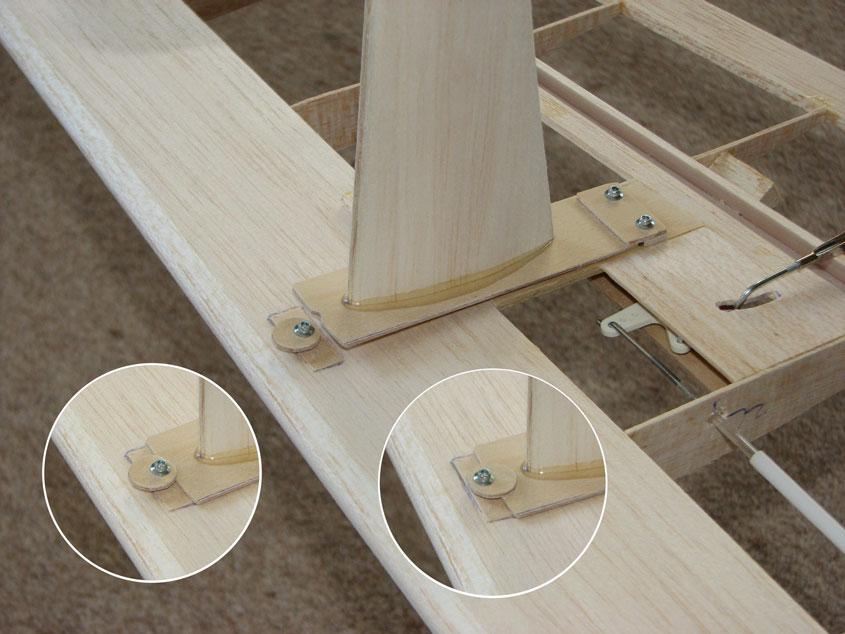
11 March 07 The first picture shows a float more or less complete. The second picture is the first attempt at a knock-off mounting. The main picture shows the mounting plate being inserted into the rear fixing. It is pushed back against a strip of rubber in the fixing so that the notched front can clear the eccentric washer. This gets you to the bottom left inset which is the knock-off setup for flying off land. To secure the float for operation off water, the washer is rotated as in the right hand inset. At the moment, the rear fixing is too robust so I need to change the retaining flange to 1/32 ply instead of 1/16in and maybe reduce the overhang. Good job I opted to screw this fixing on - at one point I was going to glue it. Hope you like my 'natural' epoxy fillet around the root of the pylon by the way!
|
||||
|
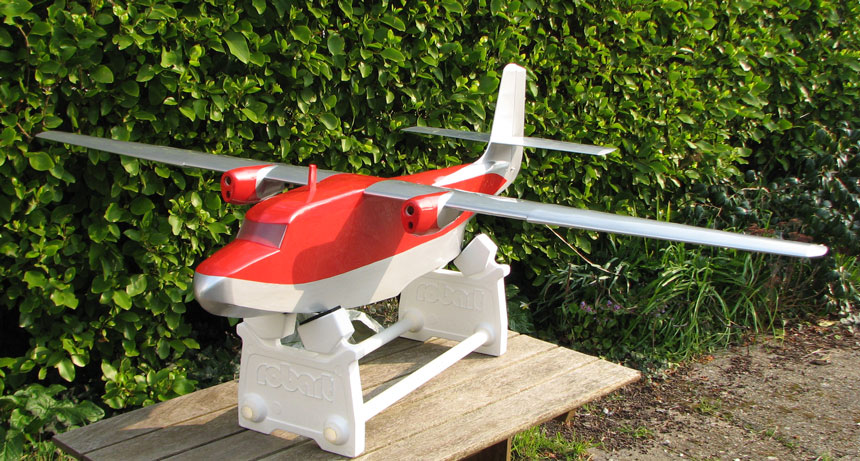
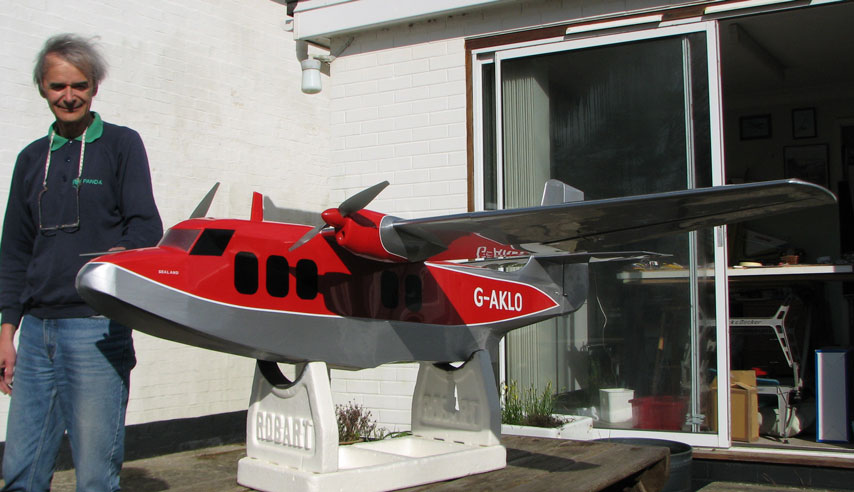
30 March 07. A week of Pro-Filming and the model is taking on some mass and form. The windows are just stickers and there is a lot of detail to be added, but the first flight canít be far away. The motors have a speed controller each, wired so that one BECs the ailerons and one the rudder/elevator.
I have not been able to find out whether the registration was carried on the wings (probably top right/bottom left). Any ideas? I have e-mailed David Jackson to see if he can shed any light on the question of registration letters on the wings. My intention to run the motors up today was thwarted by a faulty prop driver. The tapered hole in the collet was drilled on the skew so the prop/spinner won't seat properly. Of course, by the time I worked out what was wrong it was too late for Robotbirds to post me another one today, and they are closed Saturday so I am grounded until Tuesday at least. That said, I think the weather is not likely to be right before the middle of next week anyway. Other than that, things are nudging along. All control surfaces are now hinged and linked and seem to do the right things and, joy of joys, the weight is still just under 4lb. The covering operation seems to have hardly moved the cg, so I am now making up a spacer frame to fill the front six inches of the battery box! I finished and fitted the u/c today too and was struck by how stark the piano wire legs look against the smartly covered model, so I think some fairings are called for. Then I still have to sort out a battery retaining mechanism, tidy up the wiring and paint a few bits and pieces such as wing bolts, so I think I shall manage to keep busy until the replacement prop driver arrives! |
|
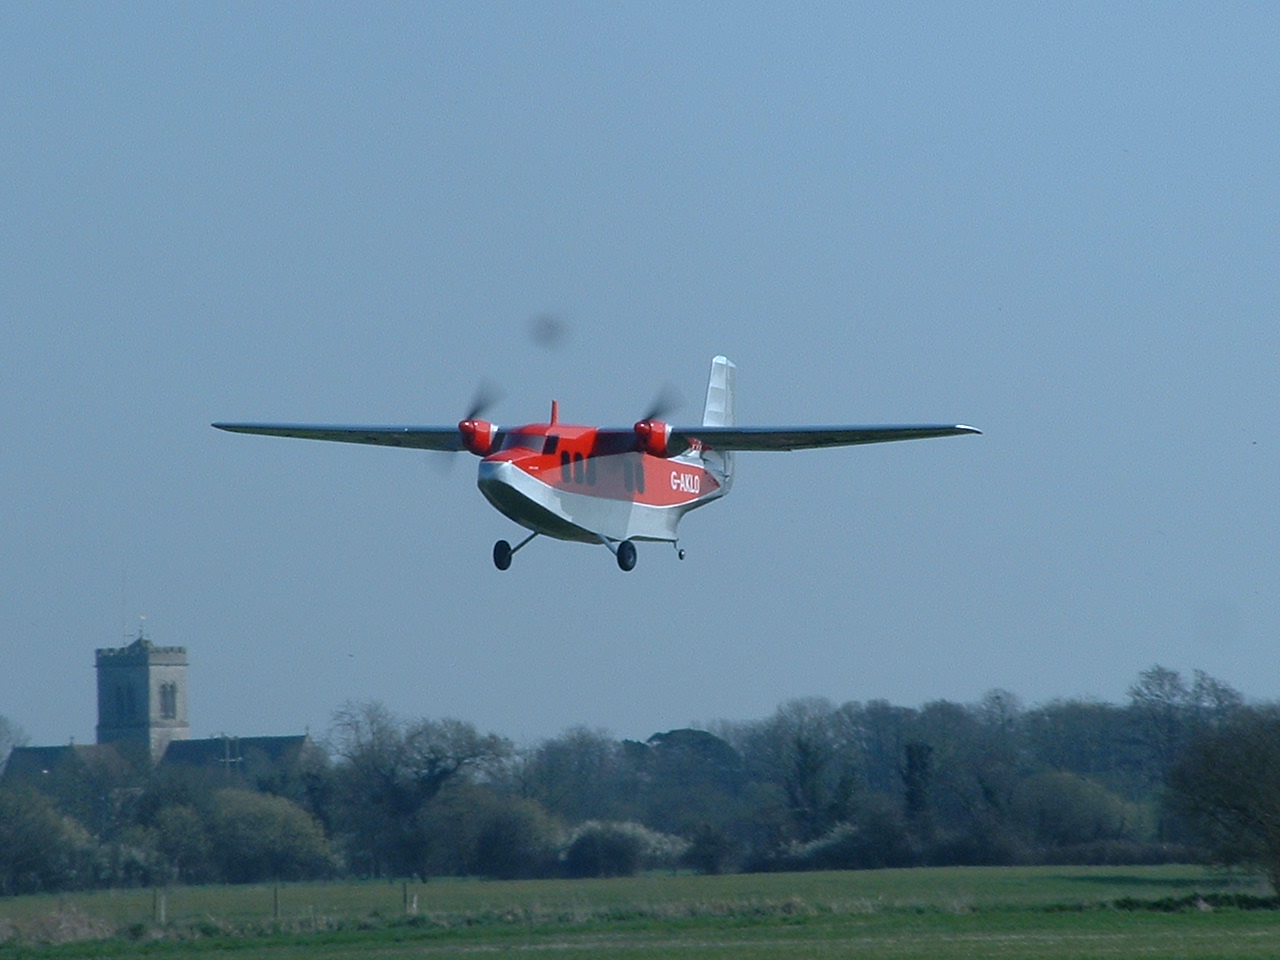
5 April 2007 - First Flight! |
|
[Home] [Contact Us] [Calendar] [Results] [Bluebird Pages] [Newsletter] [C&F Comp] [Projects] [Short Sealand] [Sealand page 2] [Nietoperz] [Gallery] [For Sale] [Links] [Harry Spotter's] |
